
Scheme:
Gardens that are productive are carefully planned. The small creatures that live in your vegetable patch are awakening as springtime draws near. Make it your everyday ritual to go around your landscape, scanning it for troublesome animals and ready to respond when needed. Prepare your devices and hooks ahead of time because pill bugs, worms, and crabs are major nuisances.
Keep adding assessments, temperature recordings, and growing schedules to your landscape diary. You should also refer to local guidelines concerning what to grow and when. There may be after-season snowstorms in the springtime. Prepare to defend your crops! Determine the species protection region you are in and the optimal method to handle the vegetation there.
Get Ready And Keep Up:
Two weeks prior to establishing, if you cultivated winter covering crops, chop them into smaller pieces and incorporate them into the ground. Incorporate manure adjacent to the vegetation and shift or create a fresh heap of organic matter. Use a naturally occurring supplemental fertilizer to give nutrients to vegetables to maintain their good condition.
Preparing Organic Matter:
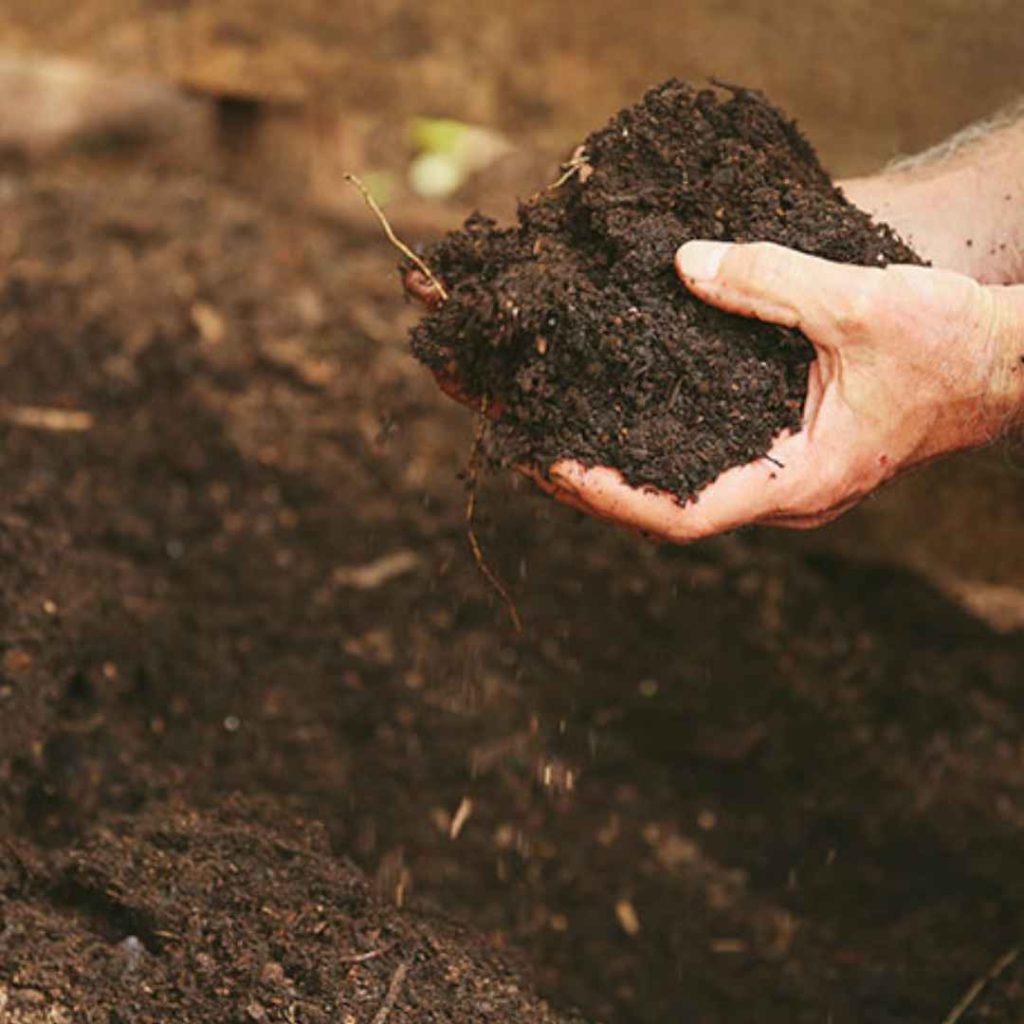
Rich biological compost makes excellent gardening nourishment for later years. However, it will require some patience to “generate,” so we advise getting started right away. You’ll require fluid, atmosphere, and landscape and household garbage as easily accessible components.
Additionally, you’ll need a location for your organic matter, such as a garbage can or a heap on the ground. In addition to the many composting containers on the marketplace, you can also construct your own homemade composting bucket.
You will require a place that is approximately one foot by three meters if you decide to build a compost heap. Next, just lay a few inches of brown, dried stuff, like leaves, cornstalks, or twigs. Add a few inches of greenery, such leftovers from cooking (only fruits and veggies skins, please—never meat leftovers!).
Then add an additional level of brown stuff and a delicate coating of soil for gardening. Wet the mound, however do not let it get soggy. Continue doing this till that heap of organic material is three inches high or higher.
On a biweekly shift your heap of compost, being careful to push the most exterior matter into the core and the central moving towards the uppermost stuff. Don’t let the heap get too wet.
Planting Bulbs Inside:
Have personalized sprouts that are eager to be planted to obtain an early start on springtime gardening. In short, for seedlings to start germinating, the right conditions of sunlight, humidity, and warmth must be met.
All that you require is some seedlings, vessels, and topsoil (such as a natural seed-starting mixture), and it’s fast and straightforward. Containers designed for container gardening are available at your neighborhood construction shop. Reusing materials vinyl or paper containers is something we advise.
Sanitize your packaging as a precaution. One part chlorine to nine components water is an excellent mixture to use. You’ll desire a superficial, impermeable dish for supporting the packaging because they ought to have drainage openings to let the surplus water out.
It is advisable to use narrower receptacles; between two and four inches square is our recommendation. Considering you’ll be transferring the young plants prior to when they acquire sufficiently huge to require additional room, that is all that room you require.
Planting Your Seedlings:
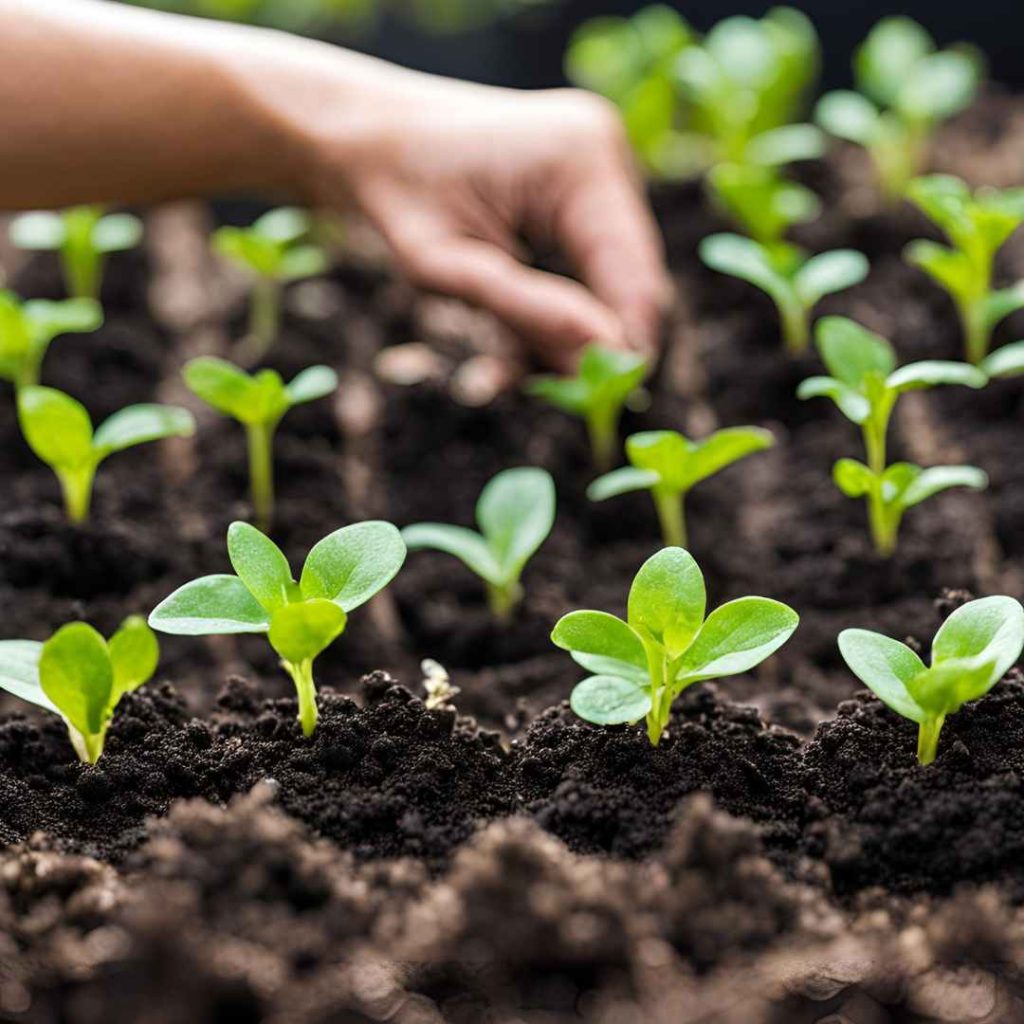
Although it shouldn’t be soggy, the ground needs to be damp. Before pouring your containers moisten the substrate if it isn’t already. Sprinkle several seedlings onto the substrate’s surface. Press seedlings in about a half-inch with a fingertip.
Ensure that seedlings are fully submerged in the substrate. The ground must be uniformly hydrated. Don’t ever allow it to dry completely. If you find that the ground is beginning to dry out whilst the bulbs remain in the germinating period, you may require that you gradually water the ground from the highest point.
Try placing a transparent cover over a dish filled with fluid beneath the containers to increase moisture and hold hydration in the dirt.
But constantly give moisture to the dish rather than the vessels individually once sprouting has occurred. You’ll aid in preventing illnesses and ensure that the young plants receive an appropriate quantity of hydration. Ensure that you detach the lids, install illumination, and supply sufficient fluid in the pitchers by checking on them every day.
Maintain the pots warm during the initial sprouting section, which is before the plants emerge. Position them approximately centimeters beneath the heat source on the highest point of your freezer or dryers or utilize a specialized warming rug particularly supplied for sprouting seedlings.
Specifications alter once the embryos germinate and reach a height of around half an inch. At this moment, you’re seeking a space that is brightly lit and comfortably warm (approximate sixty and seventy degrees).
Take Stock Of Your Agricultural Equipment:

It will save you time and headaches to visit a home improvement or gardening department at the very last moment if you guarantee you possess all the equipment required now. Here are a handful of our top picks:
• Long-handled gardening hoes, rakes, and shovels for making gardens
• Wheelbarrow for moving larger objects and dirt
• Manual instruments for transplantation: nurturer, trans planter, and shovel
• Blades for trimming for upkeep
• Shelters for tomatoes
• For your sitting position, kneelers
• Protective gloves for gardening
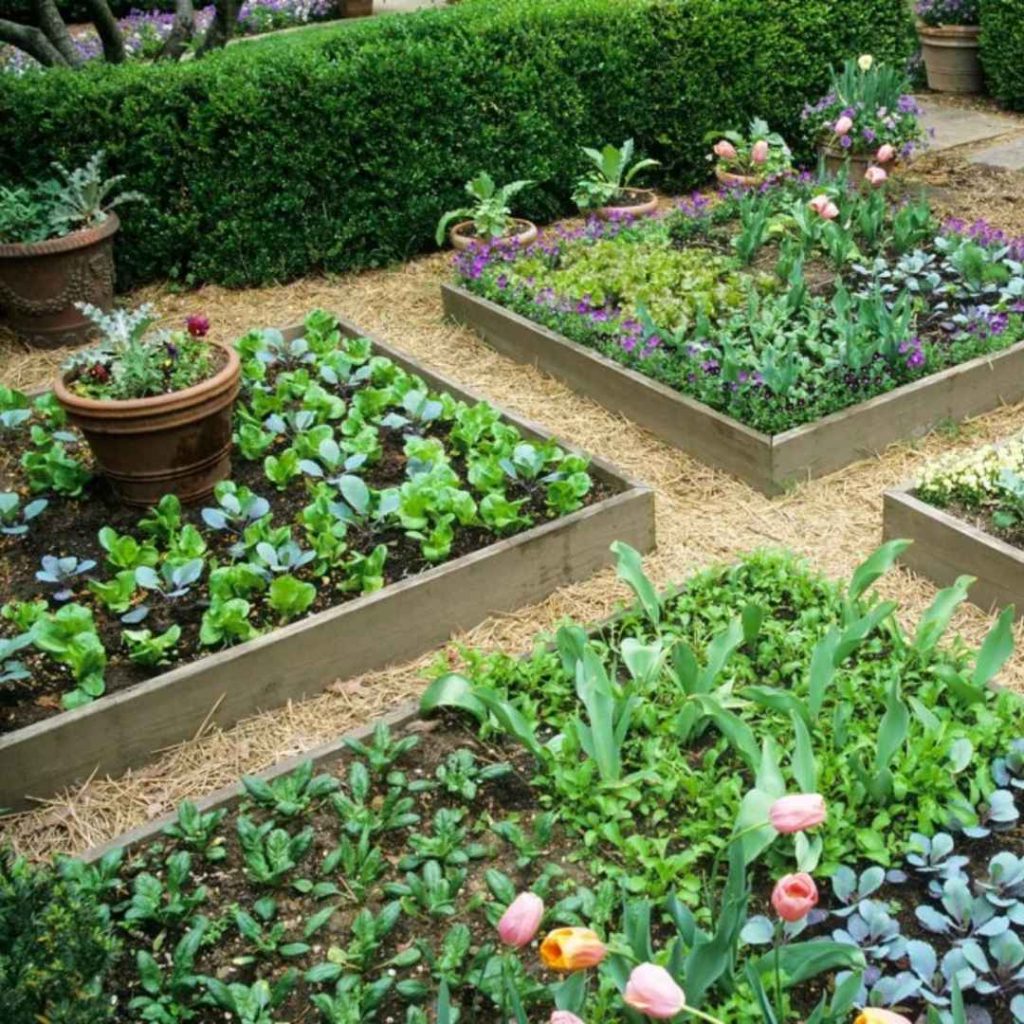
Organize your bedding:
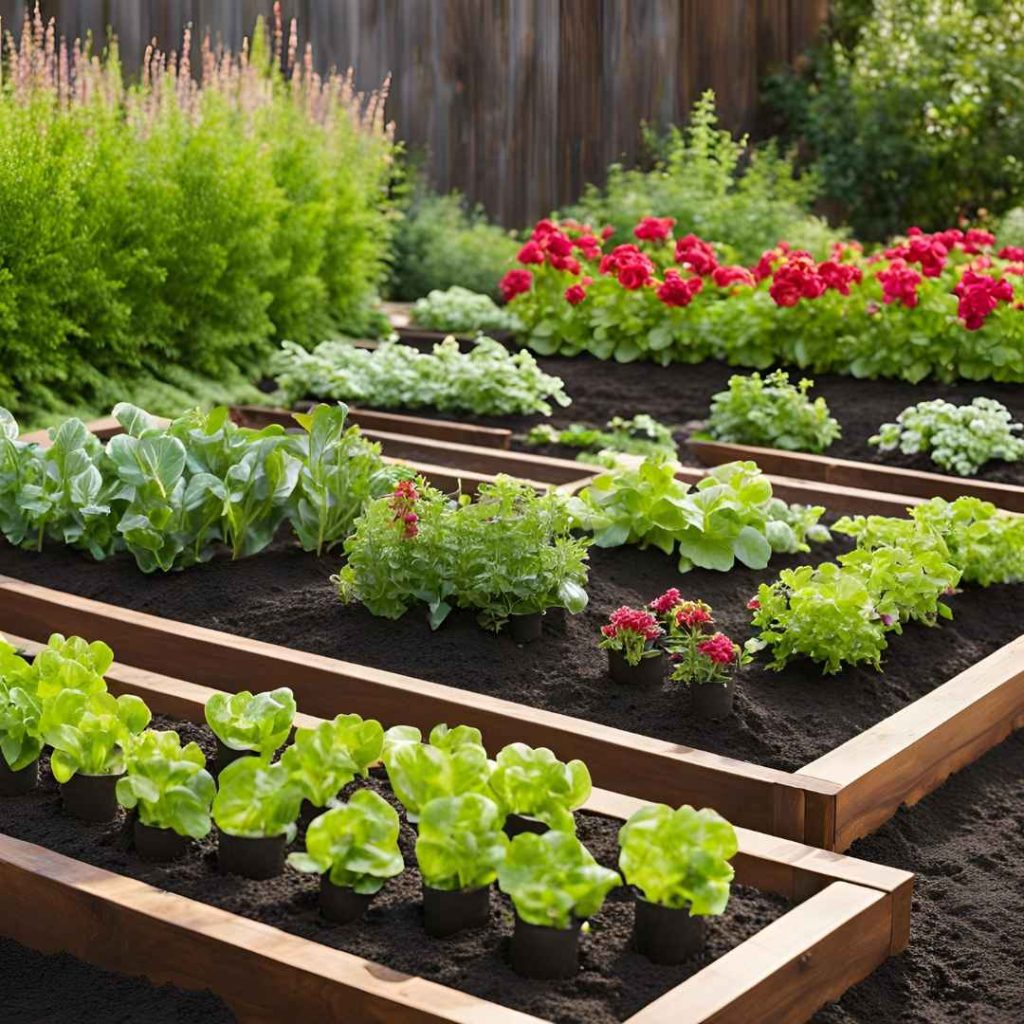
That is, gardening beds. Prepare your in-ground spaces or elevated beds for gardening for blooming. New raised-bed cultivation, fresh in-ground regions, established raised sleeping arrangements, and established in-ground sections are the four sorts of preparation that need to be covered.
Setting Up Fresh Elevated Beds Is Generally Easy:
All that’s required is to satisfy the planting holes with high-quality biological gardening dirt, ideally fortified with a little organically produced fertilizer. We recommend incorporating worm excrement into the mixture to encourage the growth of healthy microbes. This assists in increasing your vegetation’ immunity against illness.
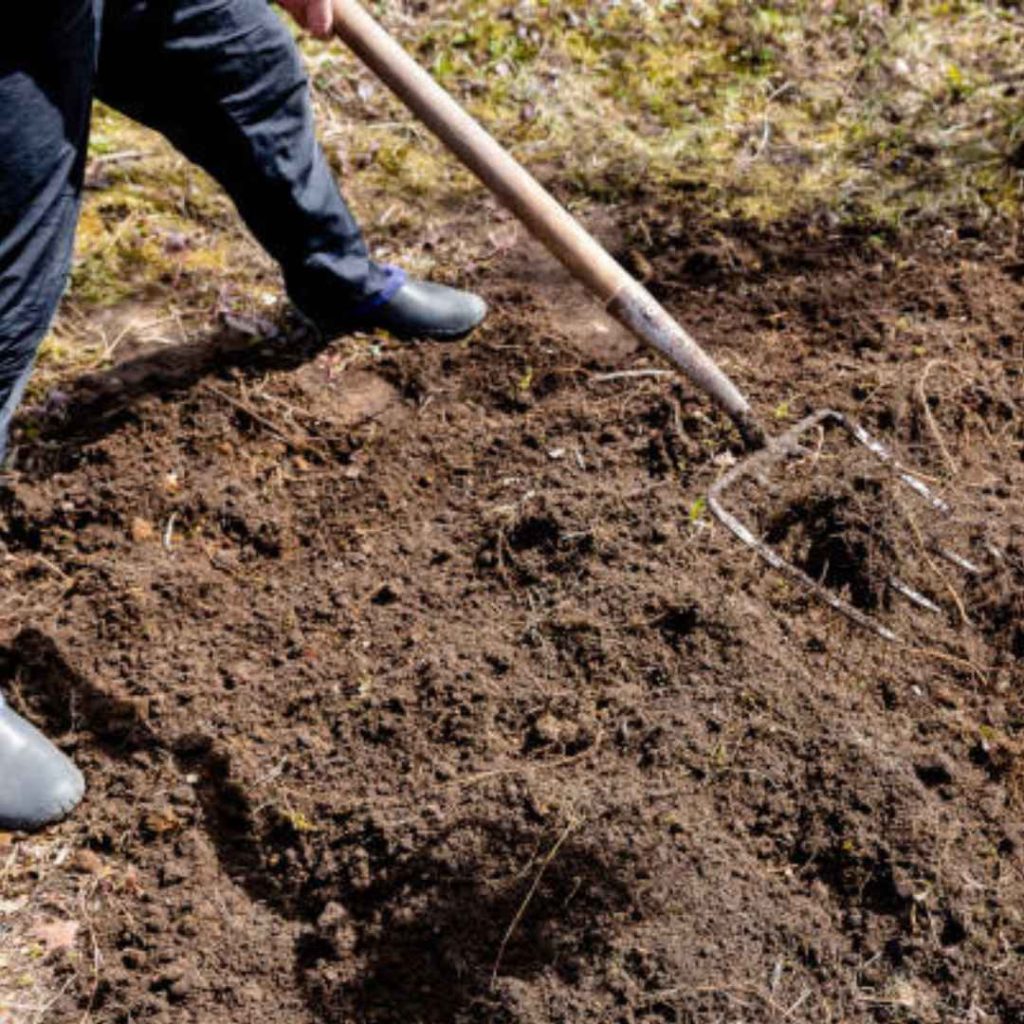
Expanded In-Ground Zone Preparation Requires More Initial Working:
Remain optimistic! You’ll save labor afterwards in the landscaping cycle if you follow springtime landscaping guidance. Newly in-ground portions need to be vigorously cultivated or rotated. A rototiller is a need if you’re growing an extensive lawn or soil that is dense. You can additionally utilize a digging instrument or a straight gardening trowel.
You might be able to lease one instead of having to purchase one. After the ground has been cultivated, give it a thorough irrigation, then continue to water it regularly each morning for a period of two weeks. This causes the majority of the soil-dwelling marijuana seeds grown to germinate. You can remove them after they germinate before planting. Throughout the growth period, you won’t be required to pull as many weeds. Finally, proceed as with beds that already have sheets.
Current In-Ground Spaces And Elevated Beds:
They both adhere to identical preparation. Firstly, cultivate the ground and remove any old vegetation. Shovel in particular recently added worm droppings and clean composted dirt. You’re through!
Concluding:
Prior to planting your springtime gardening beds, a single factor to keep in mind is position, spot, area! For currently, just a quick tip: make sure that the vegetable patch is situated in an area that gets plenty of sunshine all day long.