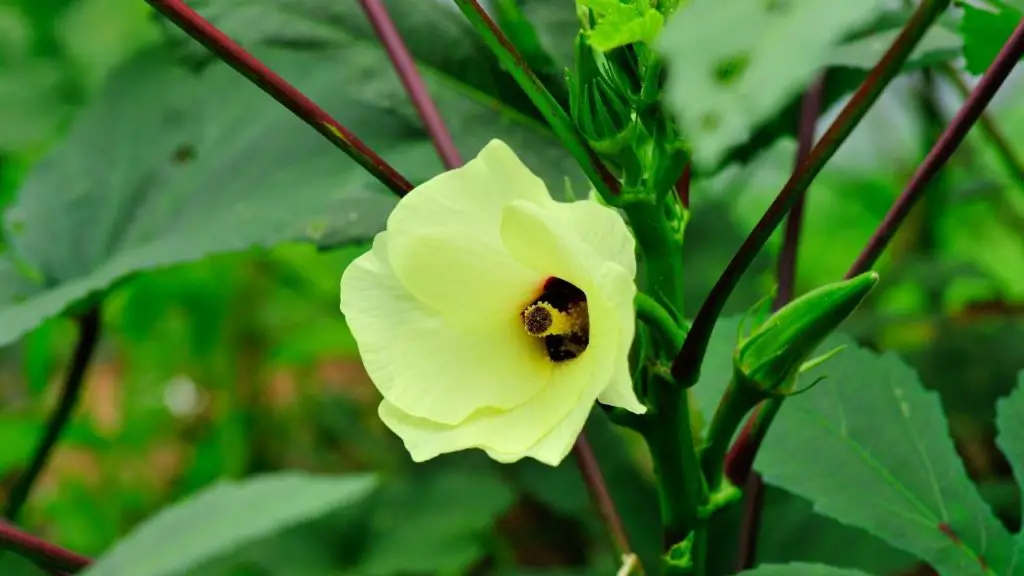
Okra is one of the most delicious vegetables out there. I love to eat okra, you can cook them alone, you can cook them with chicken or beef. Okra is so healthy, packs with vitamins and fibers.
If you’re a lover of okra and have no space in your kitchen garden, this article is totally for you because I will explain how to grow okra in containers. Follow these steps to grow okra in containers from seeds.
1: Best time to grow okra
You can start sowing the seeds of okra directly in the final location or you can start the seeds indoors in seed trays.
- If you want to start seeds indoors, the best time is 3-4 weeks before the chance of the last frost. It will give you a heads up.
- If you want to sow the seeds directly in the containers, wait until there is no frost. Or you can use some kind of protection against frost to save your plants.
- You can also start seeds of okra in full summer because okra loves sunlight. It is mid-April here, and we are sowing the seeds directly in the final destination now.
- Okra plants require at least 10 degrees Celsius to survive and about 25 – 30 degrees Celsius to produce fruits. Plants can handle warm conditions, but a lower temperature is no go.
Read: How To Grow Purple Potatoes In Containers
2: Sow The Seeds Indoor
When time is right in your area, you should start the process of sowing seeds. You will need seeds of good variety (dwarf varieties for containers), good soil, and a seed tray or you can use disposable glass to sow seeds.
You can use seed starter soil or you can make your own soil. Here are the ingredients to make your own soil:
- 50% coco peat or coco coir
- 50% organic compost
- You can also use your garden soil if the soil is very fertile
Mix these ingredients well in a container and fill your seed tray with the mixture. Sow the seeds about 2-3 inches deep in the soil. Give them water and put them under sunlight.
Seeds will germinate in just 5-10 days. Keep them under sunlight and keep the moisture level of soil high. You can transplant them in bigger containers when they reach a height of 6-8 inches. Read the next step to learn about good containers and good soil.
Read: 15 Indoor Herb Container Garden Ideas
3: Sow The Seeds Directly In Bigger Containers
You want to sow the seeds directly in bigger pots or you want to transplant your seedlings, you will need these two things:
- A Good Size Container: If you have a container or pot that is 10 inches in height and 10 inches deep, you can grow okra in them. You can also use 5-gallon buckets or grow bags of good size. My suggestion is “grow bags”, as they are very cheap and environmentally friendly.
- Good Soil: Okra plants are very hardy plants as long as they are getting full sunlight. They can grow in any kind of soil. But for pots, you will need potting soil for better growth and a bigger harvest. Potting soil is a special kind of soil for the container gardens. You can either order potting soil or you can learn to make your own at home.
After making or buying your potting soil, fill your containers with it. Sow the seeds about 2-3 inches in the soil. Give them water and put your containers under sunlight. Keep the moisture level a little high during the germination process.
Transplant Seedlings: You can also transplant your seedlings in this same soil. Just make a hole in the soil and transplant seedlings in that hole with the root ball. Try to transplant seedlings early in the morning to keep them healthy and save from transplant shock. Give your seedlings water and put your containers under sunlight.
Read: 10 Best DIY & Cheap Container Vegetable Gardening Ideas Anyone Can Use
4: Tips To Take Care Of Okra
- Okra plants require full sun for better growth, it means at least 6 to 8 hours of direct sunlight. So keep them away from shades of big trees and walls.
- Keep checking the moisture level of soil, if the top 2 inches of soil is dry, give water to your plants. In hot areas, you may have to give them water on a daily basis, so I suggest you use a drip irrigation system.
- Add organic manure and compost in the soil of your containers if needed. In containers, sometimes plants need extra fertilizer. You can also use liquid organic fertilizer.
- Add mulch on the top of the soil to keep the weeds away from okra plants and minimize the evaporation of water. Always use organic mulch.
- There is no need to pollinate okra plants by hands because they are self-pollinated plants.
- Keep an eye on aphids and other pests. If there is an attack, remove them by hand, there is no need to use any kind of pesticides.
- Fusarium Wilt can also attack your plants. But it is a problem for big producers, you can control them with your hands by removing the affected part of plants.
Read: 10 Surprising Uses Of Wood Ash In The Garden
5: Harvesting Time

Okra plants will be ready to harvest in just 50-60 days. Plants will produce multiple harvests in one growing season. When fruits of okra are 2 to 3 inches long, you can harvest them. Don’t wait too long or fruits will be too hard, fibrous, and not good at eating.
You don’t need to store okra fruits. My mother always harvests okra after every 3 to 4 days and cooks them fresh from our kitchen garden. Keep your gloves on during harvesting because some of the varieties contain numerous tiny spines. These spines can cause skin irritation.


