
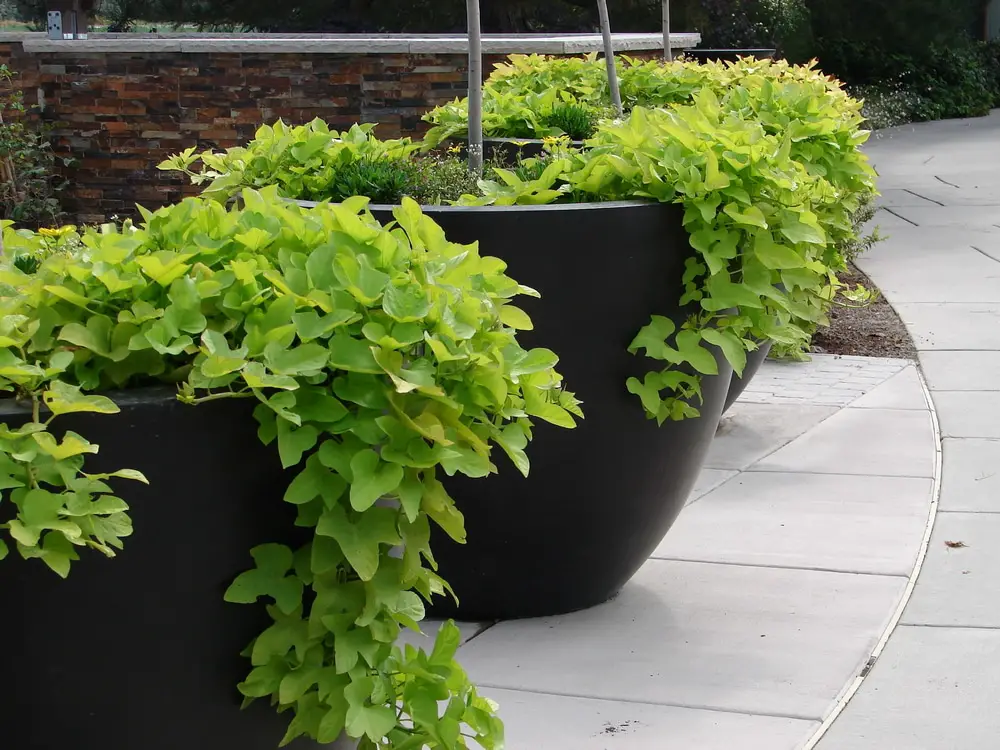
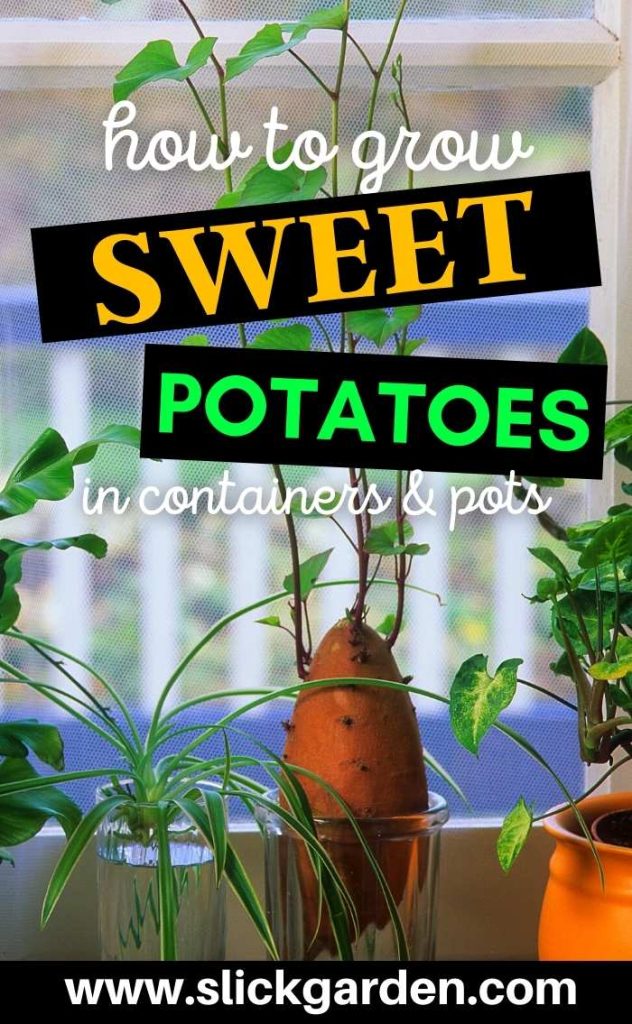
Sweet potato is a versatile and healthy vegetable. Limited space is not a problem; you can easily grow sweet potatoes in containers. Sweet potatoes like to grow in the hot climate when the days are long.
Pros And Cons Of Container Gardening
Following are the pros and cons of container gardening. Before planting the sweet potatoes in the containers you should know what are the advantages and disadvantages.
PROS
- The most important benefit of container gardening is that it is perfect for small and limited spaces. If you are facing the problem of the limited area then you should grow plants in the containers.
- If the soil of your garden is very poor then you can follow this method of gardening.
- This is a cheap method of growing plants easily.
- You can move the containers which are not possible if you grow plants in the ground. If you are living in a rented house then you should grow plants in the container so when you move you can take your containers.
- If you are facing any physical issues then you should grow plants in the container. Bending and kneeling are part of gardening and you easily maintain your plants in containers.
CONS
Everything has a bright and dark side, in the same way, container gardening has some disadvantages.
- The soil in the container dries out very quickly. That’s why you should maintain the frequency of water. The plants which grow in the container need water daily.
- The yield you get from the container will be low as compared to the ground crop.
- The size of the container-grown sweet potatoes is smaller.
Right Container For Growing Sweet Potatoes
When you decide to grow your sweet potatoes in the container then it is very important to choose the right size of the container.
As sweet potatoes are rooted vegetables, they need ample space. The size of the container should be 18 inches deep so the roots will get accommodated easily. If you use a deep container then you will get a higher yield.
Make sure your container or the pot has drainage holes at the bottom. This is a very important requirement for the drainage of the soil. Keep in mind the holes should not be too large so the growing medium will fall out from the holes. It is better to spread a layer of rotten wood chips at the bottom but make sure the holes don’t become clogged.
Choose Perfect Variety For Containers
There are over 400 varieties of sweet potatoes available in the world. Each variety is different from others. When you are deciding the variety you should keep in your mind certain factors such as space and climate.
As in this article, we are discussing with you how to grow sweet potatoes in containers. It means you should choose those varieties which can grow in the containers. For container gardening, bush variety is perfect. Bush varieties are short vines that need less space.
BUNCH PORTO RICO
This variety is perfect for containers. Porto Rico matured within 90 to 110 days after planting. The color of the screen of this Bush variety is copper and flash is found in light salmon color. This delicious flavor of this variety is perfect for baking.
VARDAMAN
This is a bush variety that is ideal for growing in containers. The color of the skin of this variety is yellow which darkens after digging. The color of the flesh is deep bright orange-red.
How To Grow Sweet Potatoes Slips In Water And Soil?
You can’t grow sweet potatoes from seed; they can grow from slips. A slip is a rooted sprout and you can get this sprout from a mature sweet potato.
You can buy potato slips from any nursery or gardening store or order them online. But you can grow your potato slips at home. You can start the process before your planting date for sweet potatoes.
In both methods, you should choose a healthy organic sweet potato. One sweet potato can produce many sprouts. If sweet potatoes are already sprouting in the cupboard now you will get a head start. You can adopt any method for preparing slips at home.
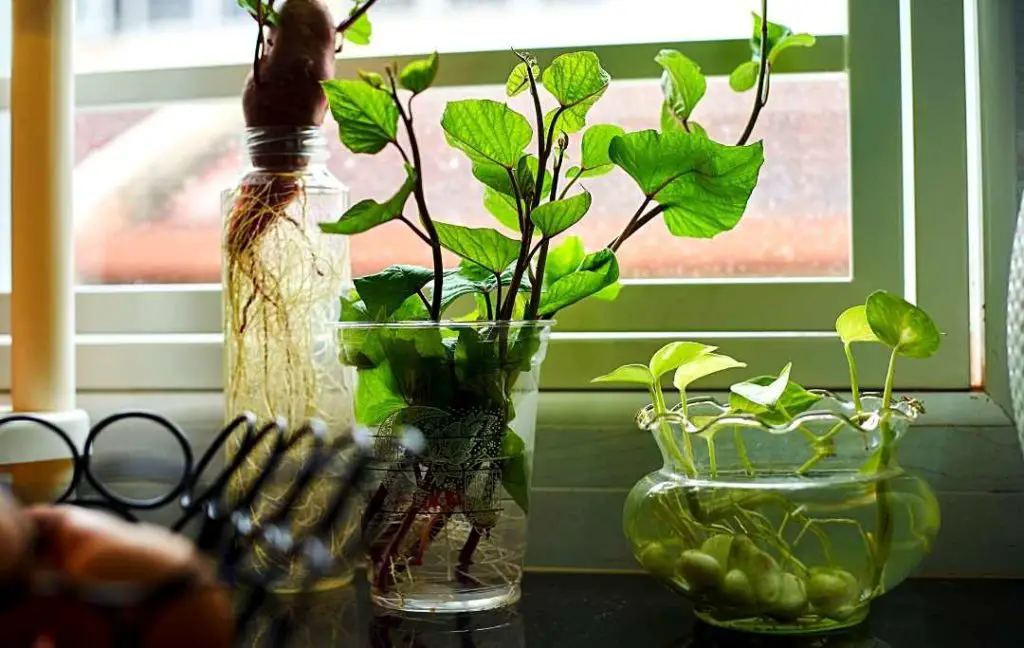
IN WATER
For growing sweet potatoes in water, you need a sweet potato tuber, a jar, and some water.
- This is a traditional method of preparing slips in water. This process will take six to eight weeks. This method is slower than the soil method.
- Take the selected sweet potato and suspend it in the jar with the help of the toothpicks. The rooting end of the tuber should go in the water. So you can easily determine the difference between the rooting end and the sprouting end. If you don’t know the rooting end then carefully examine the tuber, the side where you see small thin roots is the rooting end. The sprouting end will be larger with more eyes.
- Place the jar in a sunny spot where it gets full light exposure. Warmth and light is very important for producing sprouts and roots.
- Soon you will see tiny roots emerging. The thin roots will form in the water and sprouts will form in the top part of the sweet potato. The roots suck the water from the jar and produce a large amount of foliage.
- As your plant gets all the nutrients from the water so you should keep the water levels up in the jar. Keep changing the water every week. When the sprouts reach the height of 5 to 6 inches then this is the time of transferring your slaves into the container.
IN SOIL
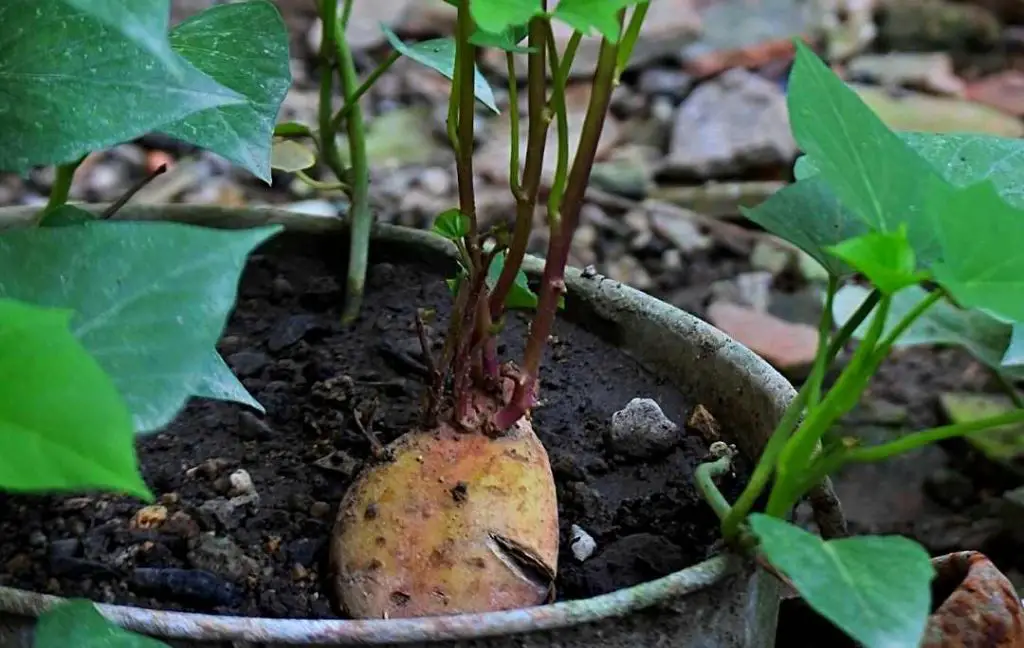
This is the fastest method of preparing slips. This process will take 4 to 6 weeks. You need a healthy sweet potato, starting mix, and foil pan.
- First, pop the holes in the bottom of the foil pan.
- Now fill the pen with potting soil or starting mix.
- Now water the soil to make it moisten.
- Set the potato in the soil in this way that half of the potato covers the soil.
- The holes which you made at the bottom of the pan will help in drainage.
- Water the soil regularly to keep the soil moist, it will help to form roots and sprouts quickly.
- Keep the foil pan at that location where it gets warmth and light.
- Within a week you will see the tiny roots emerging from the sweet potato. After one week you will see small sprouts begin to grow from the top.
- When the size of the sprouts reaches up to 5 to 6 inches then they are ready for planting in the containers.
Keep Reading
- 13 Secrets For Kitchen Garden In The Winter Season.
- How To Start Raised Bed Vegetable Gardening For Beginners?
- 10 Raised Garden Bed Plans For Seniors
Fill The Containers
Sweet potatoes like to grow in well-drained, rich, and sandy soil. It is suggested that you should add compost to make your soil rich in all nutrients which sweet potatoes need.
You can use a good soil mix for filling the containers. Avoid using garden soil because it is very compacted. You should prefer a container mix amended with compost, sand, and fertilizer that contains potash.
Transfer To The Container In Spring
It doesn’t matter which method you have chosen for growing sweet potatoes. The next steps are the same for both methods.
- When you see the sweet potato tuber has new stems then the tuber is ready to produce a larger crop. The sprouts should be 5 to 6 inches tall.
- Now take the cuttings of stem and foliage from the tuber and plant them in the container. Don’t plant the potato itself. Carefully twist off or cut off the sprouts from the potatoes.
- The next step is very simple: just remove the lower leaves from the sprouts and place the sprouts in the water to develop roots.
- After one or two days, you will see the roots start emerging from the sprouts. You can also place the water jar on a seed germination mat to provide warmth. Make sure your sprouts get enough light so the roots will develop quickly.
- Maintain the water level in the jar, it should be high. Freshwater is very important, keep changing the water. If you see wilted or rotten slips then discard them.
- When the roots are fully grown and several inches long then it is time to plant them in the soil of the container. The height of the slip should be 12 to 18 inches long then plant them.
- Your newly planted slips need water and feed. The frequency of the water depends upon the material of the container. You should check the soil regularly whenever you feel dry with the help of your fingers then water your plants. Keep the soil moist but not soggy. You can use a starter solution that has phosphorus so the plants continue rooting.
- As the sweet potatoes grow then you should add more soil mix in the container.
- Soon you will see the foliage will become dense ground cover and start producing tubers underground.
How To Harvest Sweet Potatoes?
If you provide an adequate amount of water and light to your sweet potato plants then they will be ready to harvest within 100 to 150 days. The maturity time depends upon the variety which you are growing in your containers.
When you see the leaves are turning yellow then it is a clear sign that your sweet potatoes are ready to harvest. This will happen in late September or at the start of October before the First Frost.
How to harvest sweet potatoes is an important question as they have delicate skin.
- After harvesting, don’t toss the sweet potatoes.
- The roots of the sweet potatoes are very tender so during the harvesting process avoid hitting and damaging them.
- If there is any potato damage then you should put them aside and try to eat them first.
- Keep in mind that don’t wash the harvested sweet potatoes before storing them. This is the most common mistake which is done by most gardeners. Newly dug roots don’t need moisture. Dirt is very important during the curing process.
How To Store And Cure Sweet Potatoes?
- If you know how to store the sweet potatoes then you can have homegrown tubers for many months. During storage, they require careful curing to prevent sweet potatoes from mildew.
- For curing, the temperature should be 80 to 85 degrees Fahrenheit or 27 to 29 degrees centigrade. High humidity is another requirement for curing.
Keep Reading
- Easiest Vegetables To Grow In A Mini Or Small Greenhouse
- 10 Best Diy & Cheap Container Vegetable Gardening Ideas Anyone Can Use
- How To Grow Purple Potatoes In Containers
Recent Posts
Why I Am Burying Plastic Pipes In My Garden Beds (And Why You Should Too)
Every gardener wants rich, dark soil that helps plants grow big and strong. While buying bagged fertilizer is easy, the best way to feed your garden is by working with nature. Soil is not just dirt;...
How to Make a DIY Drip Irrigation System for $0 Using Old Plastic Bottles!
Commercial drip irrigation setups are often praised as the ultimate solution to this problem, and for good right reasons. They deliver moisture slowly and precisely. However, these commercial systems...