
Garlic is considered one of the earliest crops to appear in the springtime and one of the latest things you may establish in the autumn season, usually around October. You will profit if you water it, mulch it, and nourish it.
However, choosing the appropriate garlic species for your environment is the true secret to producing large, juicy cloves of garlic.
This article explains why it’s best to grow garlic in the autumn season, how to place bulbs precisely, and my seven basic recommendations for growing garlic effectively.
When Should I Plant Garlic?
When it comes to growing garlic, timing is everything, and the fall is the ideal season. To succeed, you must do this. Garlic needs eight to nine months to flourish! While certain farmers attempt to grow garlic in the springtime, gigantic garlic bulbs must be planted in the autumn season.
The chilly temperature tells the garlic cloves not to shoot yet, but the earth has yet warmed up enough during the summer for the garlic origins to begin growing gradually as the winter season approaches.
7 Simple Garlic Propagation Steps:
Phase 1: Choose a Location For Planting:
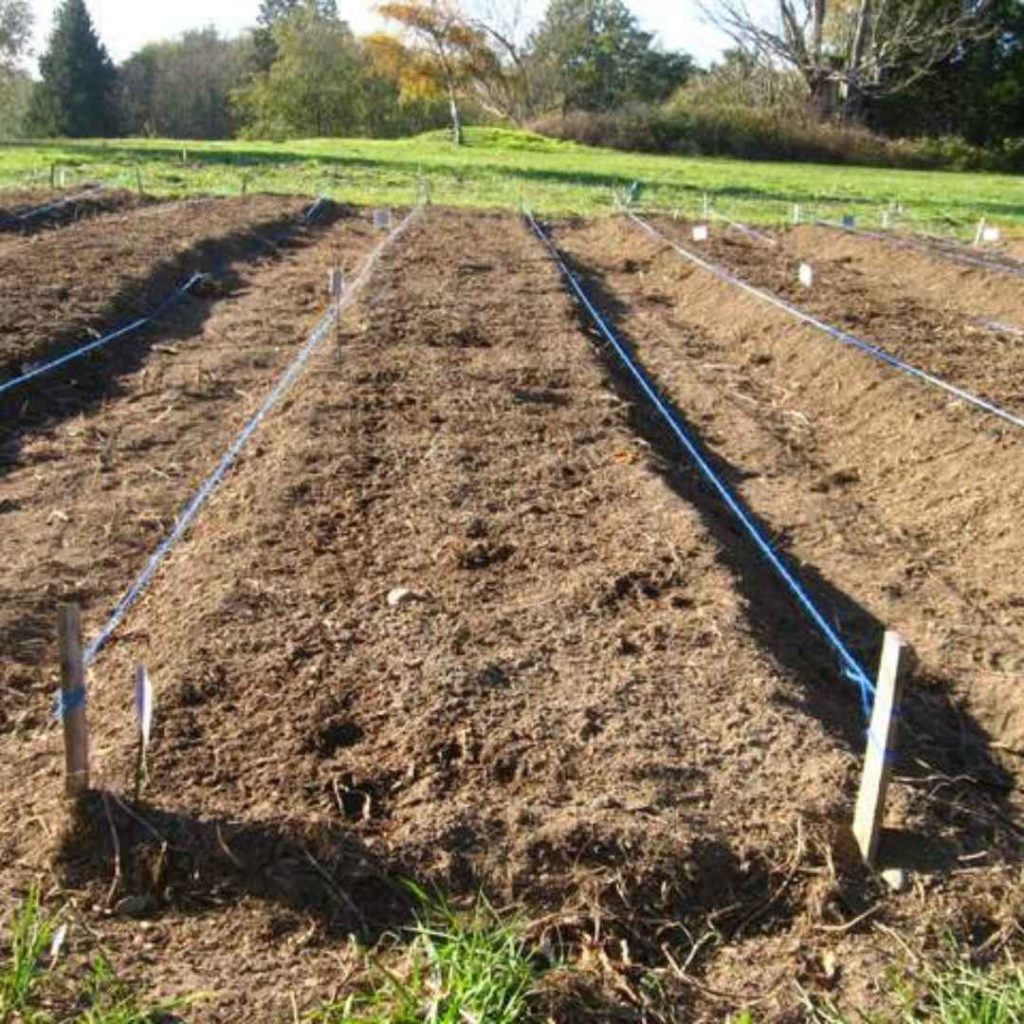
Select a location in your backyard or landscape that experiences full daylight, which is defined as no fewer than six to eight hours of bright sunshine every day. Garlic can be planted straight in the garden or in an elevated area with substantial, drainage-friendly dirt. In July, you can grow garlic in an elevated bed that gets more than twelve hours of direct sunlight.
Phase 2: Add Compost To Your Soil:
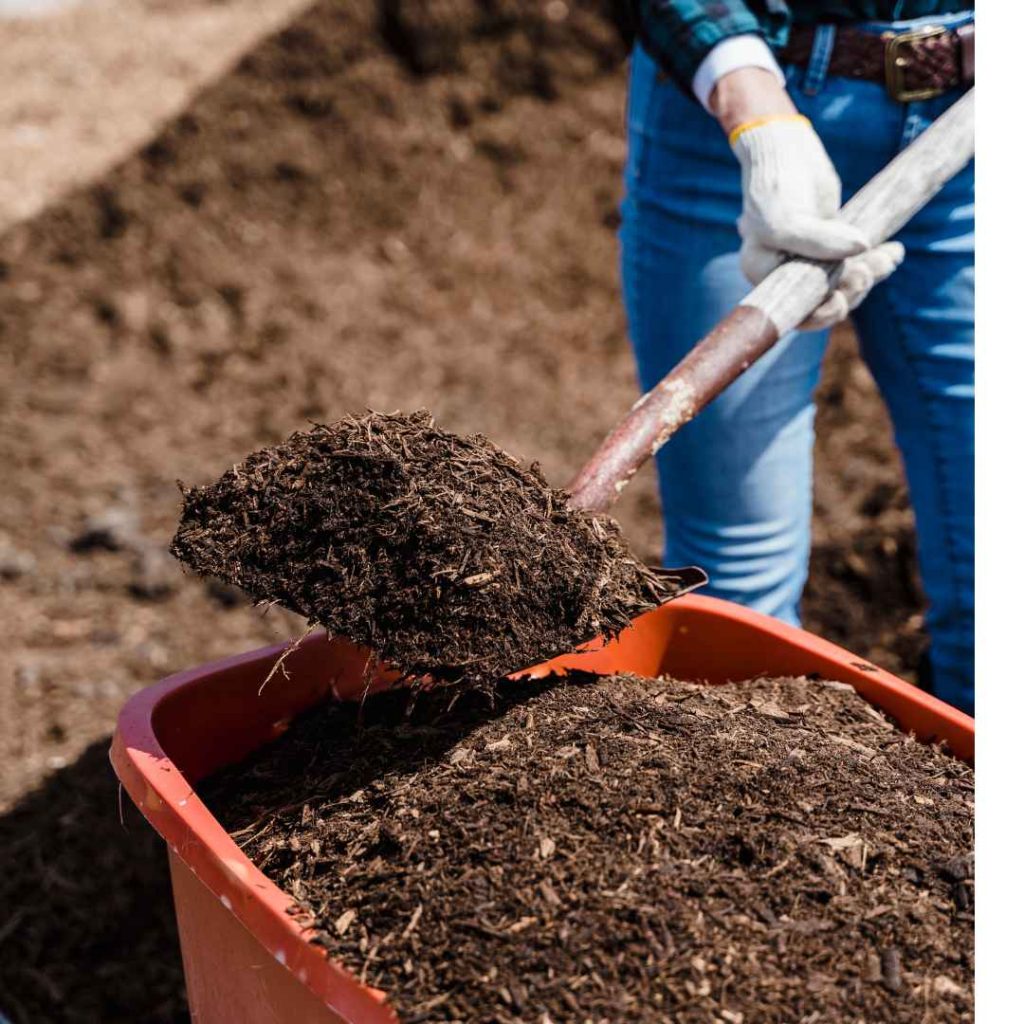
Incorporating extra biological material to the ground to enhance its foundation, nutrition, and permeability is known as soil modifying, and it can assist your garlic to grow robust, solid roots.
The secret to producing large, gorgeous garlic bulbs is fertile ground. Begin by clearing away any remaining trash, weevils, root systems, and greenery from previous plantings that were present at this location.
Afterwards, flip the top covering of soil over with a wooden rake to carefully stir the soil layer. This is crucial for clay-based soils in particular. Put your organic matter in now. Every twenty-five to thirty square feet of landscaping should have 30L of compost applied.
Step 3: Make Your Holes:
Think about the formation you wish to plant in before you begin planting. I suggest growing garlic in rows that are parallel with between four and six inches between every poke. You can nevertheless inter plant garlic in different parts of the landscape if you’re so inclined.
Because it keeps insects away, garlic is a great addition to most veggies! Create holes that are 4 inches deep using a manual rake or a trans planter, which is a tiny spade.
Step 4: Fill Each Planted Site With Fertilizer:
Garlic is a voracious eater that needs a lot of nutrients to grow big bulbs and sturdy roots. One hefty spoonful of certified organic, fragmented, fertilizer that releases nutrients should be added to each hole.
Spread the manure into every gap with your palm. It should be uniformly distributed throughout the soil rather than thoroughly blended.
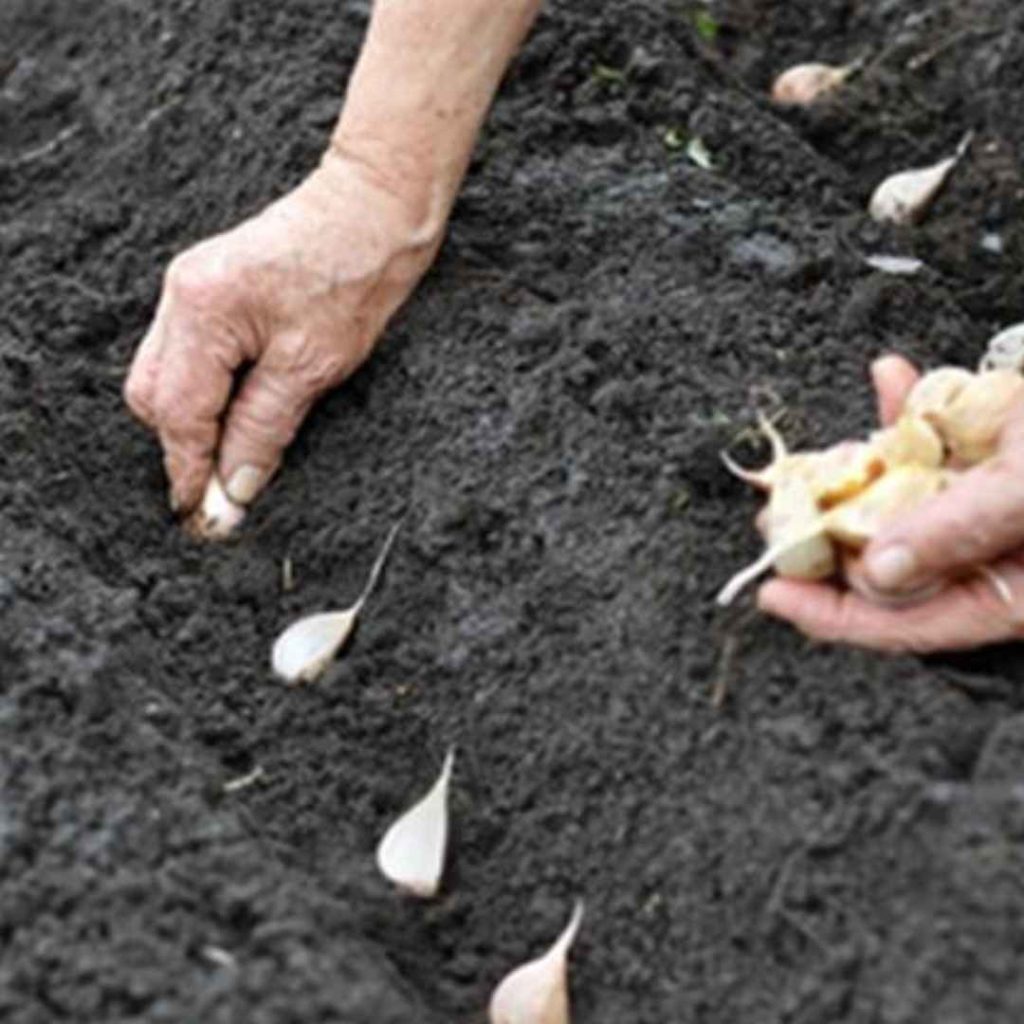
Step 5: Split The Cloves From Every Bulb:

Carefully remove each clove of garlic from the seed lobes. Be mindful not to eliminate the papery outside covering. This should remain on each clove as an obstacle of defense. You can throw away the garlic’s neck, which is the central shaft in the interior of the bulb.
Step 6: Place One Clove, Pointed Facing Up, In Each Opening:
Put each clove in the gap with its pointed side facing up. For consistent bulb expansion, you want your bulbs to stay as erect as feasible. This is particularly crucial for hard neck garlic since it guarantees that the garlic scrapes grow healthily in the springtime.
Carefully press each bulb into the ground to hold it in line. Each clove should have its base in the mulch.
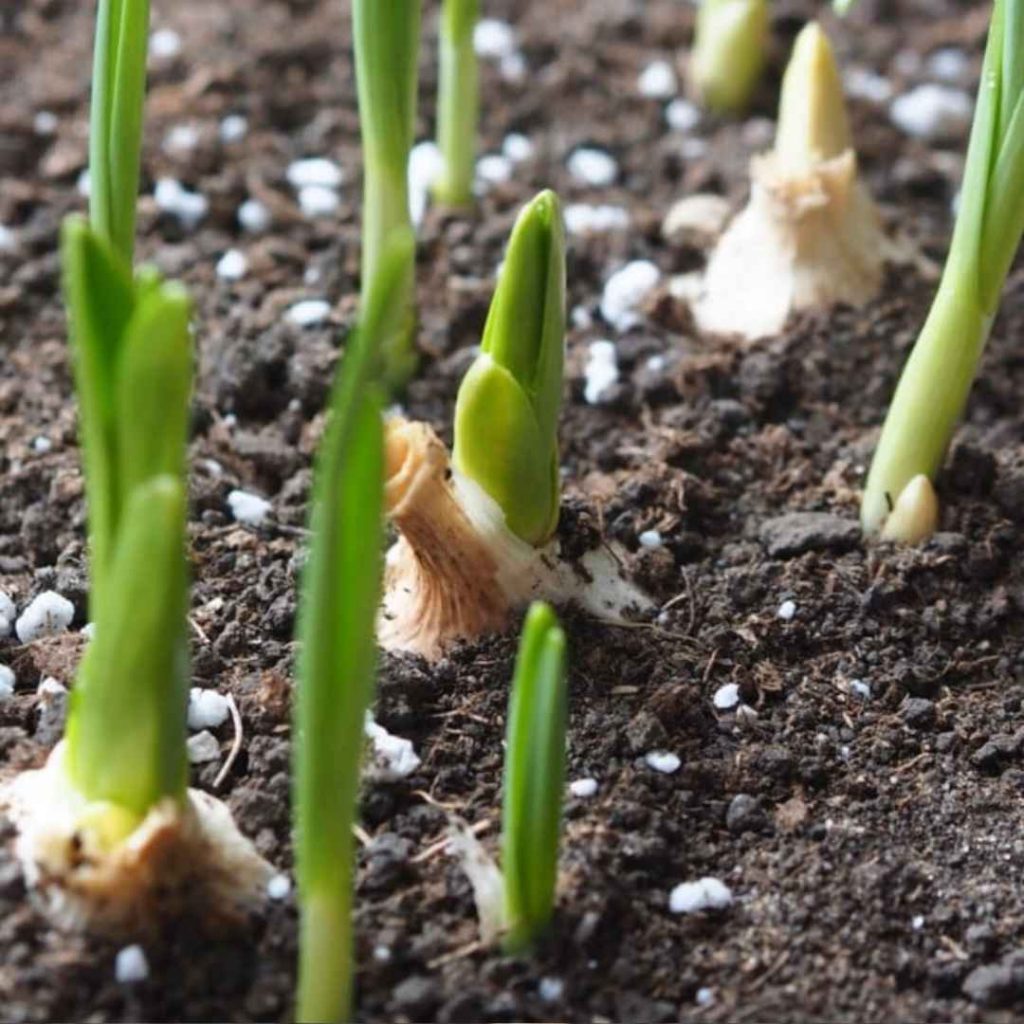
Step 7: After Filling Every Opening With Dirt, Covering It With Hay Mulch:

Spread your modified dirt over each clove. You should have soft, flaky dirt. Completely bury the whole clove by packing it over the entrance with your fingers or a spatula. Four to six inches of soil should be added. To provide an even flooring, soften the substrate.
Mulching Comes Next!
Make sure your garlic doesn’t start growing above-the-ground before springtime by covering it with an extensive covering of straw mulch. You do not want your garlic to flourish in moderate fall sunshine.