
In broad terms, developing vegetation from seed is simple and affordable. This is your chance to add more plants to your vegetable patch at no cost.
Appropriate For: Many foliage, bushes, perennial vegetation, plants that thrive in water, alpines, annuals, biennials, blooming trees, attractive greenery, veggies, and herbs can all have their seeds preserved.
When To Gather And Preserve Seeds:
Although it requires some knowledge and preparation, harvesting your personalized seed is enjoyable:
Because seed heads may mature swiftly, it’s important to keep an eye on them to gather the seeds before they spread.
Generally speaking, seed sets a couple of months after blossoming. Berries must be gathered before flies steal them, whereas certain seeds are harvested when fully grown yet still unripe and greenish.
The vegetation you are harvesting seed from needs to be strong and in good condition.
This will assist guarantee high-quality plants and saplings. Particular kinds typically “come straight” from seed; hybrid seeds will vary greatly.
While seed plucked while undeveloped will not sprout, most seeds do greatest when sown immediately as they mature.
Gathering Seeds:
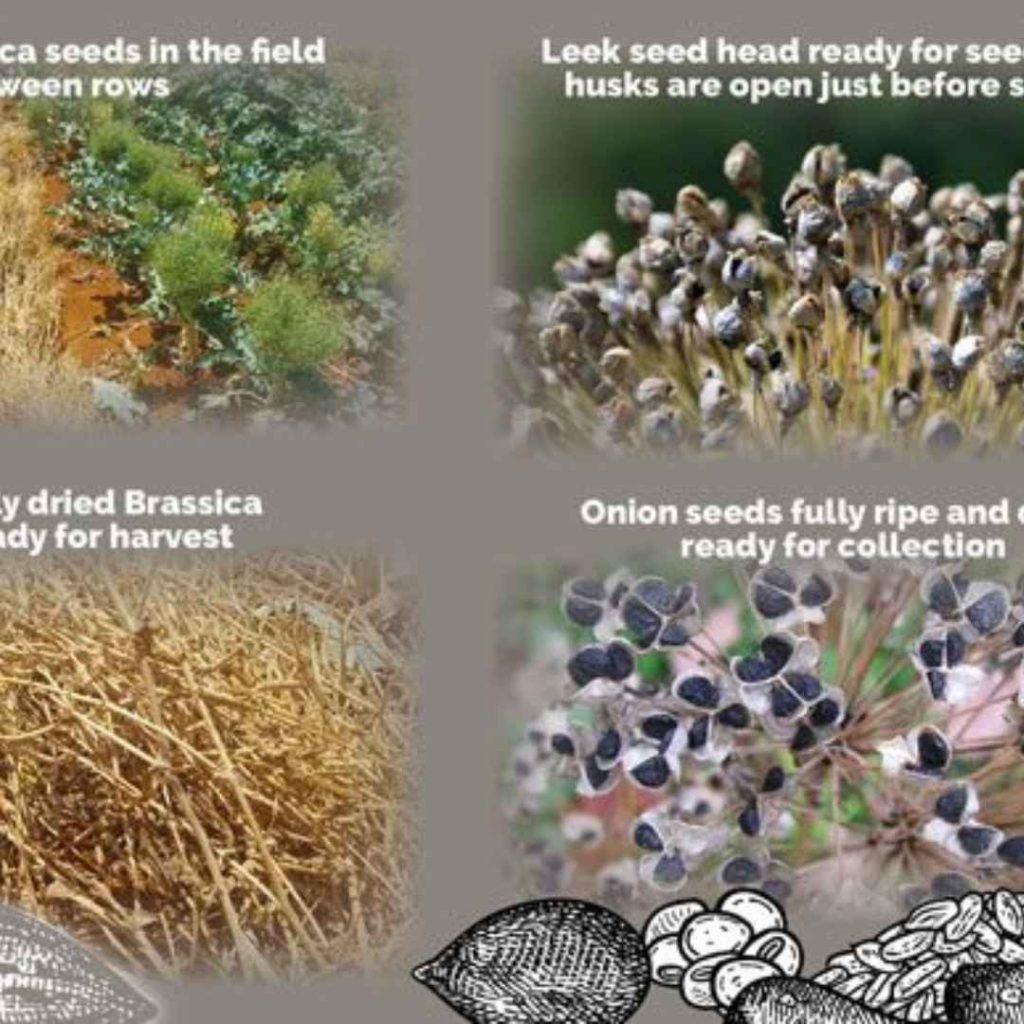
1 When the seed heads (such as capsular structures or beans) mature, pick the ripe grain on a day with no precipitation.
2 A color shift from greenish to brown, black, or reddish is frequently used to signal this, but it must occur prior to them opening and releasing whatever is inside.
3 Select the seed heads, either individually or on twigs, and place them in an open storage area, on a sunny windowsill, or a greenhouse table for drying purposes. This makes it easier to remove seeds from pod-like structures, cone-like structures, or capsules.
4 If the beans and capsules fail to pop when dry out, carefully smash them to extract the seed. Gather the seed from raspberries and fleshy vegetables by slicing them in an extremely thin screen and then washing the juice off with icy water.
5 Place the germinating material on damp tissue paper for drying for a couple of days. Monitoring erupting seed heads is necessary on a regular basis. When you put a plastic container above them and tremble, the tender seed heads will typically burst into the pouch.
6 As they become brown, you can also take the seed heads from the stalks and put them in an absorbent sack with an identification sticker.
7 Alternatively carefully choose the nuts at the moment they will drop organically, or place an aluminum foil at the lowest point of the stump and shake the trunk and branches until they begin to drop.
8 Any accompanying debris (stubble) that may have been adhered to the seed after extraction should be removed since it may rot and cause the seed to dampen off. Particles may harbor infections, parasites, and molds.
Seed Storing:
Some seeds, like hellebore, should be sown right away because conserving diminishes their vitality.
The gathered seed must be securely stored until planting, though, many kinds of plants prefer to postpone spreading until a more appropriate season, such springtime or fall.
If extra seed has been gathered, it must also be stored. Here’s how we can do that:
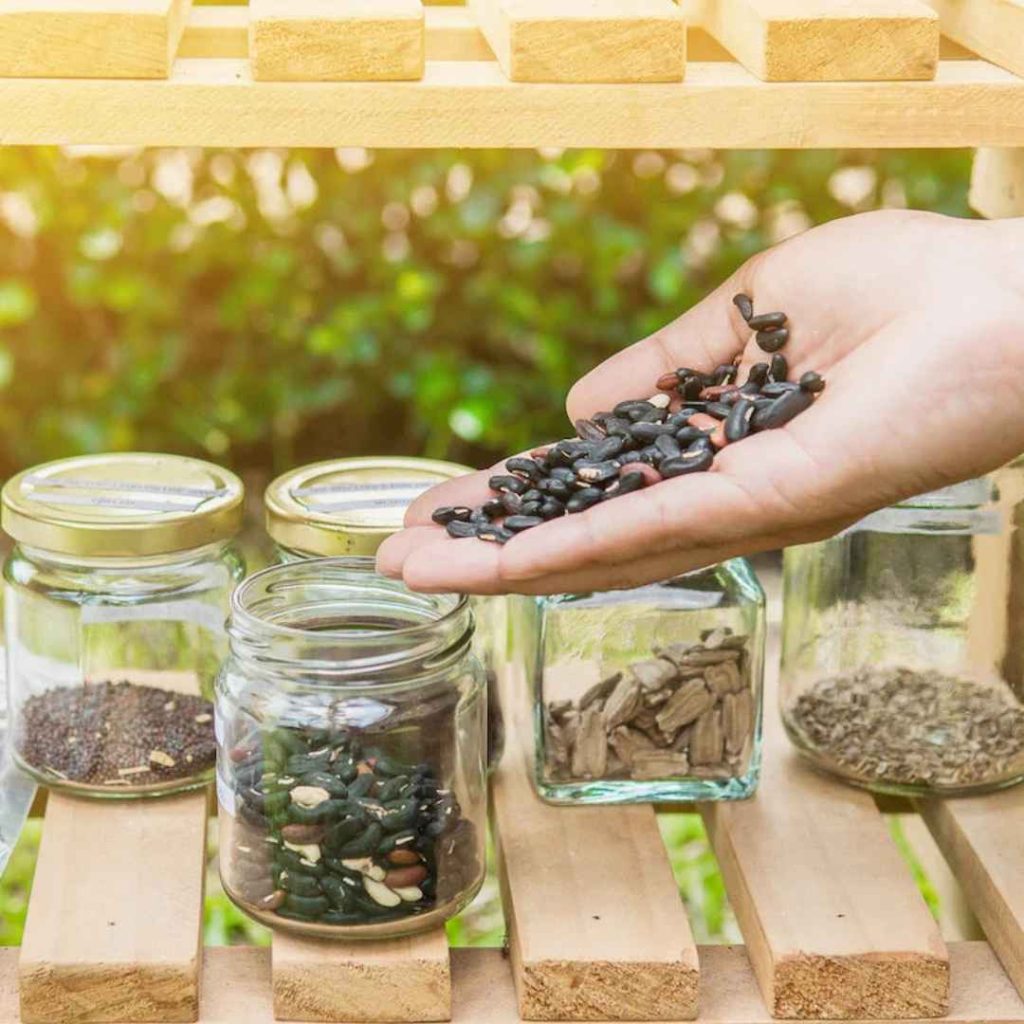
To eliminate excessive humidity, store dried seed in marked cardboard boxes or wrappers in a sealed box with a dehumidifier.
Calcium chloride (available in do-it-yourself retailers for usage in dehumidifying) and quartz crystals are acceptable ingredients.
Excessive heat or dampness might lead to decaying or bacterial illnesses, which can kill embryos.
Because they are unable to absorb the water required for germinating, some seeds shouldn’t be dried out.
Oaks, and walnuts are a few choices. For a period of time, these grains can be kept in a plastic container filled with sandy soil, damp vermiculite and even a combination of sand and moistened coir fibers Unless used, kept refrigerated at five degrees Celsius (41°F).
In this manner, the majority of seeds will continue to be fertile for an extended period of time.