
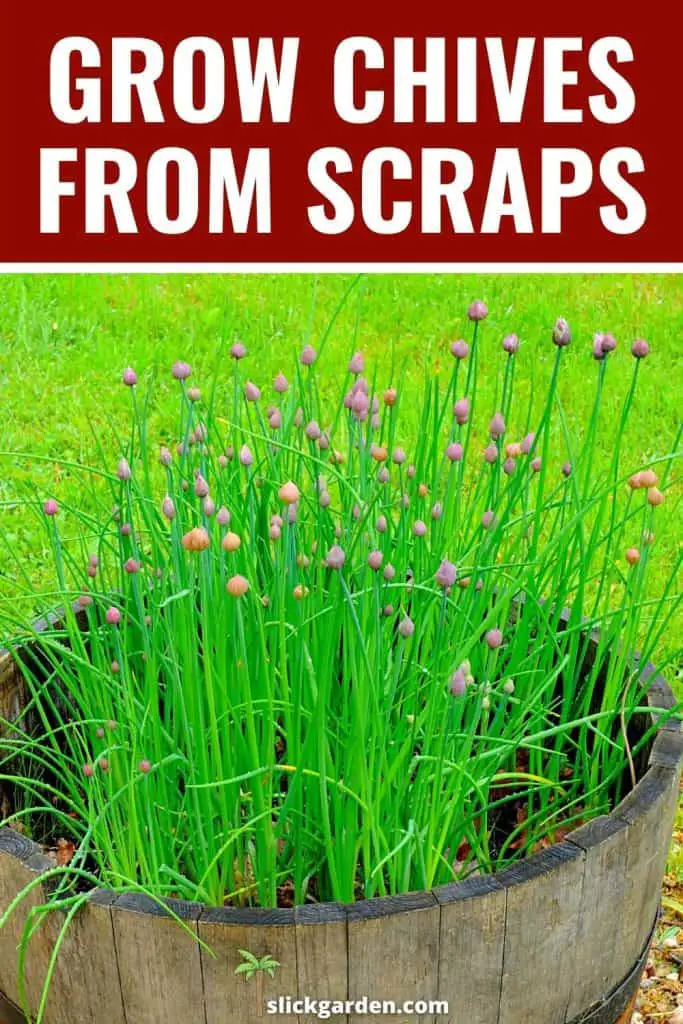
Chives belong to the onion family but the difference between onion and chives is that only greens of chives are harvested not bulbs. It has beautiful edible flowers. The addition of this grass-like herb changes the taste of soups, salads, and sauces.
The entire process of growing chives in your yard, garden, or even inside your home is very easy and you can do it effortlessly. First, you should choose the type of chives and afterward step forward towards the planting procedure.
TYPES OF CHIVES TO GROW
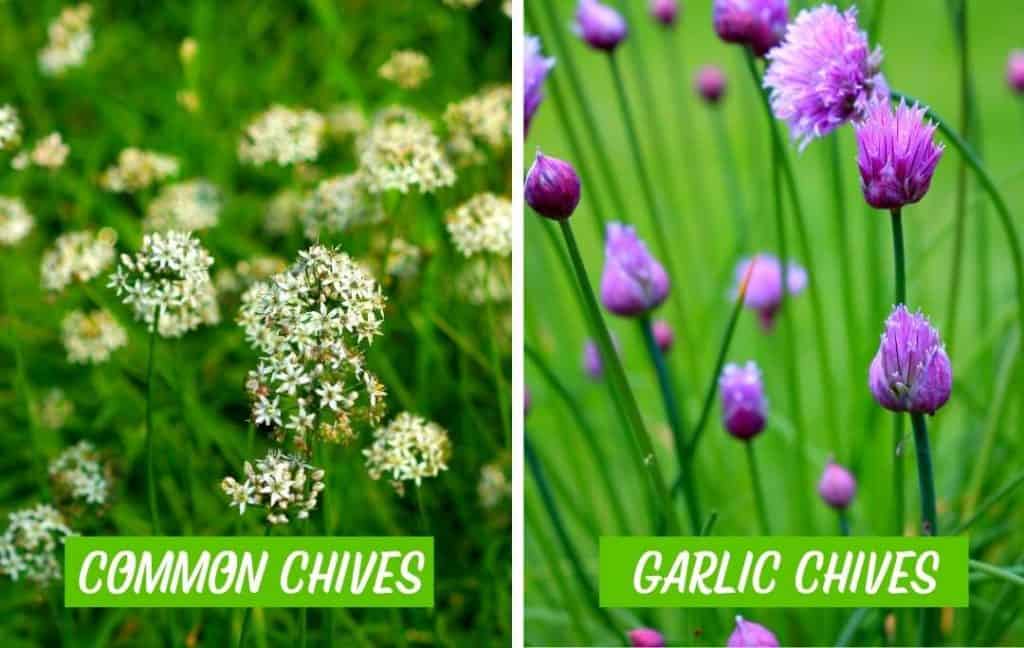
When you decide to plant chives in your garden the first thing that comes in your mind which type of chives is best. The types of chives which are commonly grown are Common Chives and Garlic Chives.
1- COMMON CHIVES (Allium Schoenoprasum).
It consists of small and slender bulbs that can produce thin and tabular leaves. The color of the leaves is blue-green and can be 15 inches in height.
The color of edible flowers may be white, purple, pink, and red but it depends upon the height. The smell of this type of chives violets when their stem is crushed and gives the taste of garlic.
2- GARLIC CHIVES (A.tuberosum).
The other name of this type is Chinese Chives. Garlic chives look similar to the common but there is a difference between the leaves. The leaves of Garlic chives are flatter and greener as compared to common chives. The leaves can be 20 inches in height.
WHEN TO PLANT CHIVES?
Chive is a cold lover crop. It means it can tolerate the low temperatures. You can plant it in early spring and get the mature crop in late spring or early summer.
The high temperature of the summer is not suitable because they usually cause them to go dormant. That’s why you should plant them indoors 6 to 8 weeks before the last spring frost.
If you want to plant outdoors, you can sow seeds when the soil is workable in the spring season. Here one thing that is important to know is that chive’s seed takes a few weeks to germinate.
CHOOSE THE BEST SITE FOR CHIVES
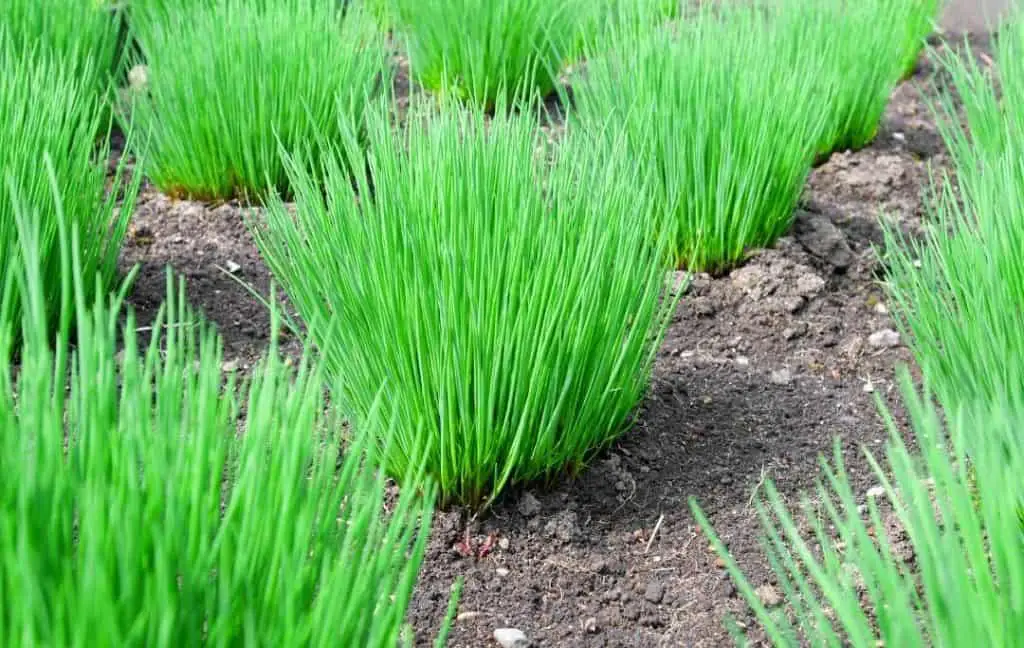
This crop needs full sun exposure so choose the site where this plant will get full sunlight. They can also grow well in light shade. They will give you great yield if you grow them in full sun.
If your garden is shaded then choose the patch that gets four to six hours of sunlight because leaves of chives grow slowly in shade. So you will get less harvest.
Soil is the medium that provides all the major nutrients to your plants especially vegetables. Chives need moist, fertile, rich, and well-drained soil.
If you want to make your soil more fertile you can add compost into the soil to a depth of 6 to 8 inches. With the help of compost, you will maintain the nutrients of the soil according to the needs of plants.
Before planting the chives, prepare the planting site by adding all necessary amendments, it is essential for the healthy growth and development of your plants. If your plants can’t get all the basic elements from the soil then all your hard work will be lost.
Read More; How To Start Raised Bed Vegetable Gardening For Beginners?
BALANCE THE pH OF THE SOIL BEFORE PLANTING
For the best growth of the chives, the pH of the soil must be between 6 and 7. For this purpose, you can check the pH of soil by using a kit or you can use the hack of baking soda and vinegar.
If the pH of the soil is low then you can use chopping agricultural lime in the soil with the help of a shovel or garden trowel. If the pH of the soil is too high, you can make it lower by adding fertilizer that has urea phosphate or ammonium nitrate. You can also add compost, manure, or plant litter for this purpose.
HOW TO PLANT CHIVES?
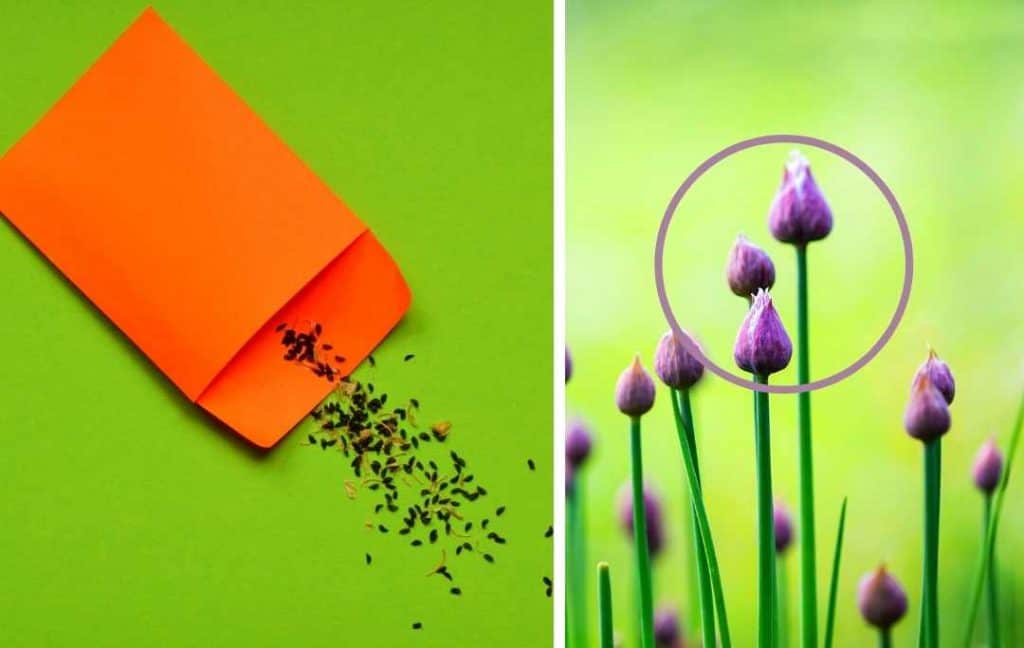
After preparing the site the next step comes from sowing seeds into the ground. There are two ways of planting chives: one is from seeds and the other way is from preexisting plants or cuttings.
The experienced gardeners prefer to plant chives from bulbs or another chives plant. The reason is that the chives plant will take two years to grow from seeds. So you should choose a pre-existing plant but select the green plant and its height must be 3 to 5 inches.
These are the indication of healthy chives plants and your plant will flourish if you prefer a healthy plant.
- If you are planting chives outdoors the distance between the seeds must be 2 inches and one more important thing is that not sow the seeds ¼ inch deep.
- After sowing seeds cover the holes with a layer of soil.
- When seedlings emerge once, you can transplant them and the space between the plants should be about 4 to 6 inches.
- Seeds are the only growing method that needs extra hard work.
COMPLETE PROCESS OF PLANTING
Now we will discuss the step by step procedure of planting the seeds.
1- WATER THE SOIL
Before planting the chives, first, you should moisten the soil with an appropriate amount of water so planting becomes easy. Your new plant will be able to adjust the soil easily if it is wet. But don’t make the soil muddy.
- Your plant will shock when it is transplanted, it is a natural process so make their adjustment with the new environment effortless. If you care for the plant before the transplantation then you will see a better result.
- If your plant will go through transplant shock then you will see it’s sickly appearance.
2- DIG A HOLE 2-4 INCHES (5.1 – 10.2cm) DEEP
When you are growing chives with a small bulb at the base need to be fully covered. You are a small bulb for planting so the hole must be 2-4 inches and the width of the hole must be equal.
3- PLANT THE CHIVES
Now your hole is ready and you can easily plant the chive’s bulb into the hole. After that fill the hole with soil. But make one thing possible that the depth of the hole is the same as the depth of the pot where you get a bulb for planting. If you bury that part of the plant which was in the air then your plant could rot and will not grow.
4- WATER THE CHIVES EVERY FEW DAYS
Water is an important factor in the growth of any plant in the same way the chives plant also needs water regularly. But remember to water the chives when the soil is completely dry as this plant doesn’t like too much moisture.
The frequency of the watering depends upon the weather of your area. If you are living in a hot area then your plants need more water than a cold area. But generally, they need water after 1 to 3 days.
5- APPLY FERTILIZER ONCE IN A MONTH
You will get a better harvest if you add fertilizer according to the need of your plants. Your soil needs a good proportion of phosphorus, potassium, and nitrogen.
So choose a good quality organic fertilizer that has a good proportion of these minerals. On the packet of fertilizer, you will get all the information and instructions. You can also make compost and use that instead of other fertilizers.
6- KEEP AN EYE ON PESTS AND DISEASES
Few pests are attracted by chive plants but onion fly is one who is attracted toward chives. So you should be careful and if you have grown onions nearby chives then this is a problem for you.
The fungal disease such as rust may also attack chives but very rarely. If you see these problems are occurring then you can use a small number of pesticides or fungicides that can help you a lot in combating such problems.

HOW TO TAKE CARE OF CHIVES?
- Little maintenance is required for the growth of chives. You can easily grow and establish a healthy crop of chives in your garden.
- They need consistent water in the growing season for the high production of crops. Soil needs to moisten with water regularly.
- If you want to maintain the moisture in the soil and keep the weeds away from your chives plant, you can spread a layer of mulch. In this way, the bulbs of chives grow easily near the soil surface.
- It is best to add nitrogen-heavy fertilizer in late spring or early summer. Keep in your mind, it is not necessary if your soil is already rich in nitrogen.
- If you don’t want the seeds to spread in your garden, you should remove the flowers when they bloom.
- Dividing is very necessary, chives are a productive crop so it is needed to divide them regularly. You need to divide them into clumps of at least 10 small bulbs and allow them to grow before harvesting.
Read More; How To Grow Chillies From Seeds – 100+ Chillies Per Plant
HOW TO HARVEST CHIVES?
The best time of harvesting the chives is when the length of the chives is at least 7 to 10 inches. Generally, it depends on the variety which you are growing in your garden but typically the best size for harvesting is 7 to 10 inches.
- You can harvest chives leaves after 30 days of transplanting or 60 days of seeding.
- You can cut the leaves down to the bass about 1 to 2 inches of the soil. As it will stimulate the new growth for more harvest. Don’t harvest the entire plant or cut all the leaves at one time, it will result in stopping the growth of more leaves.
- Use sharp scissors or gardening shears to perform this task.
- Don’t cut them an angle because in this way they will lose the moisture quickly. The reason is that the angle will expose the stem more and in this way, the moisture will disappear rapidly from the plant.
- You can harvest three to four times during the first year but in the later years, you can harvest them monthly.
- It is not necessary to harvest the entire plant completely once but you can harvest three to four times a year.
- Cut off all the chives at the end of the growing season. This should be done in October and November. It is a personal plant so it will grow back on its own.
- You can also harvest the flowers of chives because they are edible and their taste is best when they have opened.
Read More; How To Grow Parsley From Clippings
HOW TO STORE CHIVES?
- You will get the best taste of chives when the leaves are fresh but you can also use them in frozen form. But freeze the leaves in an airtight bag. Dried leaves of chives lose their flavor and taste.
- The best place for storing chives is a cold and dry place in a resealable container.
Recent Posts
Watering a garden may seem like a simple task, but doing it efficiently can make a big difference in plant health and water usage. Many gardeners spend money on sprinklers, irrigation systems, and...
I Mixed Dish Soap, Vinegar & Oil and Sprayed My Plants… The Results Shocked Me
Many home gardeners look for simple and affordable ways to keep their plants healthy without relying on strong chemical pesticides. One popular method is a homemade plant spray made from everyday...