
Picture yourself going into your garden, harvesting crisp, fresh greens, and making a delectable salad in your backyard. In addition to being fulfilling, expanding your salad bar guarantees that you will always have a selection of the most nutritious and freshest products.
Growing leafy greens may be a satisfying experience for gardeners of all skill levels. Everything you require in order about beginning from seed, combining different types, and collecting advice will be covered in this tutorial.
Preparing The The Ground: The Secret To a Successful Landscape
First, Understand Your Soil
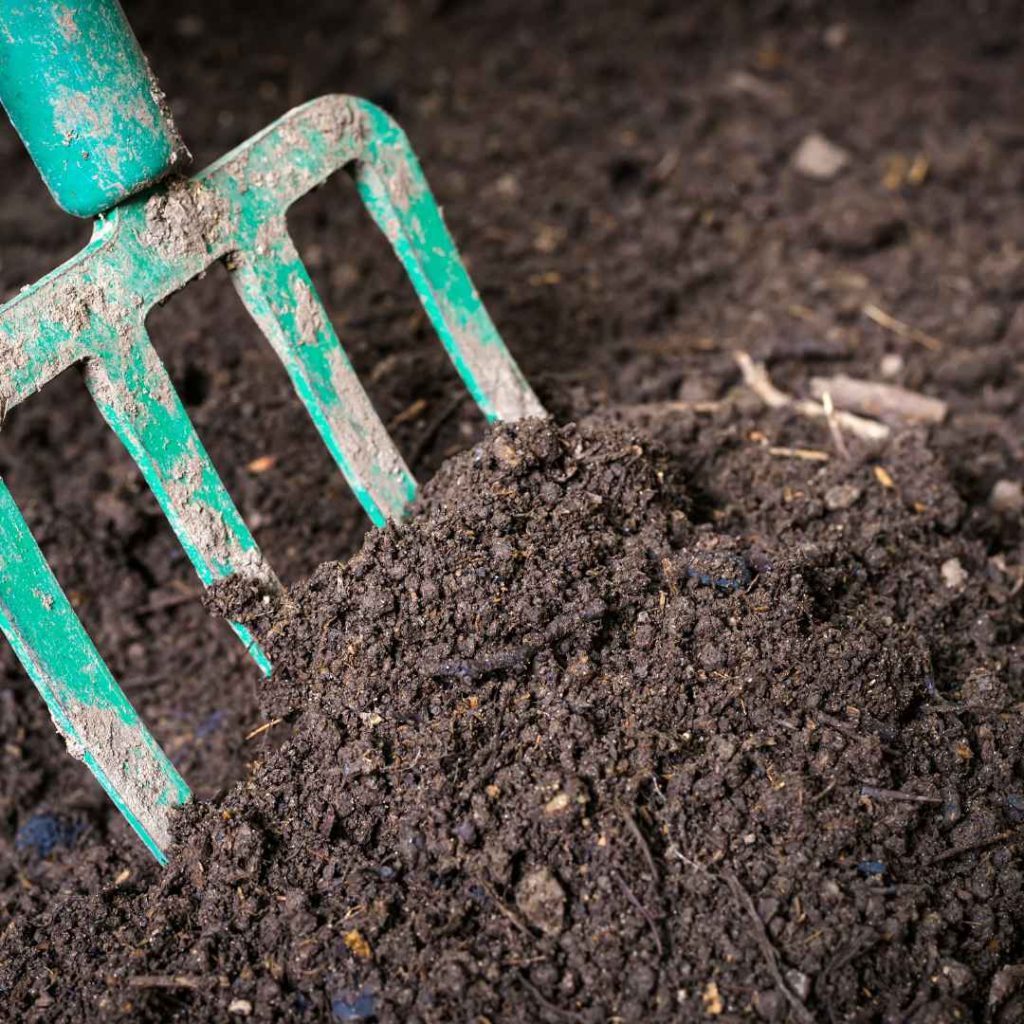
To determine pH, send your specimen to a laboratory or utilize a set of instruments. This establishes the alkaline state or acidic conditions. Balanced pH is preferred by the majority of vegetation.
Test Vitamins and minerals: Determines the nitrogen, phosphorous, and potassium concentrations (NPK). This aids in selecting the appropriate manure.
Second Step: Make Your Land Better
The ideal soil enrichment is organic matter! enhances soil’s consistency, adds vitamins and minerals, and aids with retaining moisture.
Mulch: Holds humidity, inhibits invasive species progression, and releases chemicals as it decomposes. Make application of sorghum, wood fragments, or crushed foliage.
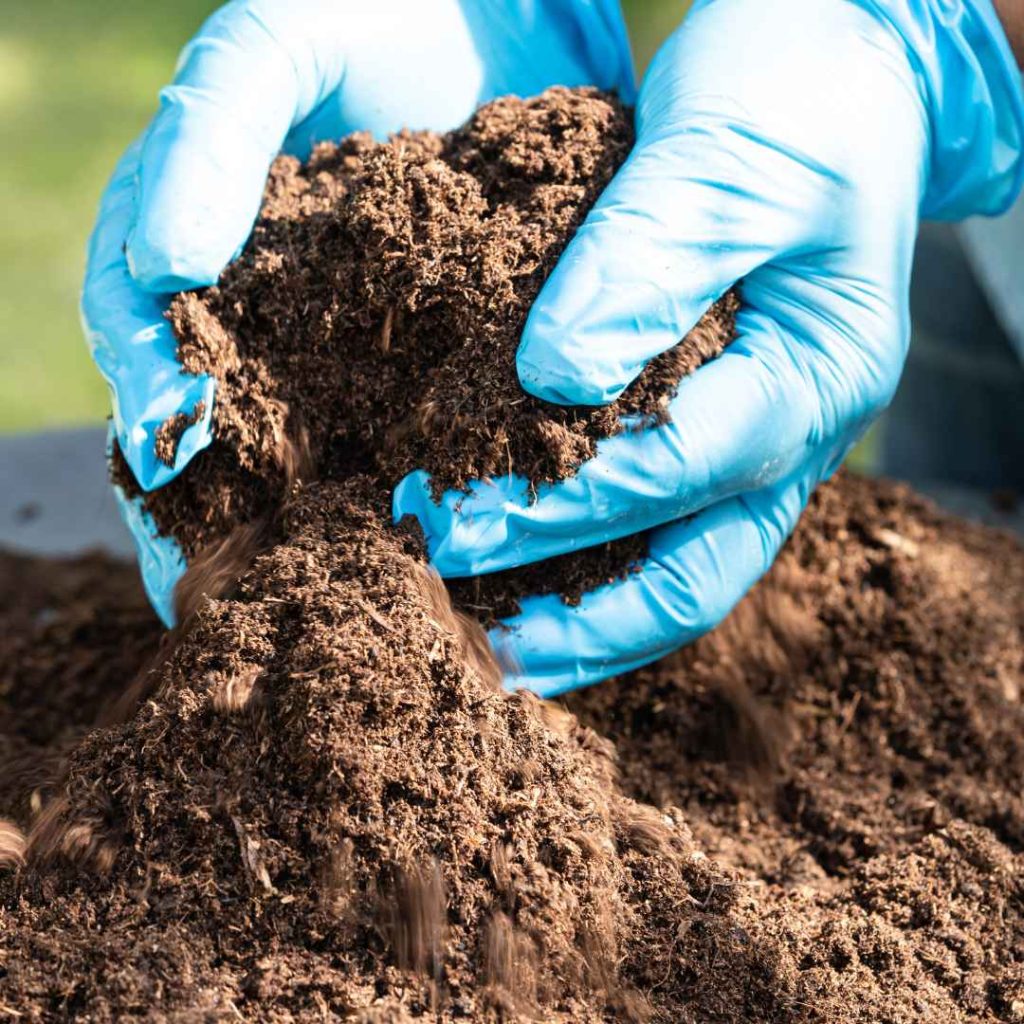
The Third Stage: If Fertilization Is Necessary
Biodegradable compost: Enhance topsoil functionality and distribute nourishment gradually. Fish emulsion, seaweed, and carcass meal are among the possibilities.
Manufactured Fertilizers: Provide an instant burst of nutrients, but excessive use may negatively impact the ecosystem. Apply with caution.
Customize for Your Species: Find out what your particular vegetation requires. While certain vegetation requires a lot of food, others only require a small amount.
Recall that the cornerstone of a flourishing landscape is soil that is nutritious. More blossoms, better vegetation, and delicious production are the results of investing the effort to prepare the gardening environment properly!
Selecting Leafy Greens:
The range of greens you are capable of developing is the best thing about making your own salad bar. Here are a few excellent choices:
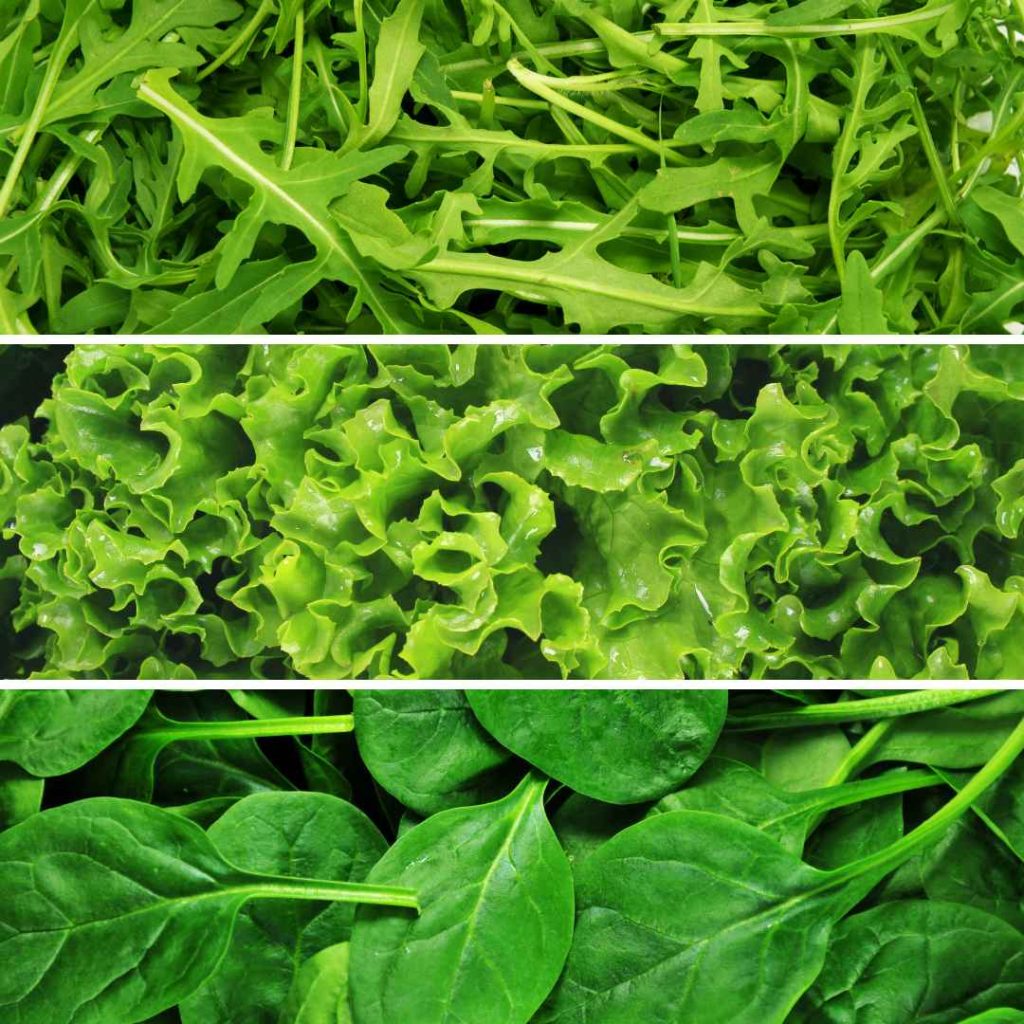
Littler Leafy Green:
Arugula: gathered early for a softer flavour or ripe for a stronger kick, arugula is known for its pungent flavor.
The lettuce: includes types with a variety of characteristics and flavors, such as leaf, romaine, and butter head.
Spinach: A nutrient-dense, multipurpose green that may be harvested at different phases for a variety of characteristics.
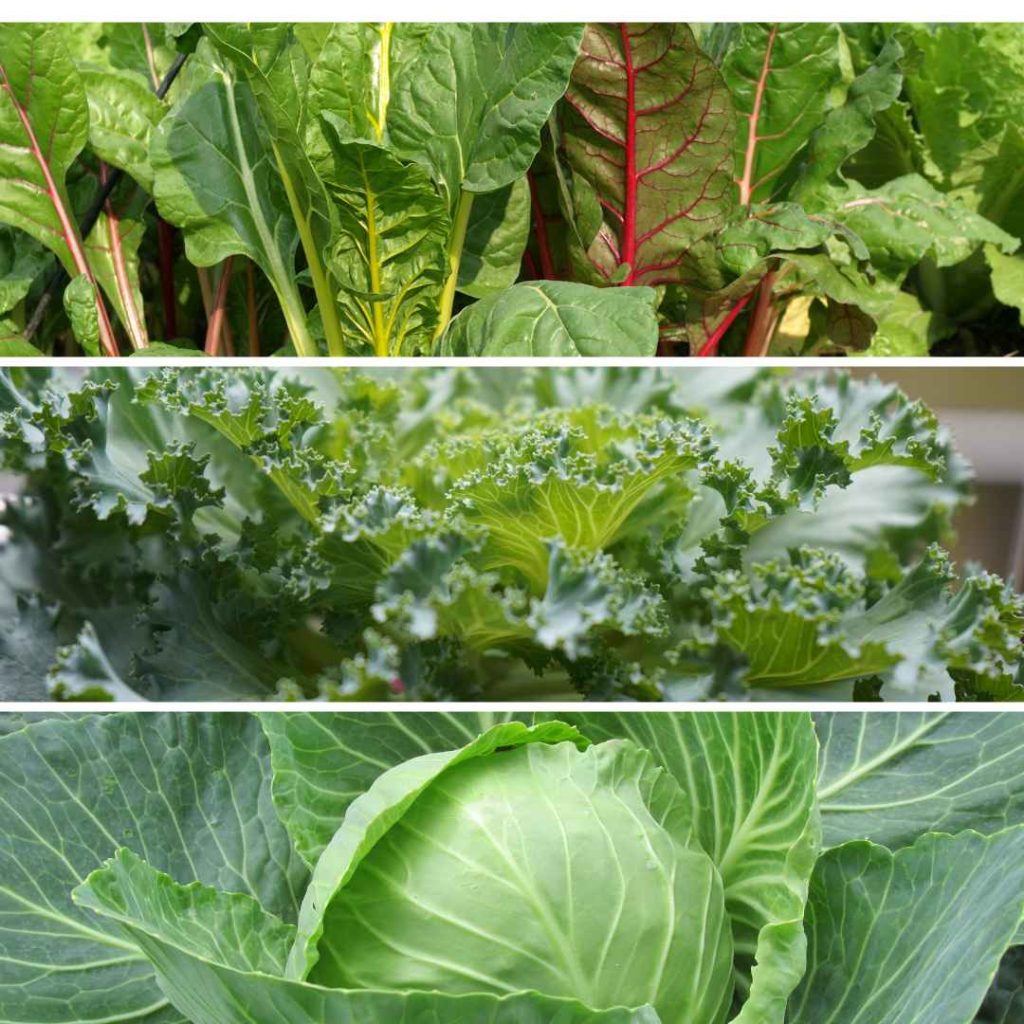
Greater Leafy Green Size:
Kale: An excellent choice for a crunchy salad, this resilient green with curled leaves.
Chard from Switzerland: Young chard has a pleasant flavor that is comparable to spinach and may be used in salads.
The cabbage: cylinder-shaped heads of closely packed, crisp, white-ribbed leaflets. Excellent for giving salad a crunch.
By combining different types, you may prolong your harvesting season while also adding novelty to your salads.
Leafy Green Seed Establishing:
Although it’s simple to develop leafy greens from seedlings, here are some helpful hints.
Guarantee Success: Planting the grains in soil that drains properly is the first step in sprouting. Apply a thin layer of dirt over them, no deeper than 1/4 inch.
Preparing The Soil: Leafy greens need moderately acidic dirt (pH 6.0–7.0) over a neutral substrate. Add composting to the ground to enrich it with vital nutrients.
Planting Sequence: Autumn through the springtime is when seedlings can be planted in zone 9b. Since most leafy greens like temps between 45°F and 75°F, the colder months
Watering: Keep the soil consistently moist but not waterlogged. Within seven to eight days, you should see the first signs of germination.
How To Take Care Of Your Lettuce Plants:
It’s crucial to supply your lettuce seeds with the right attention after they’ve sprouted to guarantee their optimal development.
Watering: Because of its weak roots, lettuce needs steady watering. Aim for around one inch of water every week while watering your plants.
Fertilization: To promote development, apply an evenly distributed natural fertilizer every few weeks. Avoid over-fertilizing your lettuce as this can result in an unpleasant taste.
Pest Oversight: Natural techniques like neem oil or diatomaceous earth (DE) can be used to treat prevalent insects like slugs and aphids.
Thinning And Separation: To promote ventilation and lower the risk of illness, thin seedlings to the recommended spacing of 6 to 12 inches away.
Techniques For Collecting:
Maintaining the health of your salad bar demands understanding when and how to pick your leafy greens.
Indications Of Preparedness:
Pick smaller leafy greens, such as spinach, arugula, and mizzen, when the leaves are three to four inches tall. Harvest larger greens, such as Swiss chard and kale, when the leaves are completely developed.
Methods Of Harvesting:
Cut off the outermost leaves of trim-and-come-again greens, such as arugula and leaf lettuce, as required. Cut off the whole head at the lowest point of head-forming greens, such as cabbage.
Keeping And Utilizing:
To preserve freshness, keep picked greens in the chiller in a sealed plastic container with a moist paper towel. For nutritious food, add them to grilled meals, milkshakes, or salads.
Some Easy Leafy Greens To Grow:
Basil:
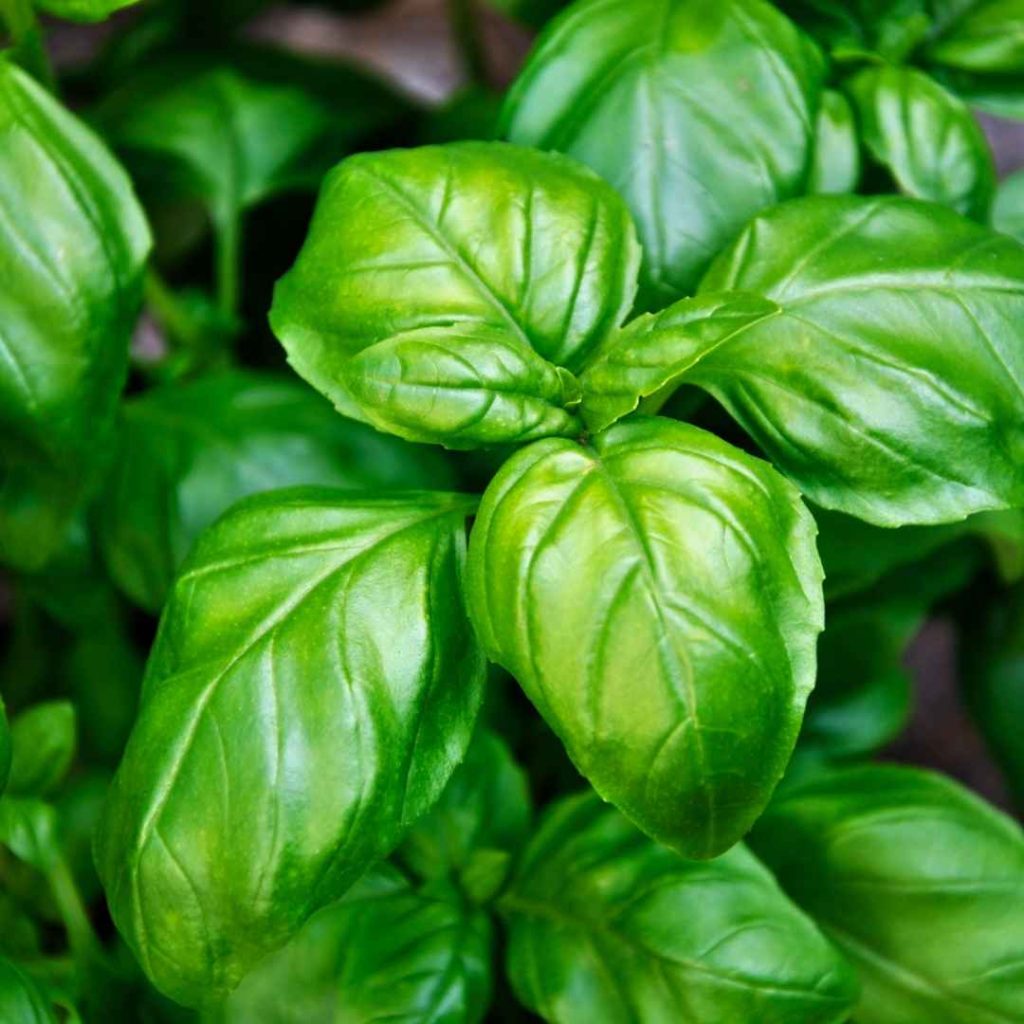
You may buy new plants completely potted and prepared for handling at virtually any supermarket, or you may acquire basil seedlings from stores that offer landscaping equipment. If utilizing seedlings, fill a container three-quarters of the way to the top with moist loam.
Position the greenery in an area with direct sunlight after wrapping it in wrapping paper or a trash of polyethylene. The polymer found wrapping can be taken off once the seedlings have begun to sprout.
Kale:
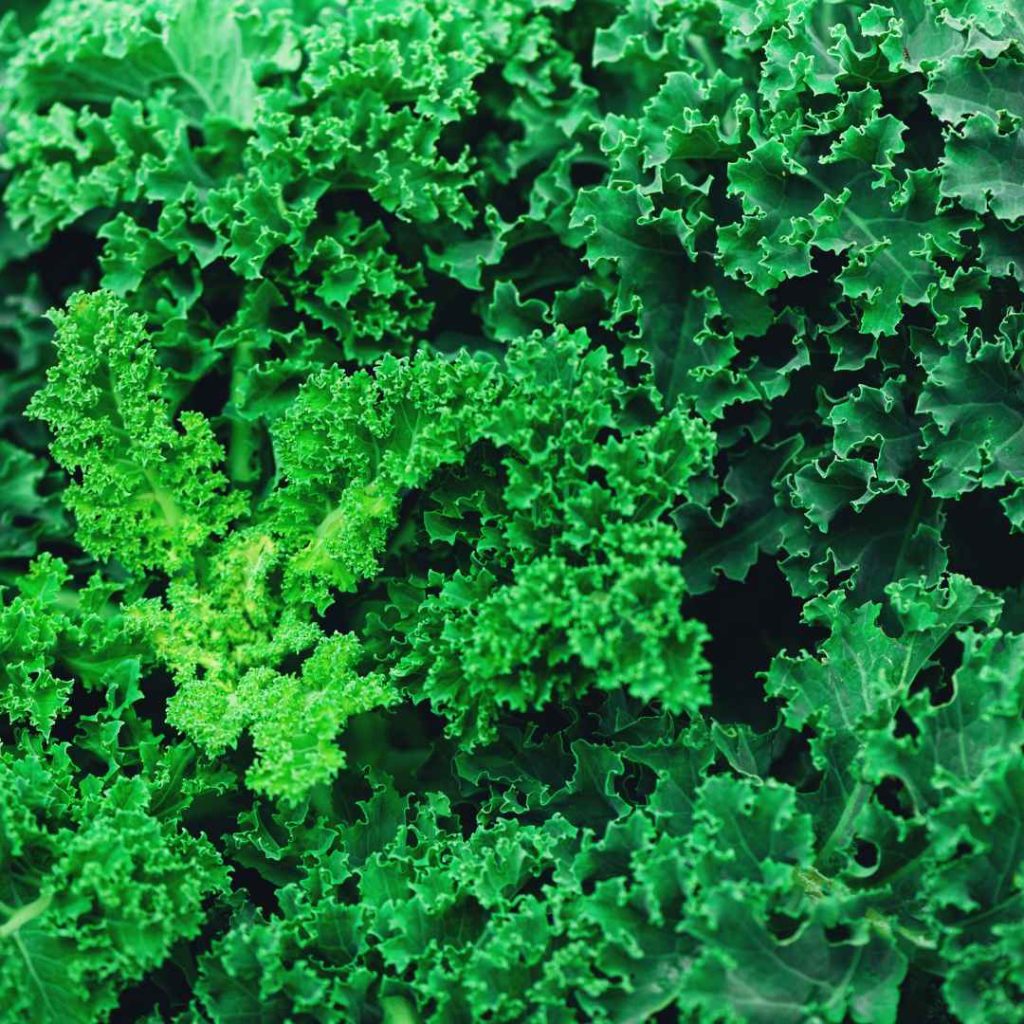
Guarantee that the spot you choose gets the maximum amount of exposure kale needs each day, but don’t put the vegetable in brightly lit areas. To cultivate the veggie, you’ll require kale seedlings and an expanding plate.
Fill the dish with soil, then cultivate the sprouts. Because they expand, keeping the ground moist. Once they have developed, transplant them in a container with nutrients. Preserve the substrate damp and the vegetation in daylight.
Mint:
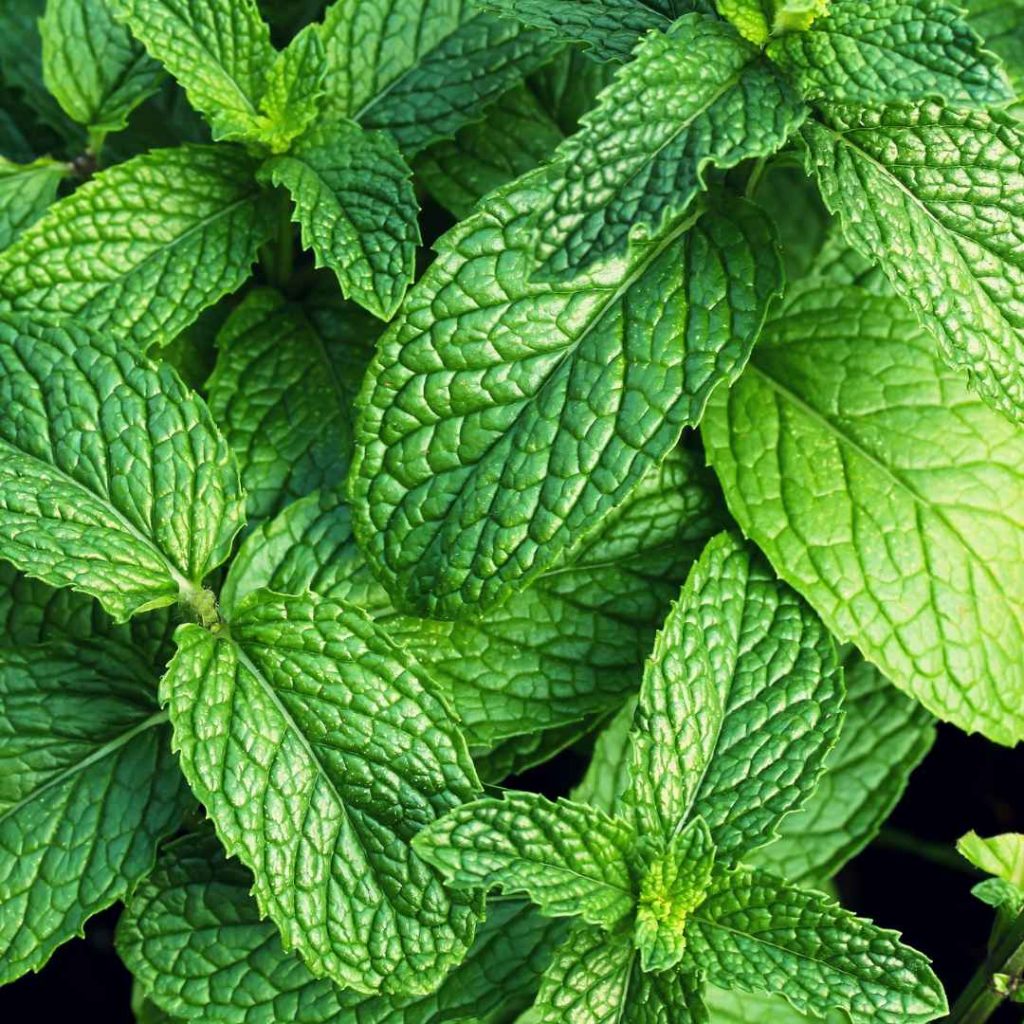
Mint is a plant with several uses; it can be added to both toxic and alcohol-free beverages.
Considering mint is more straightforward to maintain when grown from an existing plant instead of from seedlings, this method is recommended. Chop off a small piece of mint to a mint foliage approximately 6 inches underneath the flower to obtain this.
Place the stalk in a jar filled with liquid and allow it to shrivel till origins start to show. Put the twig in a small container that contains grime, provide some shelter, and liquid it from time to time.
Rosemary:
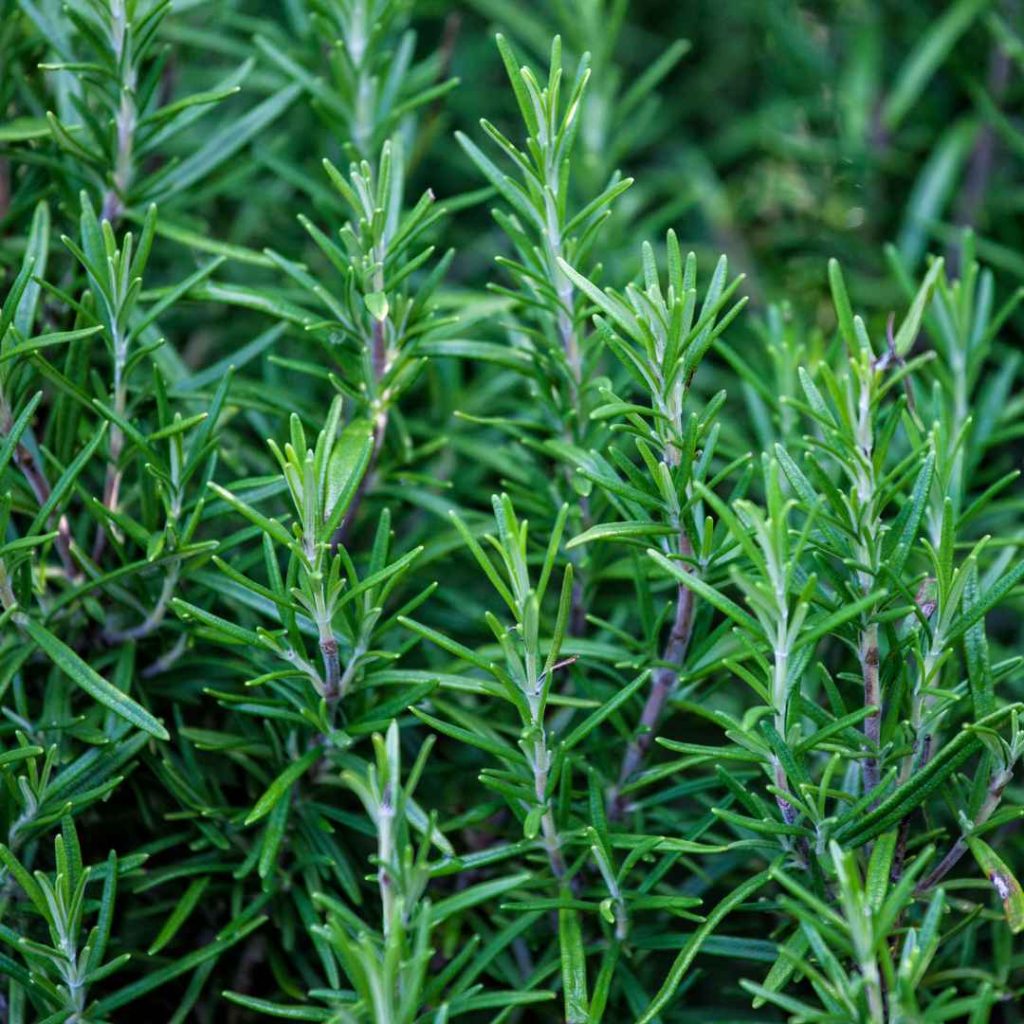
Although rosemary seedlings, especially mint seedlings, might require a while to grow, start by asking an acquaintance or family member for a rosemary branch. Once you have the Spencer, place it in a pot filled with liquid and see the emergence of origins.
Once the greenery has origins, you can move it into an empty container with some loose dirt. It’s okay to put the vegetation next to a glazing, but avoid watering it unless the highest inch of ground appears completely dehydrated.
Spinach:
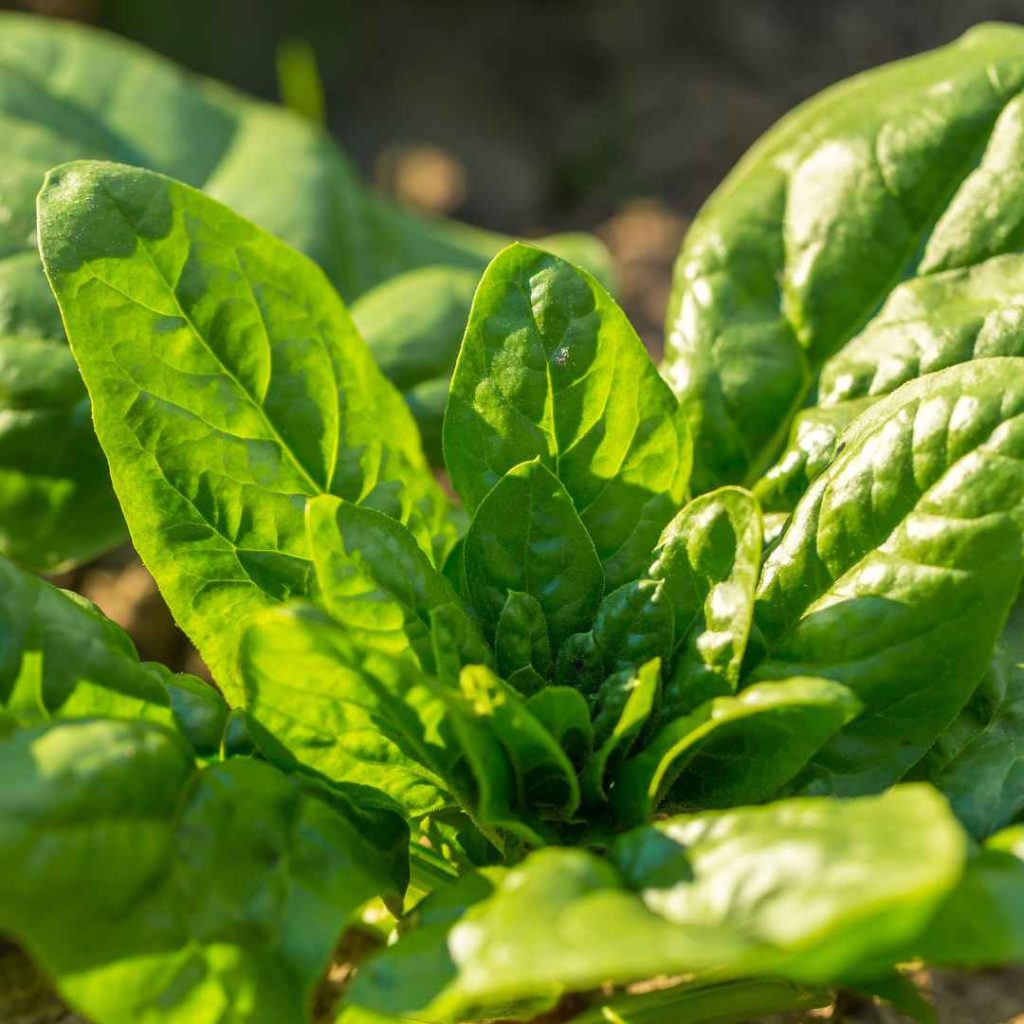
Similar to basil, spinach should always be kept damp but not waterlogged. Maintain the space surrounding the greenery weed-free and irrigate frequently, particularly throughout periods of dryness.
Constantly look for these creatures on the undersides of the foliage because they are a natural parasite of spinach. Spinach grows quickly, and you may gather it as soon as five or six healthy leaflets appear.
Be careful of cleaning the foliage while consuming spinach, a colorful veggie that is a great addition to any dieting routines. Add it to a salad with greens or simmer it in the sauce to add nutrients to any dish!
Cilantro:
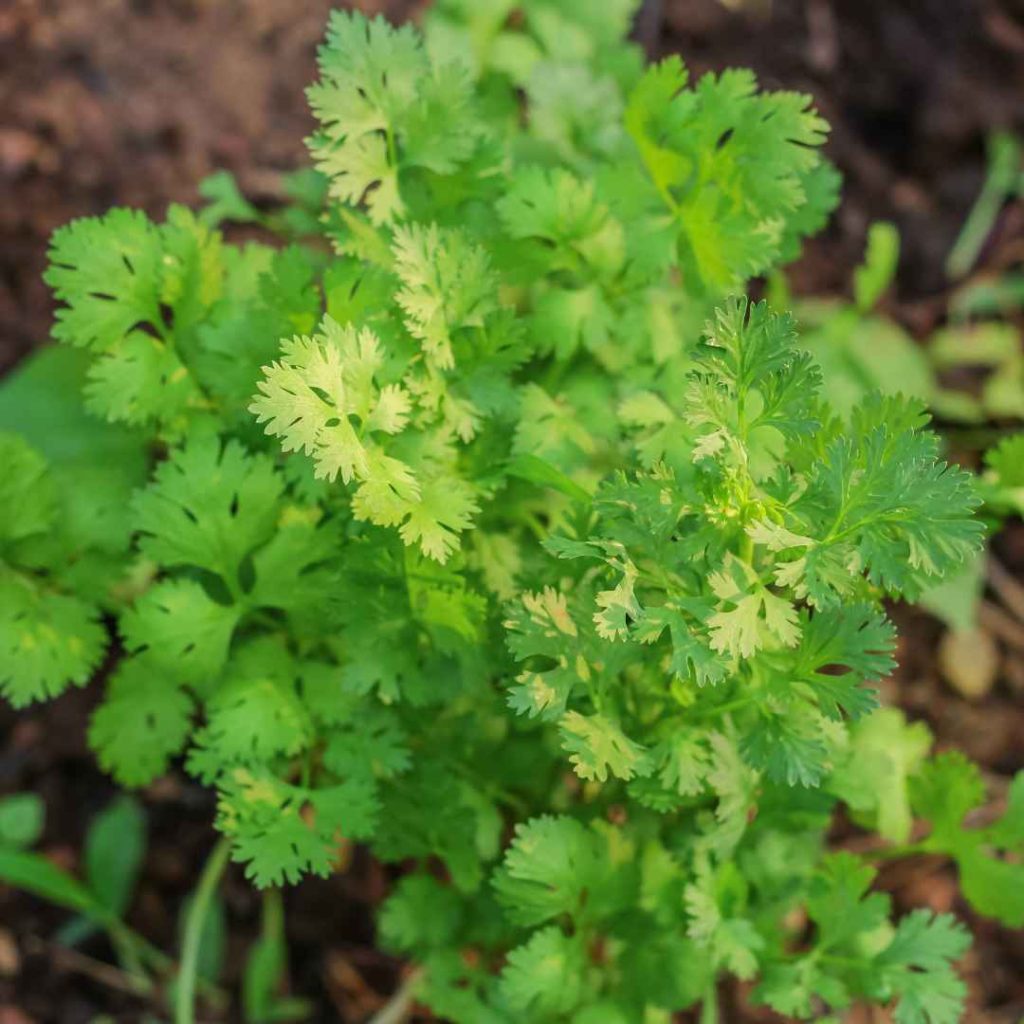
Because it enables more humidity and oxygen to reach the soil beneath, cilantro thrives most effectively in terracotta pots that are not coated.
To allow liquid to flow openly, guarantee that the substrate is a blend of gardening dirt and gravel along with making sure there are sufficient draining holes. Spraying thoroughly is crucial; keep soaking until you’re seeing it emerge from the channels for drainage.
Watering should only be done when the ground feels completely dehydrated to the contact, which is typically more frequently throughout summertime. Additionally, cilantro requires up to five hours of exposure each day when grown domestically.