
Want vegetables and flowers to grow well but don’t want to do the hard work of digging? You’re not by yourself! In traditional raised beds, the soil is often tilled, which upsets the natural balance of the soil. Luckily, no-dig raised beds are a new way to garden that is better for you and the earth.
In traditional methods, raised beds are set up by digging into the ground. A “no-dig” method is easier and better for the environment.
By adding organic materials on top of the soil without disturbing it, you can make a raised bed that is fertile and useful.
To make your first no-dig raised bed, follow these steps.
Watch Complete Video Here
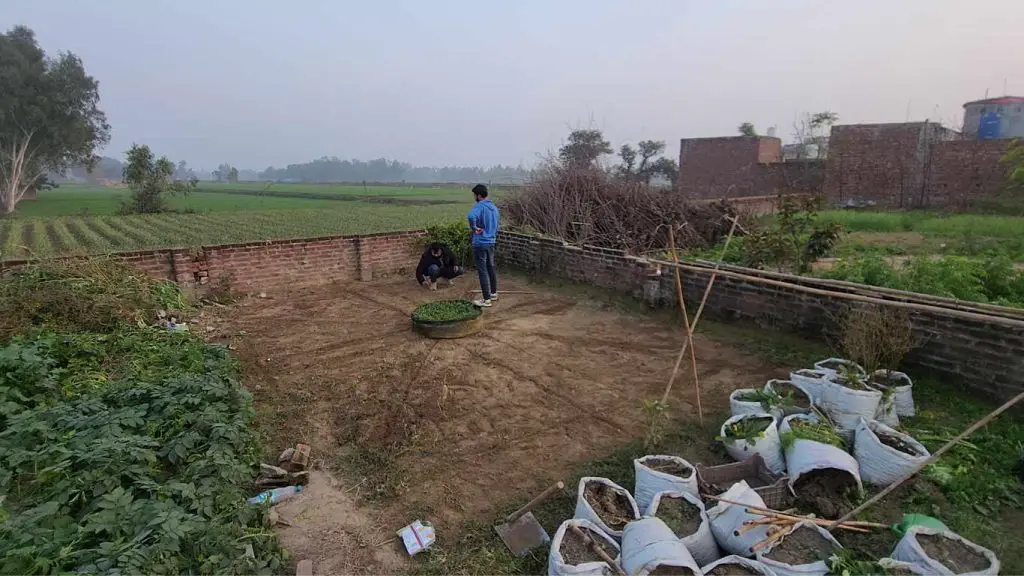
Step Number 1. Select A Location.
Sunlight: For your garden to thrive, it’s important to ensure that it receives at least six hours of direct sunlight every day, throughout the year. Ultimately, the goal is to maximize sun exposure.
It is recommended to place your garden on the south side of any tall structures, such as homes, garages, tall sheds, and fences. It becomes particularly crucial in the winter months, as the sun’s position on the horizon is lower for residents of the Northern Hemisphere.
Even if your available spot only gets four hours of sun a day, you can still have a successful no-dig raised garden. In this case, it’s best to focus on growing herbs and salad greens, as these plants can still thrive with less-than-ideal sun conditions.
Close To Water Source: The second thing you should think about when choosing a spot for your kitchen garden is how close it is to a water source. This should help you decide about 20% of the time.
There won’t be a way for your fruits and vegetables to get consistent water unless you live somewhere that gets an inch of rain every week (Wouldn’t that be nice!).
Say to yourself, “This doesn’t apply to me.” “Every morning I’ll get up early and water with a watering can,” I should warn you that watering by hand can quickly feel like a chore. Also, coming back to dead plants can ruin your travel plans or ruin the mood of your vacation.
Putting your garden near a faucet, a rain barrel, or a place where it can be hooked up to an irrigation system is much better. Drip irrigation gives plants deep, steady water that they love.
Number 2. Prepare The Area.
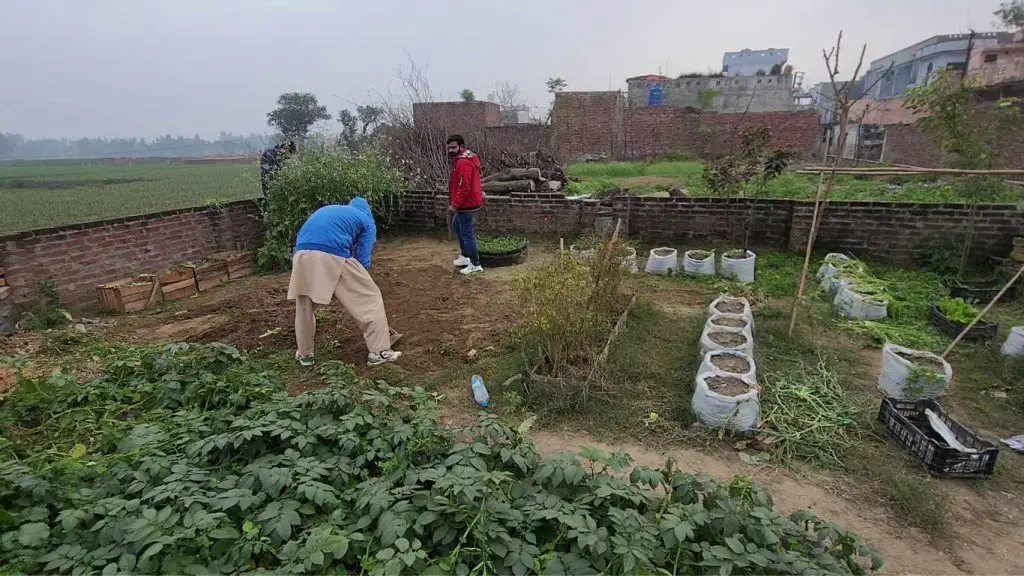
Remove Vegetation: Begin by clearing away any plants or grass in the designated area for your raised garden bed. This encompasses various types of vegetation, such as grass, weeds, and other plant species that might be found in the area. There are various tools available to help you with cutting down and removing vegetation, such as a shovel, garden hoe, rake, or weed trimmer.
Digging: You might have to dig out the plants and their roots to make sure they don’t grow back under your raised bed. This depends on how big the plants are and what kind of soil you have. Also, digging helps break up the soil so it’s ready for the next step.
Dispose of Debris: After clearing the vegetation, make sure to properly collect and dispose of the debris. If the organic material is free from weed seeds and pests, it can be composted. Alternatively, you can discard it in green waste bins or use another suitable disposal method.
Leveling: Ensure the ground is leveled to create a smooth surface for your raised bed. Smooth out the soil by using a rake or shovel to level any uneven areas.
Related Article: How To Keep Weeds Out Of Your Raised Bed
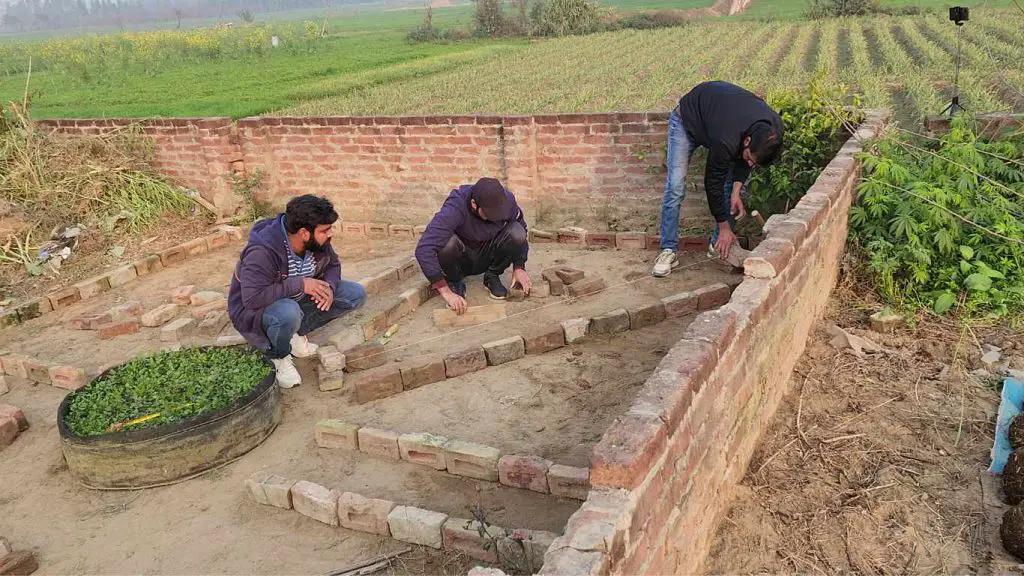
On Number 3. Design The Layout.
When creating the layout for a raised garden bed, it’s important to keep in mind various factors that will contribute to maximizing space, making it easy to access, and promoting the health of your plants.
Spacing: Figure out how far apart the raised beds should be so that they are easy to move and clean. There should be enough space between the beds for people to walk and garden tools to be moved around.
A general rule of thumb is that paths should be at least 18 to 24 inches wide. To figure out the right spacing, think about how big your garden is and what tools you’ll be using.
Accessories: Set up the raised bed so that there is room for extras like trellises, stakes, or cages. These add-ons give climbing plants like peas, tomatoes, and cucumbers support, so they can grow up and out, making the best use of space.
Make sure that the layout works with the height and spread of these extras so that they don’t crowd or shade nearby plants.
Accessibility: When planning the layout, keep accessibility in mind, especially if you or other people who will be using the garden have trouble moving around. Make sure the paths are wide and level so that you can easily move around the garden bed.
If you need to make your property wheelchair-accessible, you might want to add ramps or paths that slope gently. As long as the height of the accessible raised beds is right, people can reach the plants without having to stoop or bend too far.
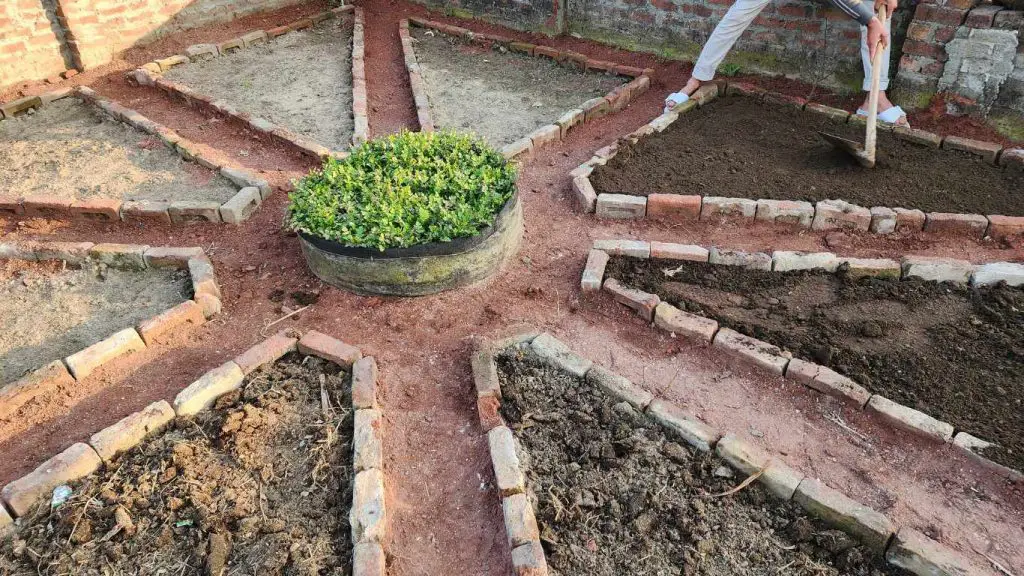
4: Lining The Beds.
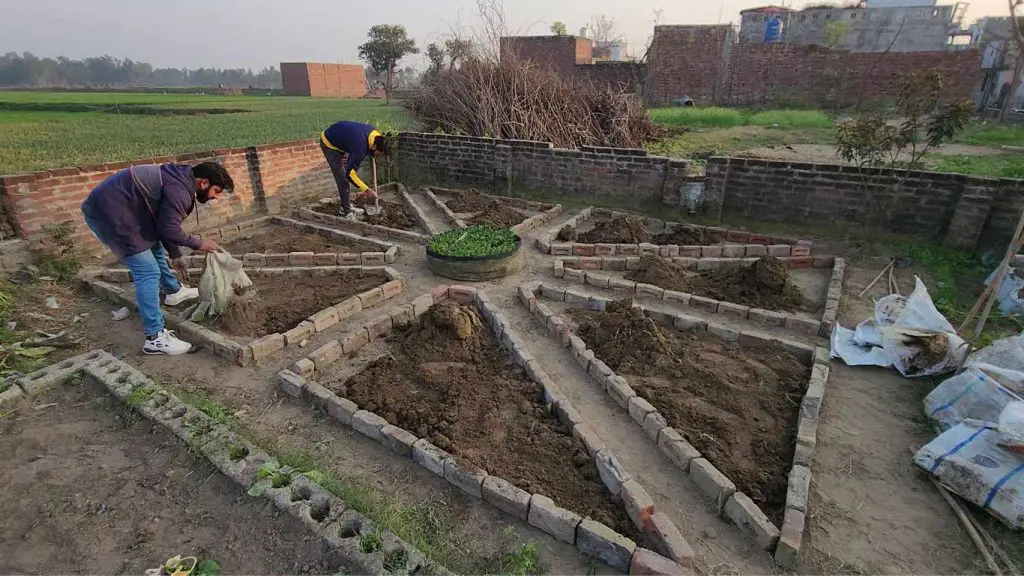
Wood, bricks, and cinder blocks are some of the most common building materials used to make raised beds.
With bricks, you can make raised beds that are better in many ways. The first thing is that they are strong and durable, so your raised bed structure will last for years. For the second reason, bricks are great insulators.
They help keep the soil at the right temperature and moisture level, which is great for plant growth. Using bricks for your raised beds can also make your garden look better by making the landscape look nice and fit together well.
Start by putting the bricks around the outside of the outline of your raised bed. Stack them one on top of the other, making sure there are no gaps between them.
Check the top of the bricks with a level to make sure it is level. Change where the bricks are placed as needed to keep the height the same.
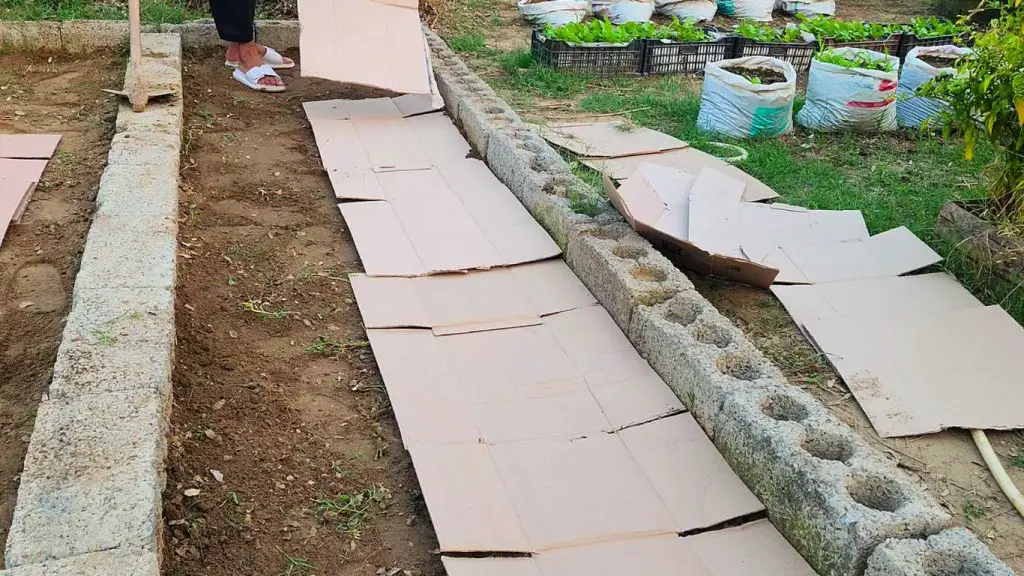
Step Number 5. Lay Cardboard Or Newspaper.
You need to take care of a few important things before you put your raised bed garden where you want it. It’s important to know if your area is free of weeds and grass.
If you don’t, weeds and grass will grow through the raised bed soil. Going forward, that will give you a lot of trouble. To get rid of the grass and weeds for good, you should cut them down and do a little something else.
On the bottom of the raised bed garden, you can put old newspapers and magazines. Yes, it doesn’t last as long as landscape fiber. Still, something is better than nothing.
Arrange the newspapers so that their edges touch each other when you put them on the bottom. Weeds will also grow less quickly on newspapers.
The newspaper will break down over time and add humus to your raised bed soil, which is a good thing about using newspapers.
Newspaper and cardboard are the same thing. Only thing that makes them different is that cardboard can last a little longer than newspaper.
On the bottom of the raised bed, the cardboard also keeps weeds out. They will also add humus to the soil after the dead bodies are broken down.
You don’t need to add cardboard or newspaper if there are no weeds on the ground under your beds.
Related Article: Everything You Need To Know – What To Put At The Bottom Of Raised Bed?
Number 6. Fill The Beds.
You have the chance to start over with fresh, nutrient-rich soil and organic matter by installing a raised garden bed. It seems sense to me to fill a no-dig raised bed completely, from bottom to top, with excellent organic matter that will nourish the plants that will nourish you, since you’re already making the effort to construct one. Additionally, you’ll be guaranteeing that the roots of your plants can reach down the full depth of the raised bed.
Here are two important layers:
Bottom Layer (Garden Soil):
This layer is essential for building your raised bed. Garden soil is crucial for plants as it offers the necessary minerals, nutrients, and a stable foundation for their roots to thrive and develop.
When choosing garden soil, it’s important to go for a top-notch blend that drains well and is appropriate for the specific plants you plan to cultivate.
Creating your own blend of garden soil is a straightforward process. You have the option of purchasing pre-mixed soil from a garden center or nursery, or you can make your own by combining topsoil, compost, and other amendments.
Top Layer (Compost):
Applying a generous amount of compost or well-rotted manure to the garden soil offers a multitude of advantages for your plants and the overall well-being of the raised bed.
Compost contains a wealth of organic matter, nutrients, and helpful microorganisms that contribute to enhancing soil structure, fertility, and water retention.
Applying compost or fully decomposed manure as a top layer provides nourishment to your plants, enabling them to access essential nutrients as their roots penetrate deeper into the soil.
This layer of compost also serves as a protective barrier, aiding in the retention of moisture, prevention of weed growth, and regulation of soil temperature.
Related article: Best Raised Bed Gardening Soil Mix Recipe
On Number 7. Planting.
After preparing your raised bed, you can easily begin planting your preferred vegetables, herbs, or flowers directly into the compost or manure layer. It is important that you stick to the recommended spacing guidelines when selecting your plants.
Make sure to consistently water your raised bed, especially when it’s dry, and keep an eye out for any weeds that might pop up.
As the compost or manure decomposes, you can easily add additional layers to keep the nutrients replenished and ensure the raised bed remains at the desired height.
Recent Posts
The Secret Homemade Liquid Fertilizer That Can Boost Flowering, Fruiting, and Plant Growth Naturally
Many of the materials we throw away in the kitchen still contain nutrients that can be useful in the garden. Onion peels and potato peels are good examples. Instead of sending them to the trash, you...
I Mixed Yogurt, Molasses & Compost Tea for 24 Hours… The Results Changed My Garden Soil
Healthy soil is much more than a mixture of sand, silt, clay, and organic matter. It is a living ecosystem filled with bacteria, fungi, protozoa, nematodes, and many other microscopic organisms....
