
By starting your personal blossoms and vegetables within the house, you may beat the rush of springtime. When the conditions improve, you’ll be prepared to cultivate.
You are not interested in missing a moment of the beautiful milder temperatures when the new season finally arrives after a hard wintertime in order to start developing! An old-fashioned method of getting a head beginning on this time of year is to germinate seedlings inside. You can cultivate a large number of vegetation for a very low cost with just a couple dollars’ value of seedlings.
You may also experiment with unique and fascinating types that you will not discover at your neighborhood landscaping stores by growing a collection of seedlings. This is all the information you require for appropriately germinating seedlings within the house for blooming outdoors as soon as the weather warms.
Simple Seeds For Domestic Planting:
Cultivate modestly at the initial time you sow seedlings indoors during the wintertime. Select a handful species, such as these beloved blooming yearly crops, that are simple to raise from scratch.
Marigolds:
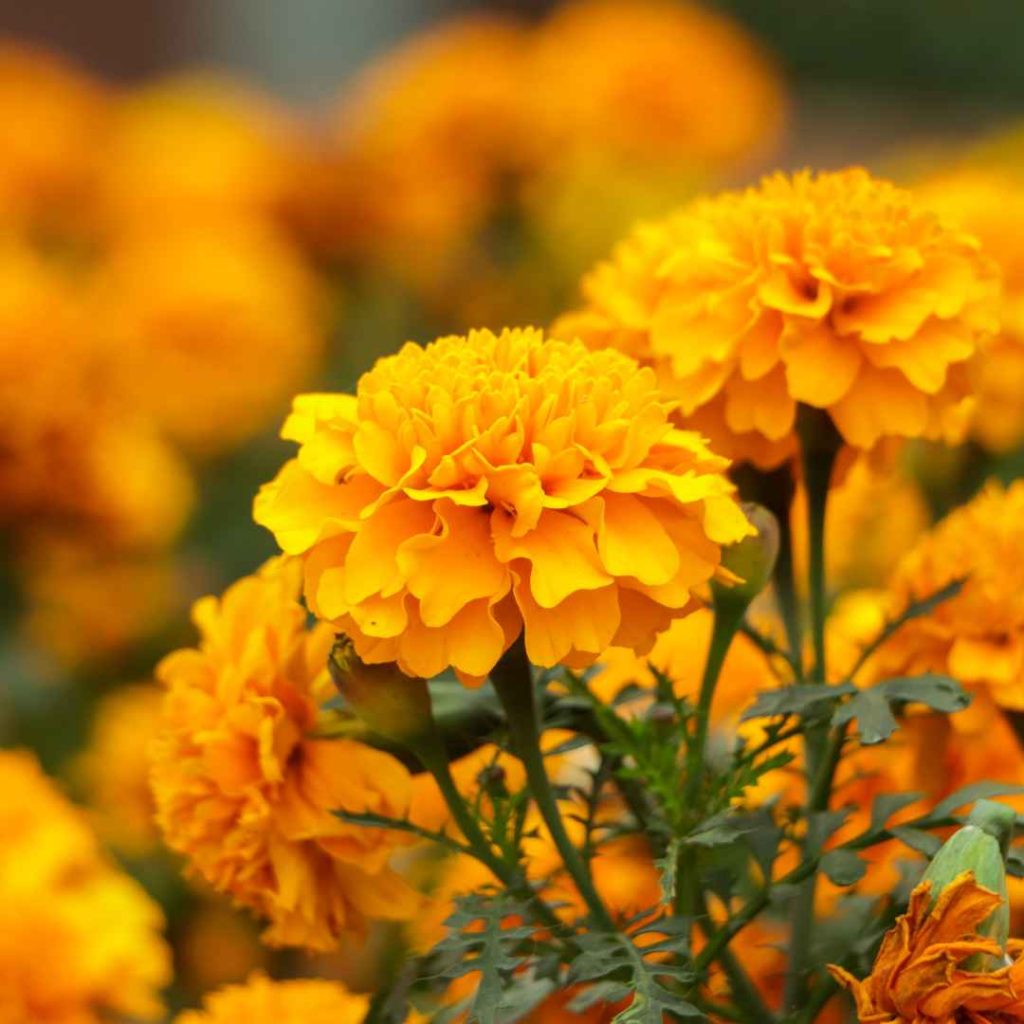
Many of us remember these cheery blossoms from our mother’s or grandmother’s yard. The most effective strategy is to raise your personal plants from seedlings because there are a ton of vibrant kinds available, some of which you might not discover in gardening shops.
Universe:
These happy blooms are available in vivid orange, yellowy, and blush colors as well as soft undertones.
Morning Glories:
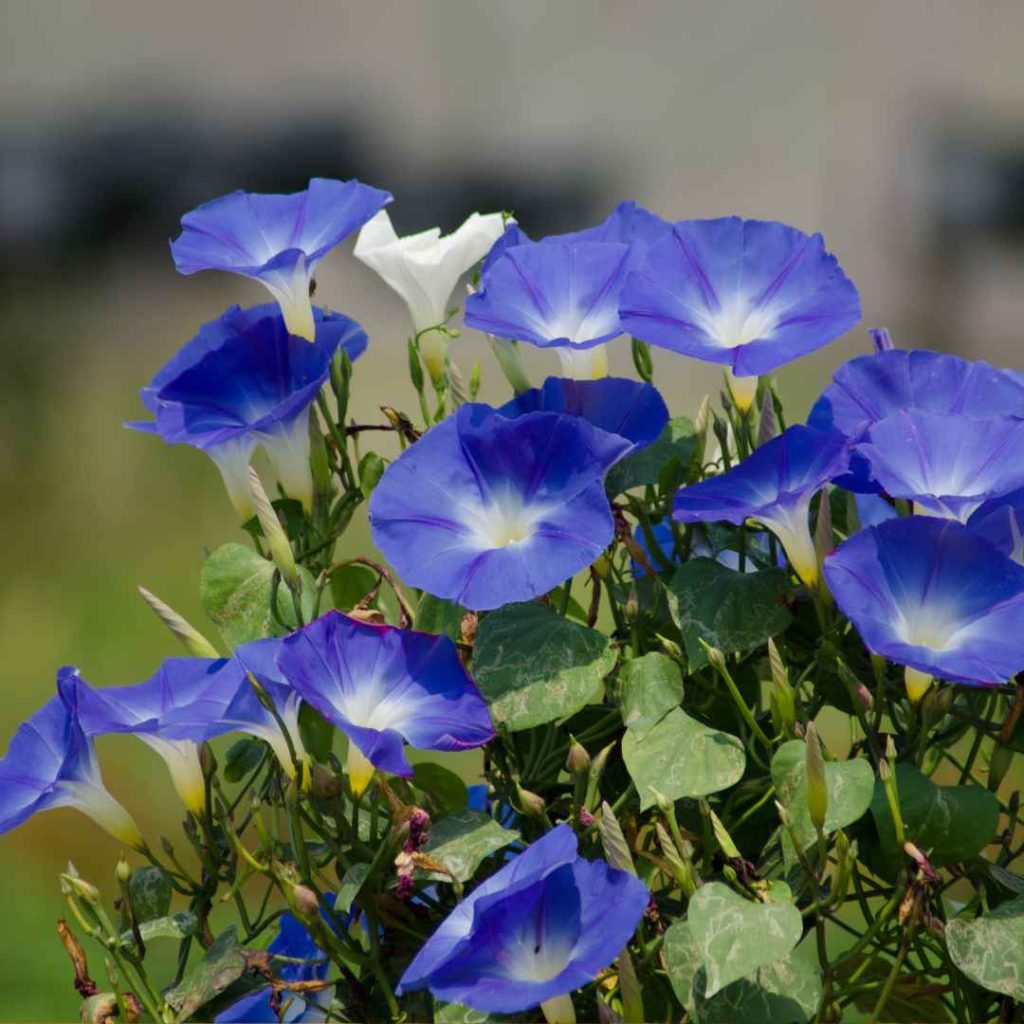
These ascending tendrils appear gorgeous when planted on a physical barrier, and they will blossom profusely throughout the summertime. Patterns of violet, blue, reddish, pinkish, white, and bi-colors are among the hues of flowers.
Test Garden Tip:
In order to identify how many days prior to the typical last freezing period you should sow seedlings within the house, look at the description on the seed packet. Calculate when to begin growing your seedlings inside by counting downstream from your region’s frosty deadline.
It generally requires approximately eight weeks for you to provide the young plants an early jump on springtime.
Options for Containers:

Cultivating seedlings inside is incredibly simple using disposable seed holders and seedling-starter packages. However, you can also go within the bin that is reusable. Just don’t forget to drill an opening for drainage in every vessel prior to adding plants.
Egg boxes made of paper products are a good option, but you may also reuse objects like butter pots and freshly deconstructed milk bottles. Alternatively, you can create your personal newspaper-based seed starting planters.
How to Sow Domestic Seeds:
If you are starting seeds inside, you are going to require the identical materials, regardless of the germination recommendations on the packaging may differ. What you’ll require is as follows:
Containers for beginning seeds with openings for irrigation (or homemade pots)
Labeling for seed potting mixture
Assemble The Containers:
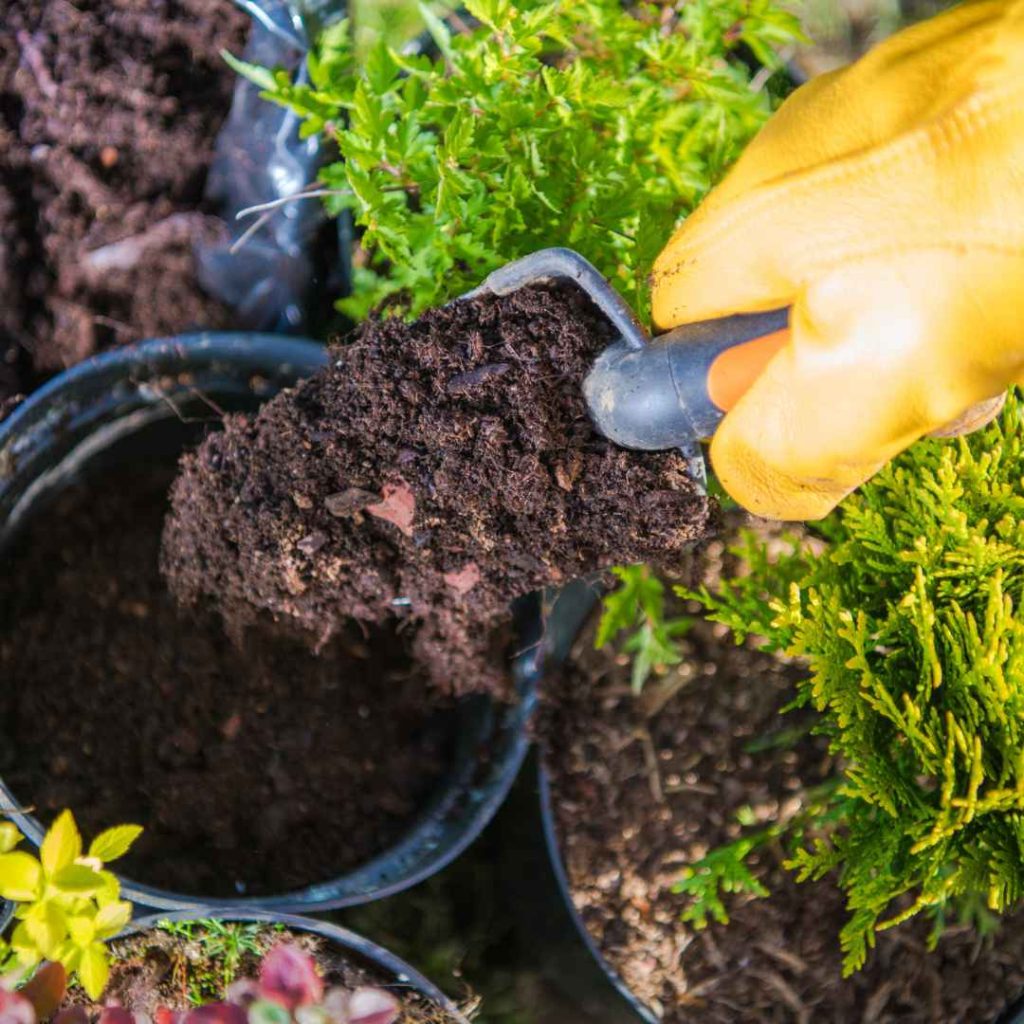
Spoon new, wet seed-potting mixture into containers. The soil in gardening is excessively dense and can contain bugs and illnesses, so avoid using it. A half-inch or so should be left at the highest point.
Plant Seeds:
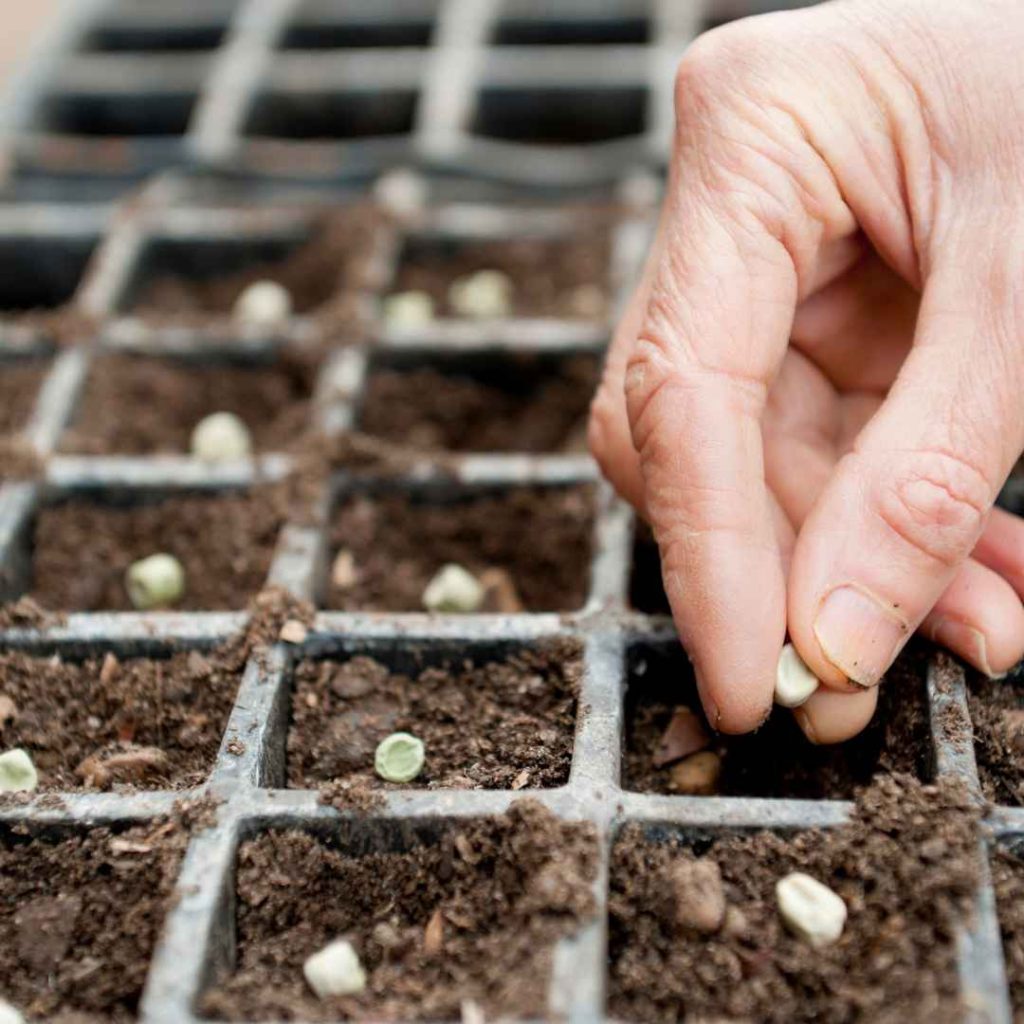
To plant material, obey the directions on the seed packaging. Many will advise adding the seedlings directly to the covering, while others will advise creating a tiny opening in the middle of the gardening mixture. To every container or chamber, add a single bulb. To assist guide the germinated parts where you desire them to proceed, utilize the creasing in the bottom of the seed package or place the seedlings on a sheet of cardboard that has been folded in half.
Pour In Some Water:
After planting the grains, spray every vessel with sufficient water to keep the planting mixture moist without making it soggy. The planting mixture will dissolve around the seedlings with the assistance of the liquid.
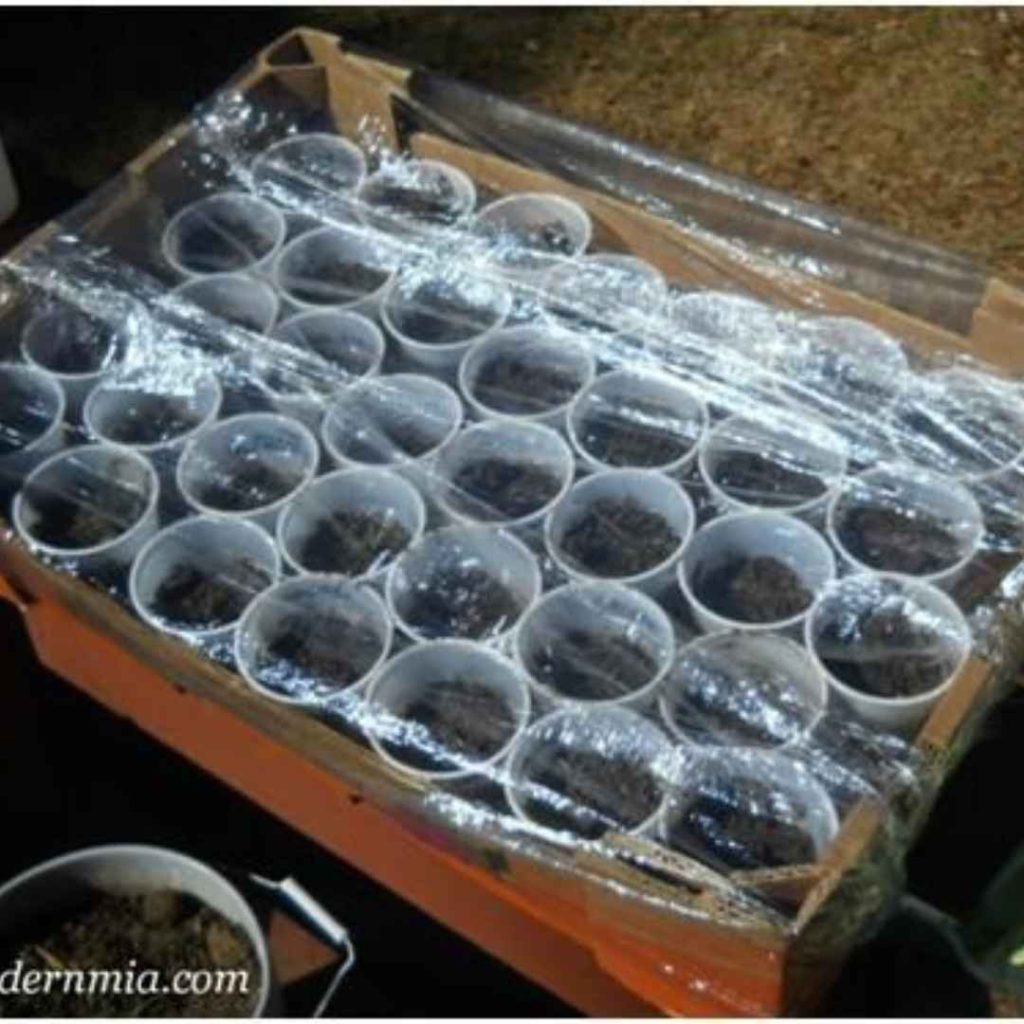
Both The Packaging And Wrapping:
To keep track of what’s developing inside all of your gardening containers, mark them all. To keep the planters pleasantly damp, simply drape them with an open-ended bag or translucent wrapping paper.
Keep Containers Hydrated And Soothing:
Your seedling containers should be kept out from harsh sunlight yet in a pleasant, draft-free area. Although it’s out of position and radiates only sufficient warmth to support the growth of the seedlings, the highest point of a refrigerator functions perfectly.
It should not become any warmer than 90 degrees Fahrenheit but it should be roughly 75 degrees Fahrenheit. Take off the flap and transfer the young sprouts to an opening that receives plenty of sunlight. Growing lamps should be added as needed to meet their daily illumination requirements, which are roughly Twelve hours.
Indoor Sprout Maintenance:
You sowed your seedlings to germinate In the containers, the primary leaflets are beginning to show. What are your next steps?
Allow Them To Breathe:
Remove the wrapping material or other shielding once the germinated seedlings started sprouting to allow them to flourish in more space.
Reduce The Number Of Young Plants:
The seedlings require their room as they begin to show their existence. Save the varieties that appear robust and in good condition, and cut off the others to ensure each container has a solitary specimen.
How Seedlings Are Re-Potted:
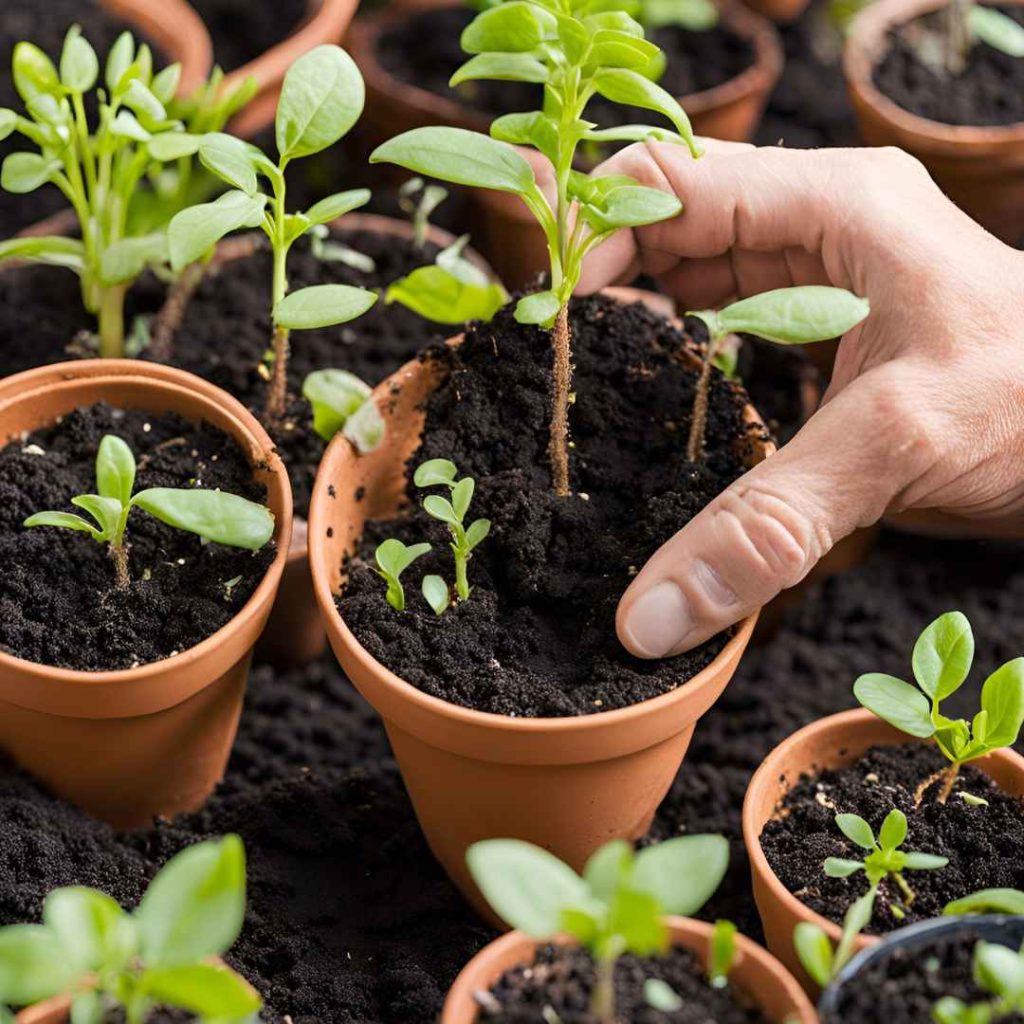
Your seedlings require an update when they reach a height of approximately two inches and develop a few clusters of foliage. Place them in bigger pots; use ordinary planting mix rather than seed-potting mixture the second time around.
Spray Sprouts:
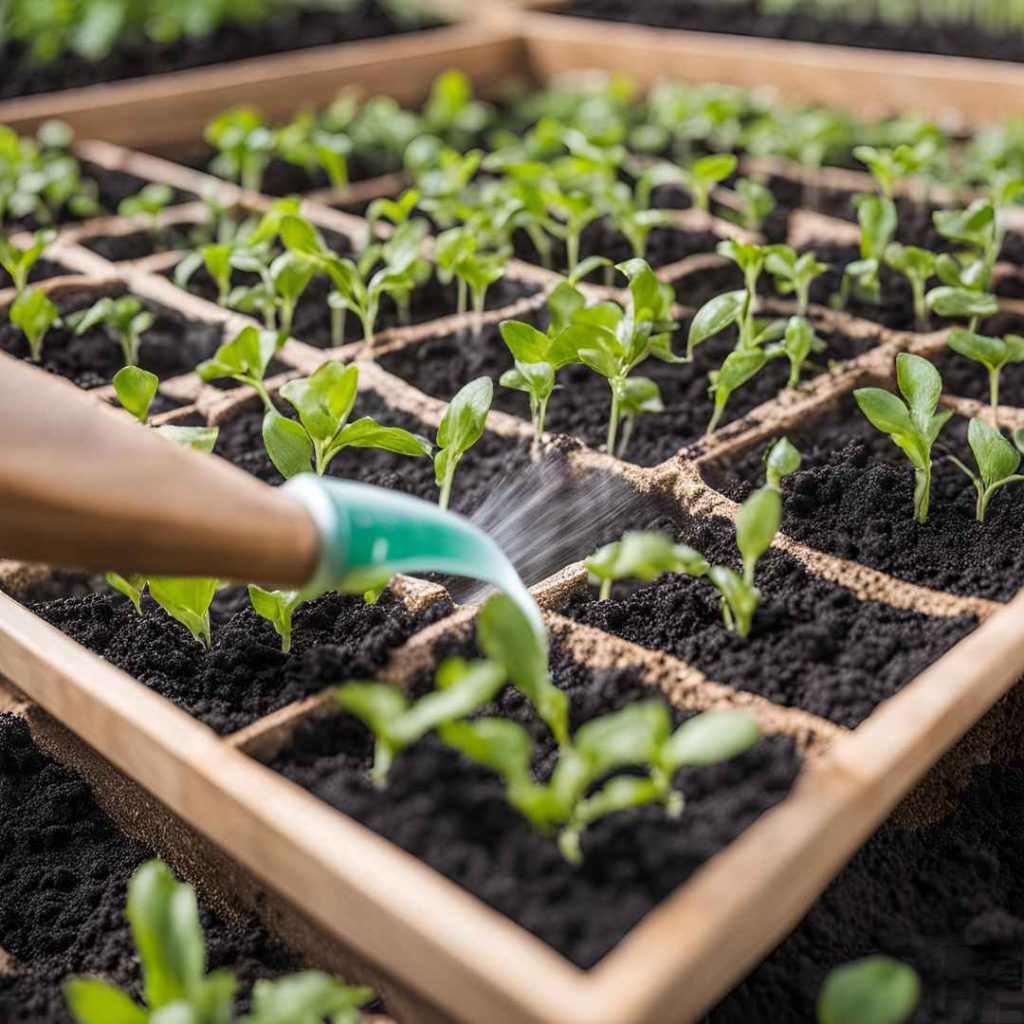
Keep the seedlings from drying off. The best technique to offer them a libation is to spritz them. Avoid submerging them with liquid from a water source or sprinkler as the force of the liquid may force them completely outside of their receptacles.
Harden Off Young Plants:
Give the young plants some time to gradually acclimate to growing outdoors before putting them in the landscape, holding an eye on when it will be immune to cold. This process is referred to as solidifying off your crops.
To accomplish this, leave the young plants exposed for a brief period of moment in a sheltered area (approximately one or two hours). Gradually extend the duration of their outside activities every time eventually they are able to spend the entire day outdoors.
If you germinate seedlings within the house, you can have gorgeous, lush landscaping for just a small percentage of the cost of buying fresh plantings from your neighborhood horticultural store.
Your sprouts should be prepared to be planted outside once the fall’s final cold has gone. If all goes well, you should have tall, robust crops very different from the small seedlings they sprang from.