
Elevated beds for gardening are a creative approach to grow vegetation in constructions that are higher than the surrounding soil. Elevated bed planting has countless advantages. Elevated soil allows for quality assurance and provides a nice, full of nutrients, well-ventilated developing habitat that is ideal for seedling and root formation.
Improved substrate, greater cultivation area, less flexing, mowing, and even insect protection are all made possible by elevated bed systems. wooden, steel, concrete, and masonry can all be used to create elevated gardens, but what should be planted in an elevated gardening bed?
The interesting response is that, if the cultivation conditions—such as warmth, daylight, and spacing—are suitable for your crops, you may cultivate nearly everything in an elevated gardening bed.
Fruits And Vegetables In Elevated Garden Beds:
Elevated garden beds are ideal for veggies and fruit crops, which have significant nutritional requirements. This collection of our favorite crops for planted beds is a great place to start if you’re wondering what to put in a gardening bed.
Tomatoes:
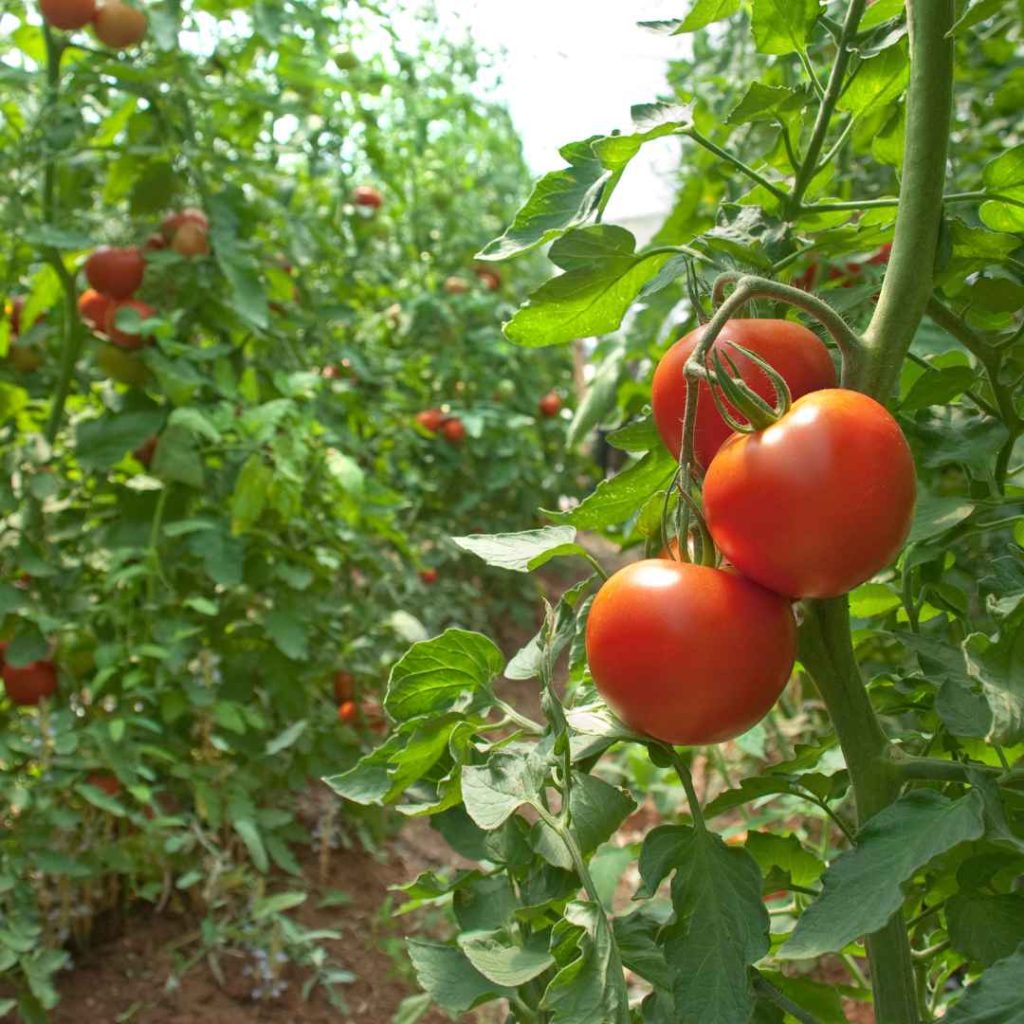
Keen to consume a lot of food, tomato crops flourish when their growing points are pushed far into sandy soil. They are wonderful complements of raising beds for gardening and thrive in full light. Plant tomatoes near the back of an elevated garden area because they tend to get fairly high. For assistance, include tomato trusses.
Legumes:
In the elevated planting bed, legumes serve a dual purpose by fixing nitrogen and returning it to the ground as they develop. They yield abundant crops and increase the dirt’s nutritional value. They are frequently discovered in ascending and unsupported types, each of which are capable of being grown in elevated beds. Different Types of Chickpeas, Bush, and Pole Beans Peas Lentils.
Swiss Chard And Kale:
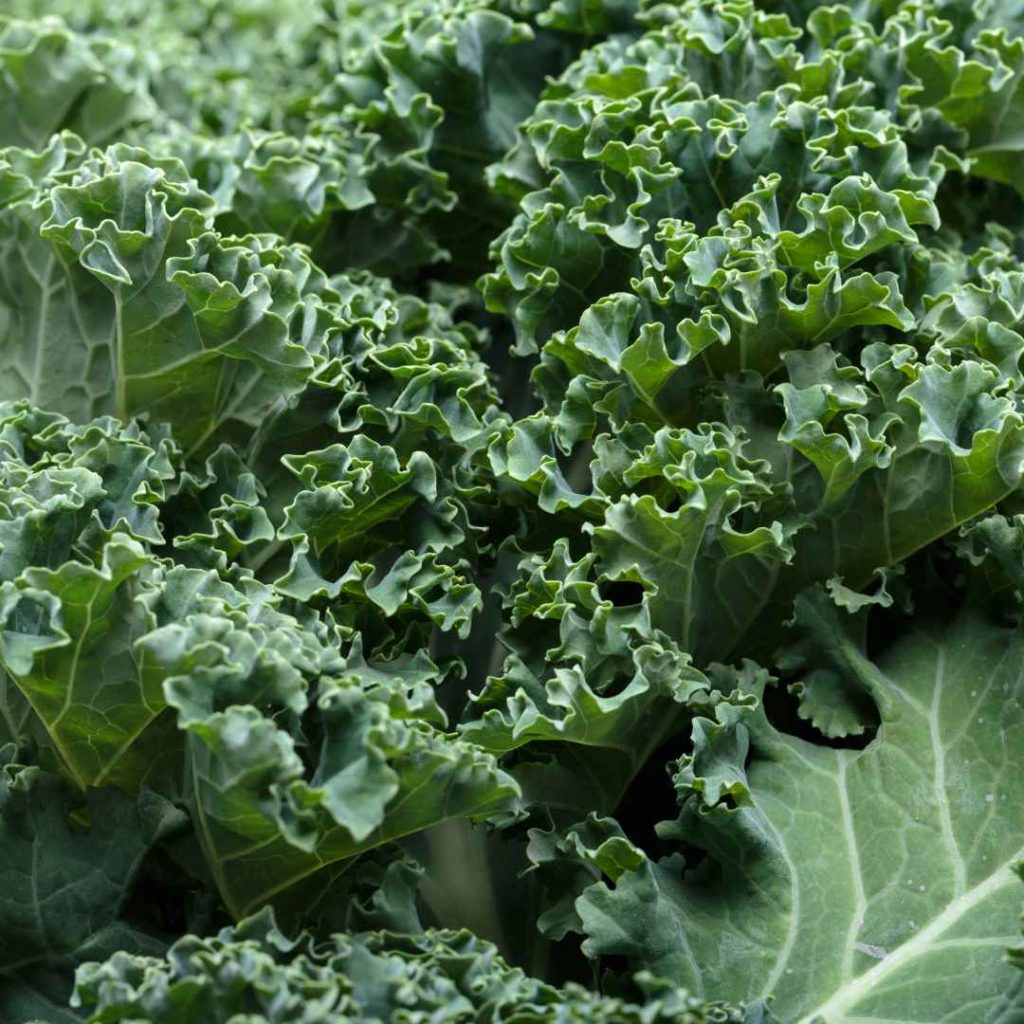
In raised-bed cultivation, these two late-season vegetables are excellent. In addition to thriving in colder climates and preventing consolidation of soil, they may be protected with chilly greenhouses or dome buildings to prolong the developing period and potentially provide you an excellent wintertime and autumn yield.
Lettuce, Spinach, And Mixed Greens:
The soothing conditions of the substrate and drainage-friendly soil of elevated gardens are ideal for the growth of lettuce vegetation, spinach, and diverse salad leaves. As a gardening enthusiast, you will appreciate that, with the right safeguards in location, you can establish them sooner and consecutively throughout the growth period, extending it all nicely into December.
Brassicas:

In an elevated bed setting, brassica are excellent first-round earlier vegetables. They prefer the controlled conditions in the soil that planted beds offer because they frequently snap in the hottest conditions.
For either initial and late-season agricultural products, the substrate is maintained more pleasant, possibly prolonging the period of growth. Additionally, they are simply sheltered by elevated beds, which makes harvesting them in the autumn and wintertime simple. Kale Brussels sprouts, broccoli, cauliflower and cabbage.
Eggplant And Peppers:
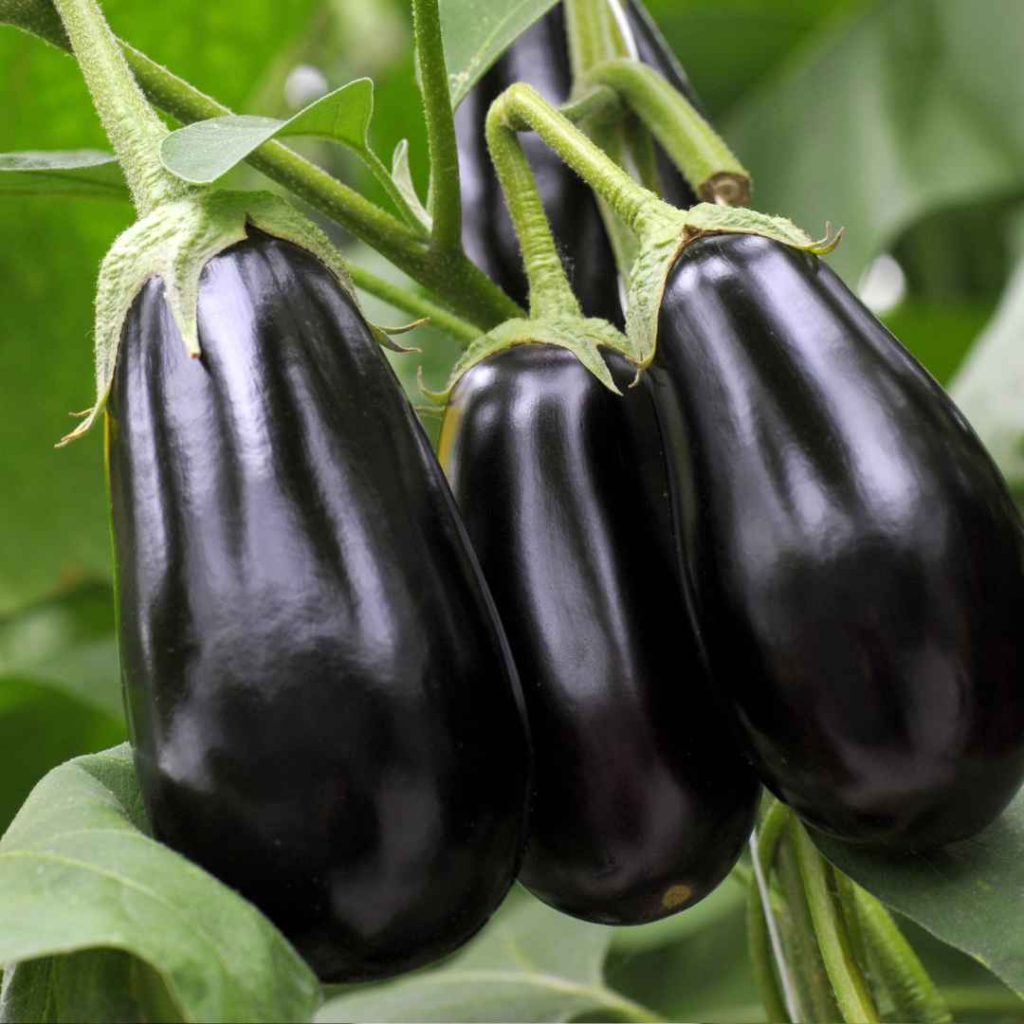
For sufficient justification, eggplant and spicy peppers are frequently the first things that spring up in our heads when considering what should be planted on an elevated gardening bed.
They are powerful nutritional eaters and flourish in the warming loam of planted beds. Landscapers can more easily meet the nutritional and irrigation needs of these abundant growers by using elevated beds.
Carrots:

Carrots are excellent crops to cultivate on elevated beds. Carrots may thrive without being hampered by rough terrain because of the unsecured, drainage-friendly soil that raised gardening space supply.
They can be readily folded in under the cover of higher vegetation since they bear berries beneath the ground and have a short tendency.
Beets And Radishes:
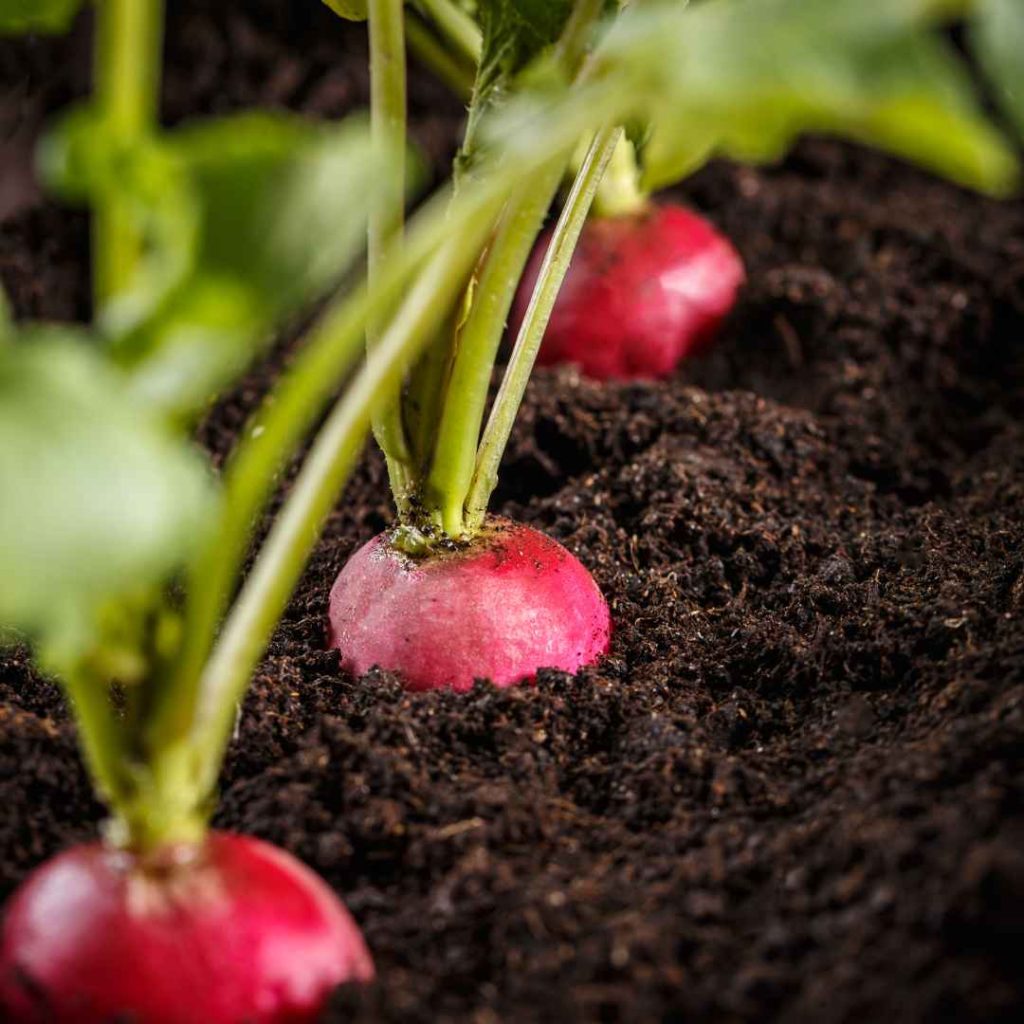
These two beautiful root veggies flourish best in the sandy substrate of planted beds because they aren’t competing with invasive plants or being hampered by gravelly ground. They are excellent commodities for recurrent planting because of their short ripening periods.
Cucumbers:
In raised gardening beds, cucumbers will thrive. To give these productive developing bushes as much area as possible, let them fall throughout the edges of planted beds or onto pergolas.
Celery:
Celery begs to establish itself in an elevated bed. It may prove a picky species that needs a long period of development, low conditions, lots of humidity, and material that is filled with nutrients. Bugs and rooted parasites can also be repelled by elevated plantings.
Potatoes:

An elevated gardening plot is ideal for potatoes. Planting in soil that drains properly keeps rotting at bay, and the unconsolidated mud lets bulbs develop completely without being hampered by boulders and heavy clay.
Melons:
Raised gardening spaces are ideal for giant ripening species like melons. The best growth conditions for luscious melons of all kinds are sunny, pH-corrected topsoil that is nutrient-rich and has sufficient drainage.
To make the most of the environment, these growing species can be encouraged to scale pergolas or various ascending frameworks, or they can be permitted to flow beyond the edges of planted beds.
Zucchini And Squash:
The elevated beds are a great way to grow enormous veggies like zucchini and squash. Hedge types are ideal complements to elevated beds and have a spreading attitude. Additionally, you can add pergolas for fast-growing, climbing vegetation to perch on or let them spill across the elevated bed’s boundaries.
Elevated Bed Garden Blooms And Medicinal Herbs:
When discussing what should be planted in an elevated gardening bed, we emphasized veggies and fruits a lot. However, wildflowers and blossoms also thrive in planted beds.
Numerous vegetation are excellent companions, attracting useful bees to a gardening bed, obscuring the aroma of valuable veggies, and shielding them from harmful parasites. They may additionally be very attractive.
Tips For Success:
Step 1: Choose The Things You Wish To Develop:
Organizing is a crucial first stage in establishing a garden. Naturally, what you intend to cultivate and the available territory will determine the kind of landscape you create. Are you interested in starting a vegetable-based garden? A lawn of herbs? A landscaped area of flowers?
Make sure the veggies and medicinal plants you chose for the evening’s meal are ones that your loved ones will enjoy or be open to trying.
Choose between evergreens, which have a limited flowering period but come back following the previous year, or perennials, which burst for the majority of the summertime but require replanting periodically in the spring, if you prefer blooms for their personality, shade, and scent.
Although all of them, or even an assortment of them, creates an exquisite landscape, they must involve varying amounts of upkeep.
Step 2: Pick The Ideal Spot In Your Property:
Many kinds of blossoming flowers and nearly all veggies require six to eight hours of bright sunlight per day. When choosing a location for your fresh landscape, the three most crucial elements are sunlight, moisture, and ease of authorization.
To determine which areas of your outdoor space obtain full light as opposed to a portion of full shadow, it’s necessary to keep an eye on it every step of the course of the day.
A dropping landscape is additionally challenging, laborious, and possibly costly to maintain, so if it’s possibly feasible, choose a fairly level location for your outdoor space.
Step 3: Make Ground Level Abundantly Clear:
Remove any turf and bushes from the region where you intend on planting and set up the elevated garden. To protect yourself from spikes, insects, and contaminants, use protective gloves for gardening.
Purchase knee protectors or a high-quality resting pillow to ensure you can get comfortable and start taking care of things. It may additionally be a therapeutic procedure. After plenty of labor, you will have a nicely manicured patch of ground that is prepared for the following chapter of its life.
Step 4: Build an Elevated Bed:
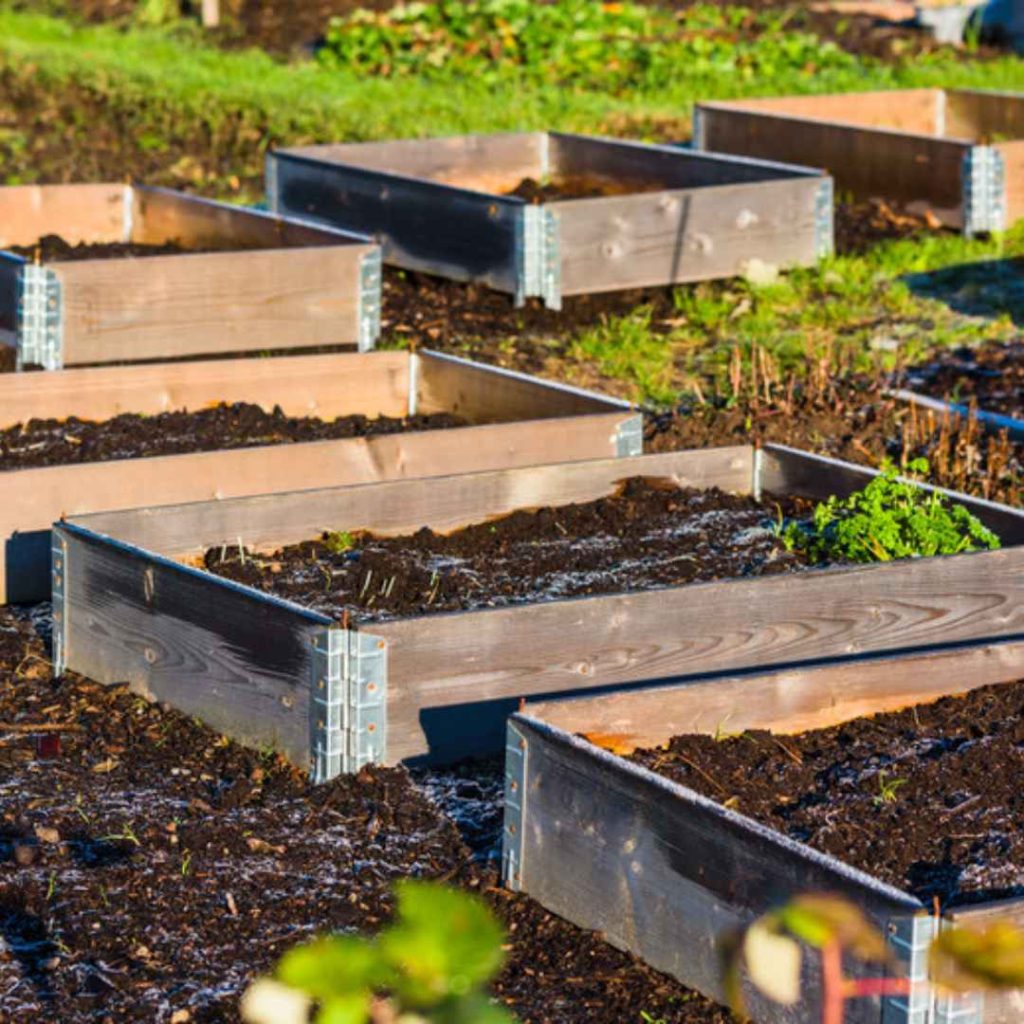
You can always add a greater extent, therefore begin with modesty. An excellent place to begin is with a “4 foot by 4 foot” elevated bed. You should strive for an extensive level of twelve to eighteen inches.
Reaching the middle of the bed avoiding walking on the dirt is crucial. You may develop an abundance of nourishment in this tiny area, and it’s simple to build.
Step 5: Incorporate New Soil:
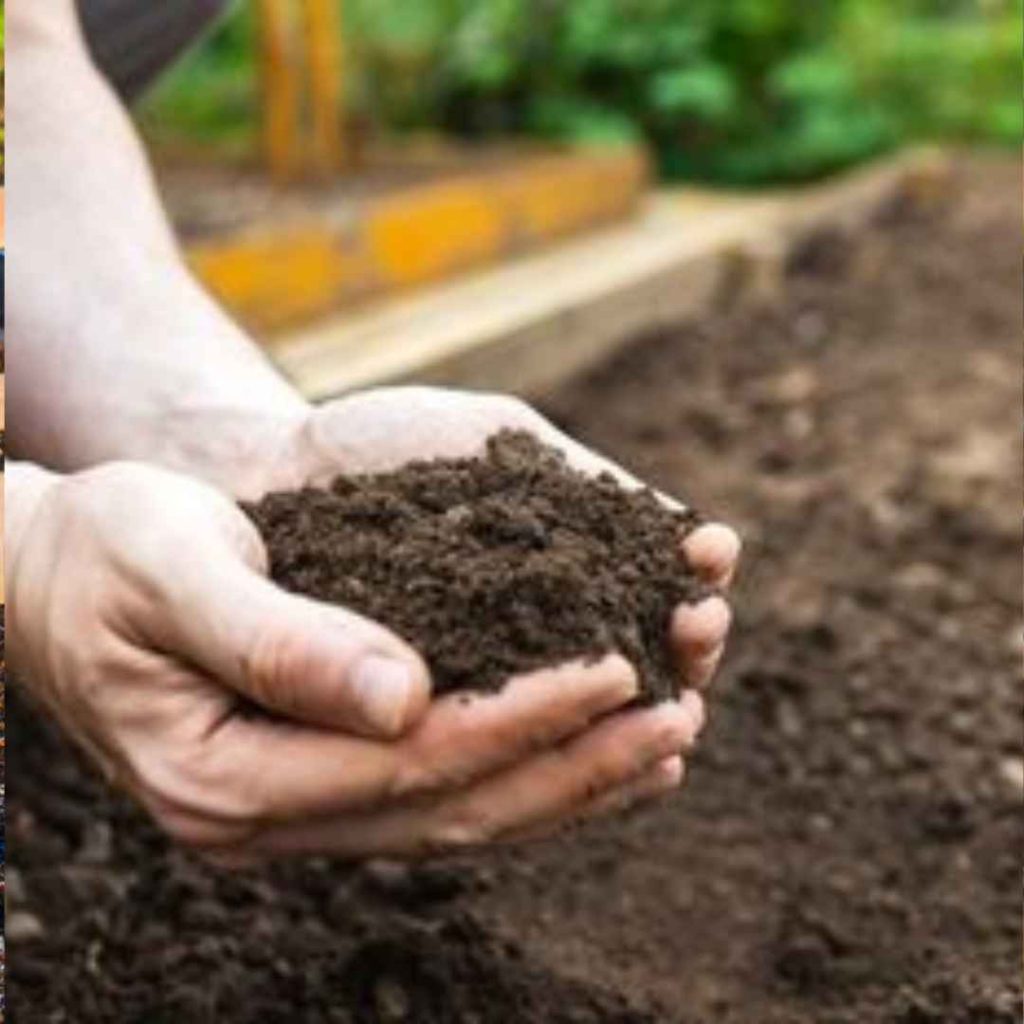
The elevated beds have the benefit of not requiring the installation of preexisting topsoil. In order to fill the bed.
combine a comparable quantity of: fertilizer; Create your personal or household use a variety of manufacturers.
Coconut fiber or peat moss; renders soil thinner and aids in retaining moisture.
Vermiculite: permits the substrate to circulate and aids in retaining moisture.
You are prepared to sow as soon as you have the ideal combination of materials in your elevated bed. Before getting started in new accommodation, prepare the substrate to make it easier for origins to develop and obtain the water, vitamins, and minerals they require.
It is more difficult for digging in too-parched substrate, while too-wet topsoil might cause structural problems. Don’t forget to replenish the ground with pure fertilizer every time you plant.
Step 6: Growing Begins:
Buying tender plants, sometimes called transplants, is a more practical way to start your own landscape. In your established bed, make ditches in accordance with the tag’s recommended interval.
Squeeze downward toward the vessel from the bottom while holding the stems of the vegetation to eliminate them from the vessel. After that, add dirt and gently press down the area surrounding the root structure. Wash the dirt with water until it is done.
Step 7: Establish An Irrigation Timetable:
Ensure that you nourish your newly planted plants frequently, even every day in the summertime, so you are not overlooking them and letting them grow to the stage when they start starving.
It is crucial that your backyard receives the necessary moisture, regardless of how much you want to use an irrigation hose or build a self-service spritzing structure. Watering seedlings often is necessary until their roots establish, which typically requires somewhere between two and three weeks.
Once the substrate seems completely dehydrated to the contact, you may begin distributing the irrigation while providing them a good wash.
Step 8: Purchase Quality Equipment:

With the right horticultural equipment, you can remove soil and other materials from vegetation without harming their bases. Additionally, you may utilize them to safeguard your fingers as you germinate seeds, pull invasive plants, and perform other essential horticultural tasks.
You will be happy to be granted the instruments available when you need to undertake sensitive excavation, even though you generally will not utilize them all on each occasion you engage with the backyard.
Gloves: When handling grains or moving seedlings, mittens should be strong yet not overly large.
Trimming Blades: Often referred to as scissors, palm trimming tools assist in controlling overrun and excessively plants. A successful instrument for moving soil is a gardening rake.
Hand Shovel: An indispensable hand instrument, scrapers are great for invasive species removal, establishing pots, and moving vegetables and bedding varieties.
Step 9: Take Some Time To Plant In Your Landscaping:
Maintain up with plot activities as your landscaping grows to assist it realize its full ability. Whenever the greenery shrivels up, water them. Whenever they go to plant material, uproot wildflowers.
Evidence indicates that individuals who devote time in their gardens are more probable to attribute their overall excellent well-being and fewer symptoms of anxiousness and stress, in addition to keeping their greenery wholesome and thriving! Give the greenery authority.
Step 10: Gather And Consume Your Produce:
Pick frequently and when you’re a teenager to boost output. Make frequent use of the nourishment you cultivate in the vegetable patch. Integrate the veggies you produce into the meals your relatives regularly consume and experiment with new dishes. Garden veggies make excellent additions to curries and milkshakes.
Recent Posts
The Secret Garden Hack to Kill Weeds Naturally and Grow Strong Pepper Plants at Home
Weeds are one of the most frustrating parts of gardening. They don’t wait for permission, they just grow wherever they find space. In a vegetable garden, especially in small home setups, weeds...
Growing healthy pepper plants does not always require expensive fertilizers or complicated techniques. Sometimes, the simplest methods work the best. One such method uses organic material placed...