
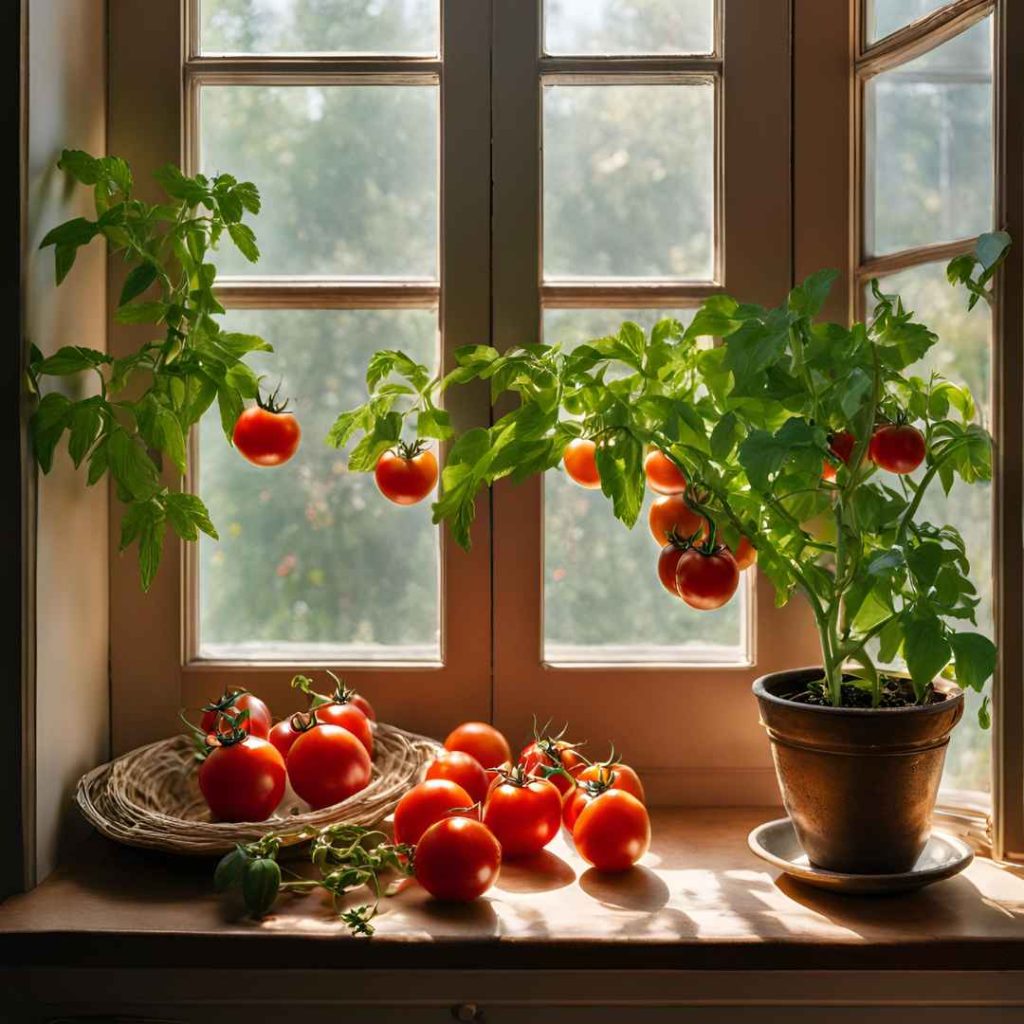
It is possible to cultivate tomatoes inside. Here’s how to obtain yourself a tasty yield.
This cold season, skip the boring tomatoes from the supermarket. Cultivate homemade salad-size tomatoes indoors alternatively.
Though they may expand, blossom, and ripen indoors with a little additional attention, tomato plants thrive in outside conditions. Growing tomatoes indoors is a work of passion that combines the two disciplines.
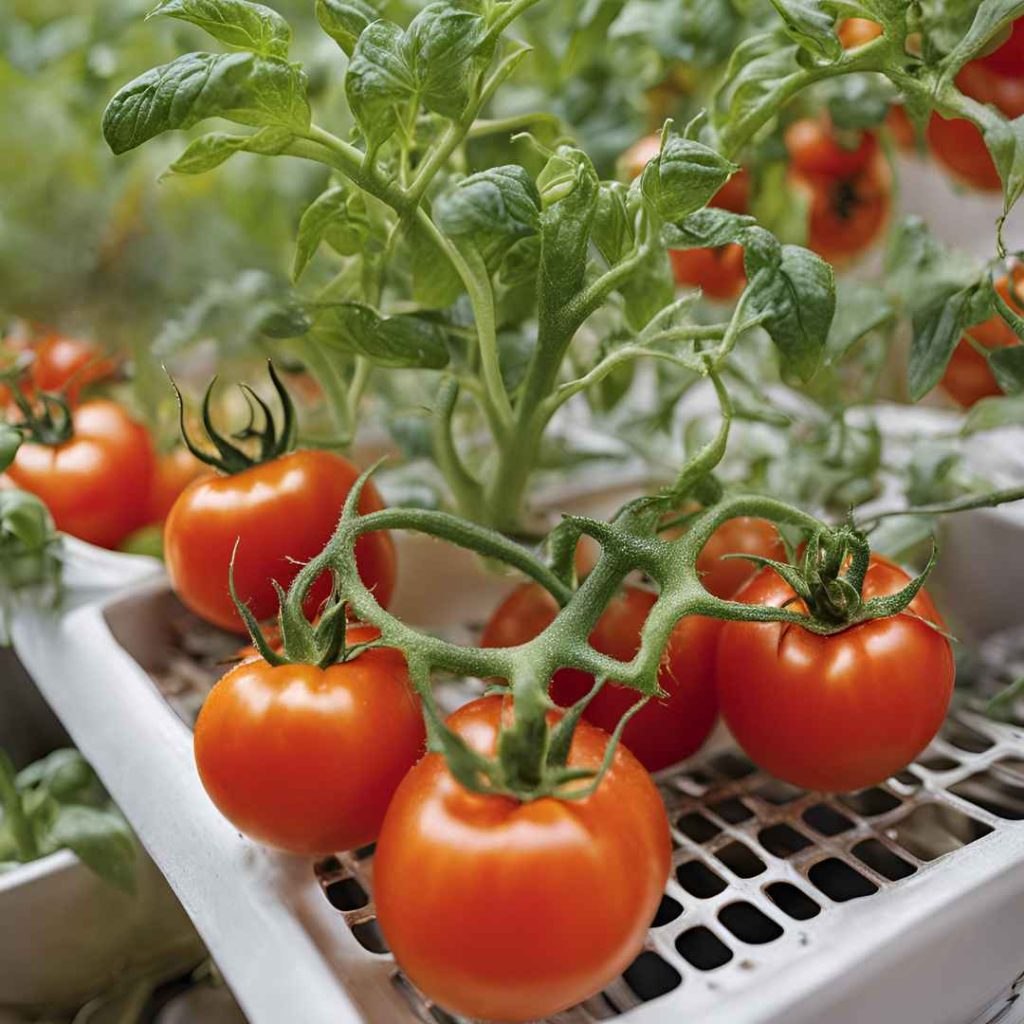
Though you won’t get sufficient, you should get some delicious small tomatoes to add to sandwiches, sprinkle veggies, and give your preferred snacks a taste boost.
These ten essential guidelines for cultivating tomatoes domestically will enable you to savor several mouthwatering treasures, which are particularly pleasant during the winter.
A Powerful, Intense Illumination Is Necessary:
When cultivating tomatoes indoors, sunlight is replaced with a system of cultivation lights. It’s uncommon that inside sunlight—especially during the winter—is sufficiently powerful to give tomato plants the necessary nutrients they require to develop and bear fresh fruit.
A tomato bush requires more illumination than it gets, even from a south-facing opening, to survive.
Rapid expansion can be promoted by hanging a fundamental assortment of industrial lighting, or growing light bulbs, several inches over the canopy of the plants. These bulbs can be found at landscape and house retailers.
When grown within the house, seeds and immature tomato crops need between eighteen to twentieth hours of extra illumination each day. Plants that have fruit that are beginning to shade and mature can be transferred to a location that faces south because they no longer require plenty of sunlight.
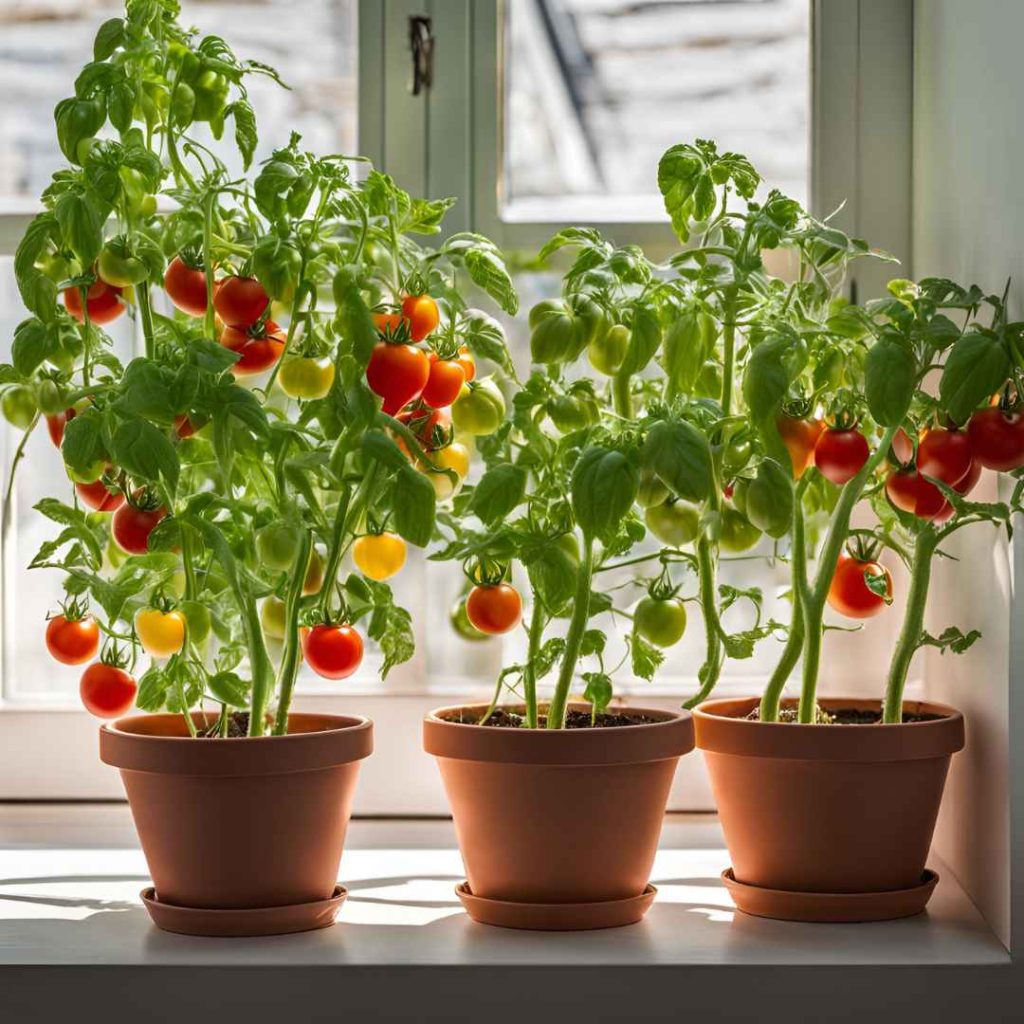
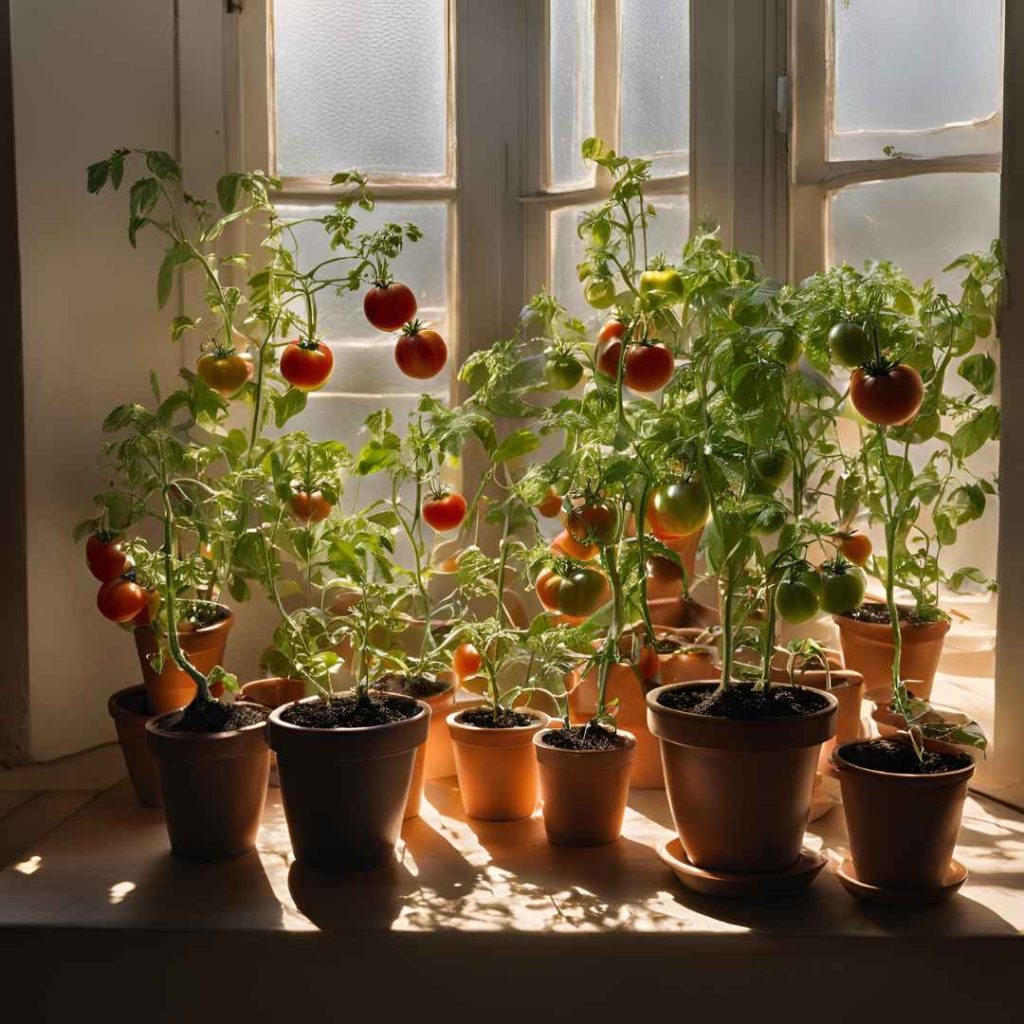
Select Compact, Small Varieties:
The finest tomato kinds to cultivate inside are those with the labels “bush” or “patio.” These plants, which are specifically chosen to be tiny and compact, do well in containers.
Many classics and conventional cultivars like “Celebrity” are much too big for cultivation properly within the house. You may anticipate to see cherries, grape variety, Roma, and miniature slicing sorts of tomatoes growing on patios or in shrubs.
Some excellent cultivating kinds for indoor utilization in receptacles are “Tumbler,” “Patio Choice Yellow,” and others. Fruit is a feature of tiny crops that are commercialized. All you have to do is set them in an illuminated opening and wait for some time for the berries to reach their peak.
When Sprouting Seedlings, Provide Heat:
Increase the rate of development of the tomato plants grown indoors by placing warmth beneath seed commencing platters. Just place seedling dishes over a low-heat furnace, heat surface, or microwave top to provide adequate warmth.
Within several days, just the right amount of temperature will initiate development. You will be able to gather fruit earlier if seeds start germinating more quickly.
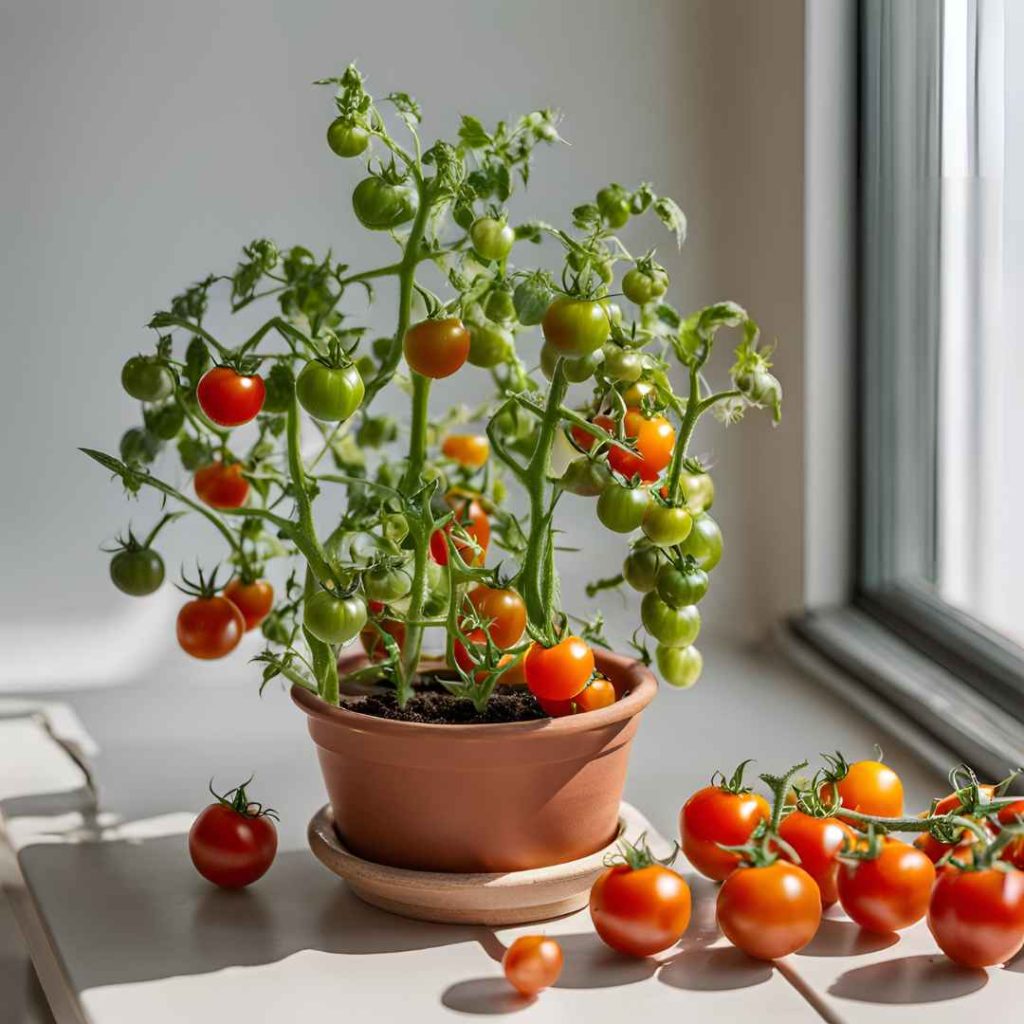
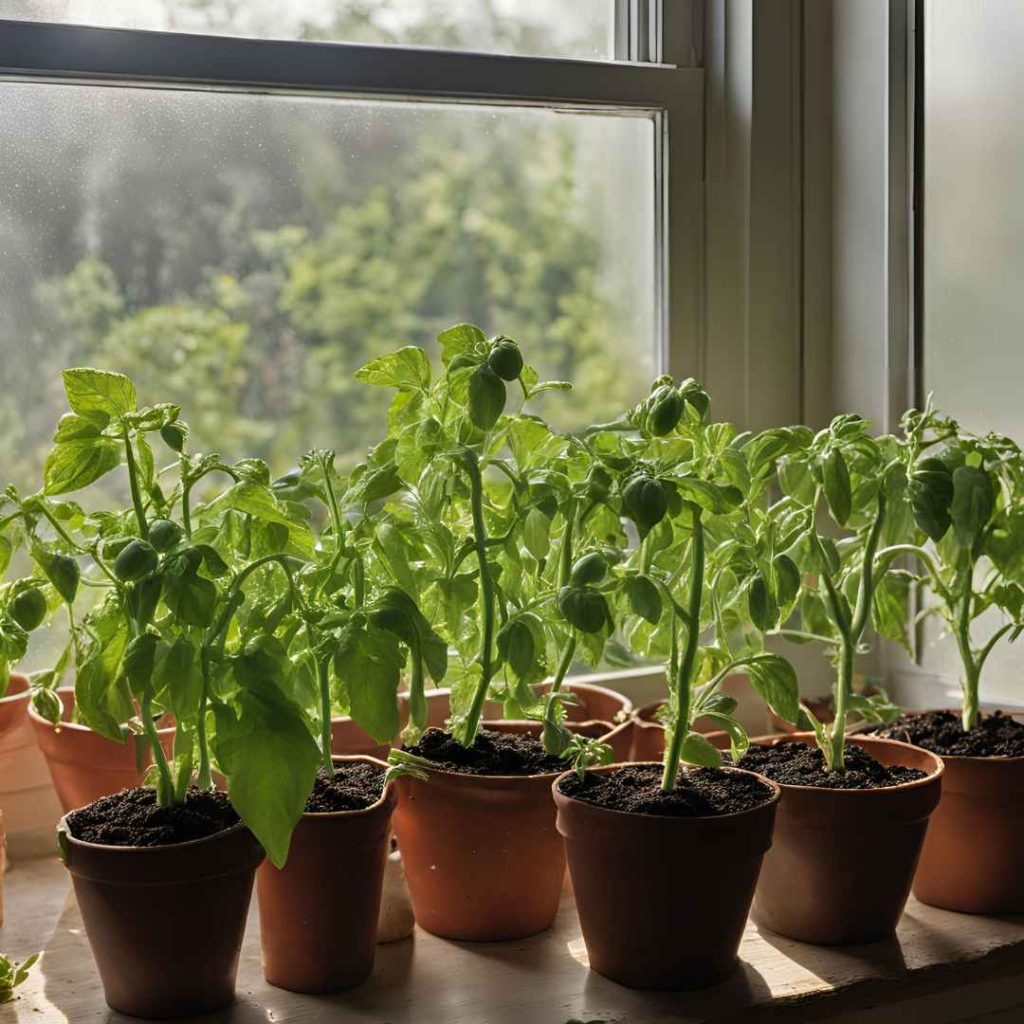
Move The Plant To A Big Pot:
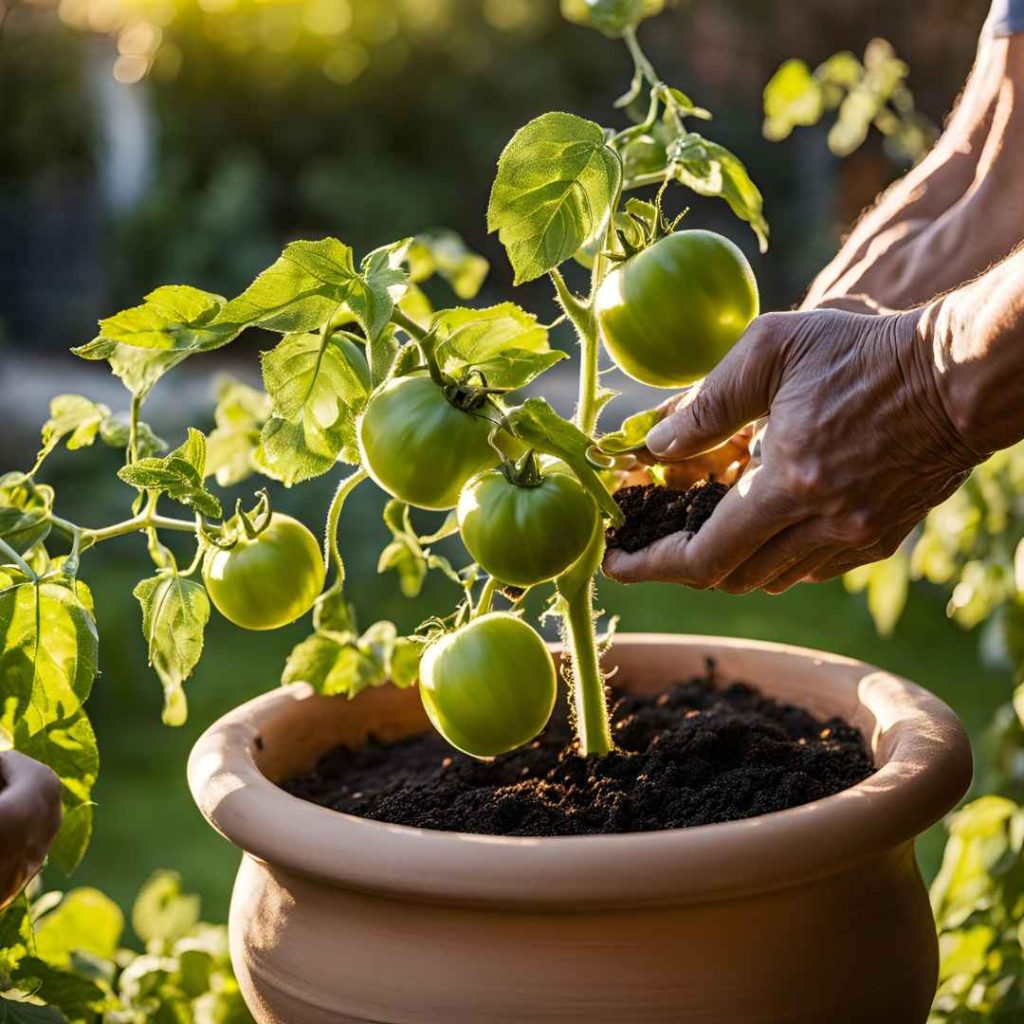
A tomato planting should be moved to a bigger planter with new planting mixture when it is approximately six inches high and has many clusters of foliage. The width of the vessel must be no shorter than fourteen inches in length.
Tomato plants grow most effectively in pots that are preferably twenty inches long deeper. The origins can spread farther out in a bigger container.
Additionally, confirm that the receptacle’s bottom has drainage openings. In order to capture additional fluid that may spill out of the drainage openings, position the container in a saucepan or dish.
Locate A Reliable Warm Spot:
Temperatures between seventy and eighty degrees Fahrenheit are ideal for tomato growth within the house. Tomato plants that thrive in warmth will be shocked by cool breezes from a drafty door or balcony. Look for a growth spot that is protected from chilly air currents.
Additionally, be aware of steaming air gusts coming from thermostat ducts. Temperatures of seventy to eighty degrees Fahrenheit are ideal for tomato growth.
Keep Your Plants Damp But Not Soggy:
When cultivating inside, tomatoes demand higher levels of irrigation than garden-variety crops. Every day, feel the ground to assess the requirement for water. Don’t irrigate the soil if it’s wet; instead, examine it the following day.
Irrigate the plant till moisture escapes the drainage apertures if the substrate is parched. To capture additional fluid, use a big dish or container holder.
To prevent the soil from getting soggy, empty the sphere or dish within thirty minutes after showering it.
Apply Fertilizer Often:

The best fruiting occurs when tomatoes grown inside are regularly fertilized. When time for cultivation comes, combine a gradual-release granular plant protein into the gardening mixture and add granules at the intervals specified on the packaging.
Alternatively, nourish weekly plants that thrive using an agricultural fertilizer mixture that dissolves in water. Fertilize your plants on an ongoing basis. to restore the minerals that planter-grown tomatoes lose when they are watered too frequently.
Aid in the Pollination Process:
To guarantee pollination, indoor vegetation requires your assistance. Because they are self-pollinating, tomatoes can produce fruit without the assistance of pollination from other plants.
Stir your plants carefully every day once they blossom just how the breeze pushes plants that are developing outside. It will encourage fruit ripening and pollination to shake gently. The effects of a rotating blower can be comparable.
Rotate Plants as Required:
Rotate plants often to encourage blossoming and sturdy, erect stalks. Plants grown under ceiling propagation lamps do not require motion, but a tomato plant flourishing in a brightly lit room would profit from a quarter-turn once every seven days. Vegetation will twist facing the illumination if left unturned.
Put a Bet on Your Tomato:
The stalks of tomato plants grown indoors are sometimes more fragile than those grown outdoors. Plants can withstand the heaviness of maturing fruit by supporting themselves with a wooden staple sunk about three feet into the ground next to the main stalk.
Fasten the embryonic stalk to the stakes carefully with strands of fabric. As the vegetation gets bigger, add more connections.