
Collard is a treasure of nutrients as it contains protein, minerals, and vitamins. Collard belongs to the brassica genus, its fellow members are broccoli, cabbage, wrestle sprouts, and cauliflower.
Brussel sprouts and cabbage have tight heads of leaves. On the other hand, kale and collards have a loose-leaf form. If we talk about cauliflower and broccoli, they have loose leaves and dense heads of flowers.
When To Plant Collard Greens?
Collard greens like to grow in cold climates. The best time to plant collard greens is in late summer to early autumn so you can harvest in early winters.
Frost kills most of the plants but in the case of collard greens, it improves taste and flavor. This plant can tolerate frost. If you want a summer harvest then you should plant collard greens in early spring.
For a summer harvest, your plants need plenty of moisture due to hot weather. Keep the soil moist so your plants remain fresh. On summer days, you have to increase the frequency of water.
Cultivars To Select
Following are the different cultivars of collards that you can grow in your garden.
CHAMPION
This is a high-yielding variety of collard. It is disease-resistant and can be grown up to 34 inches. You can harvest this variety of w
after 75 days.
GEORGIA SOUTHERN
This is another variety that can easily be grown from seeds. The variety is ready for harvest within 80 days.
VATES
This variety produces wide, long, and dark blue-green leaves. The leaves are ready to harvest within 68 to 75 days. The height of this plant can be 32 inches. This type of collard is slow to bolt.
MERRITT
The height of this plant can be 4 to 6 feet tall. This is an open-pollinated hybrid of the Georgia and Vates variety.
TIGER
This variety produces hardy and upright leaves. This variety is ready to harvest within 55 to 60 days. Broad and blue-green leaves with narrow stalks.
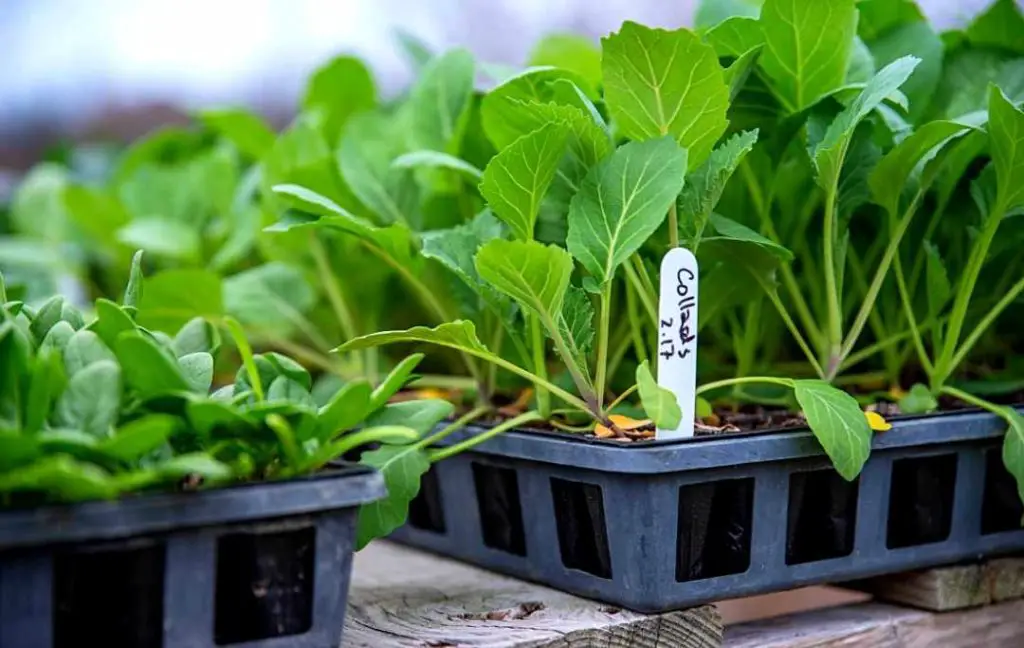
Start Collard Green From Seeds
You can start the seeds indoors for 4 to 6 weeks before transplanting them outside in your garden when the temperature is 45 degrees Fahrenheit. Following are the simple steps to start collard greens from seeds.
- After the last frost, you can sow the seeds indoors in the spring season. If you are planning for a fall crop, then the best time is before the First Frost.
- You need individual pots for starting the collards from seeds. Fill the pots with a high-quality seed starting mix.
- Make a hole about ¼ to ½ inch deep in the soil and put seeds in each hole now cover the seeds with the light layer soil.
- Keep the potting mix moist for sprouting the seeds. Avoid overwatering, it is not good.
- After 5 to 10 days you will see the seeds will germinate if they get a suitable temperature of 75 degrees Fahrenheit at 24° centigrade.
If you want to grow the seeds directly in your garden or raised bed then you should leave a distance of 30 inches in each row. When you thin the seedlings then there should be a distance of 12 to 18 inches.
Transplanting Of Seedlings
Preparing seedlings indoors will add 4 to 5 weeks in the growing season.
- When your seedlings reach a height of 4 to 5 inches with 2 to 4 leaves; they are ready for transplanting outdoors in your growing area.
- The temperature of the soil should be 50 degrees Fahrenheit then the soil becomes warm outside, this is the perfect time for moving your plants outside.
- 12 to 18 inches or 45 to 50 cm gap should be left between each seedling. Set your seedlings in the soil at about the same depth as they were grown indoors. Water well your plants after transplanting.
- You can protect the seedlings from the cold after planting by covering them with a plastic tunnel or cold frame.
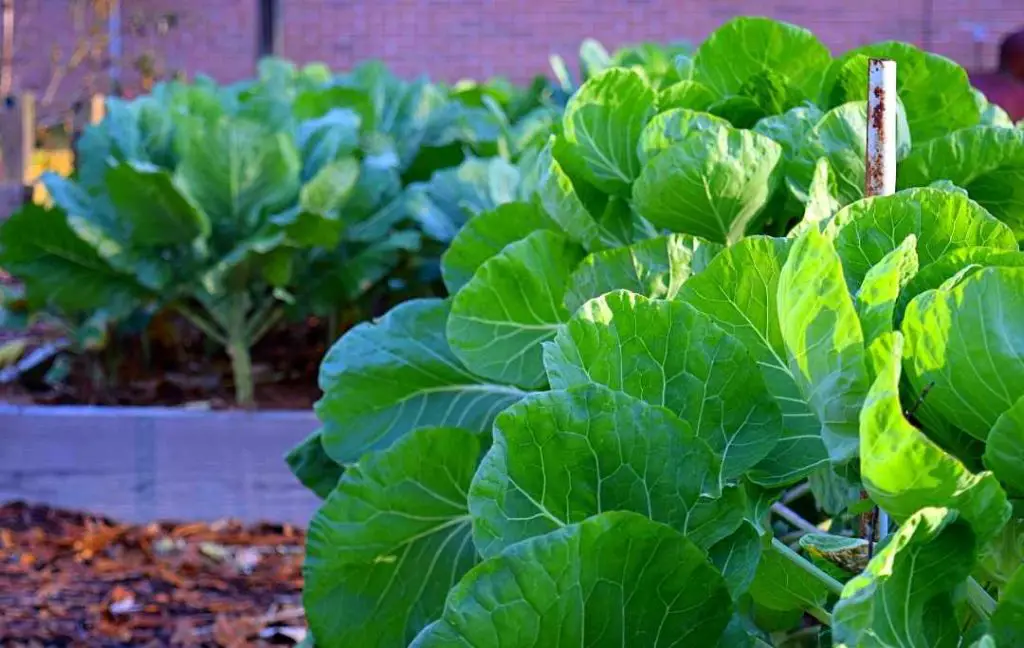
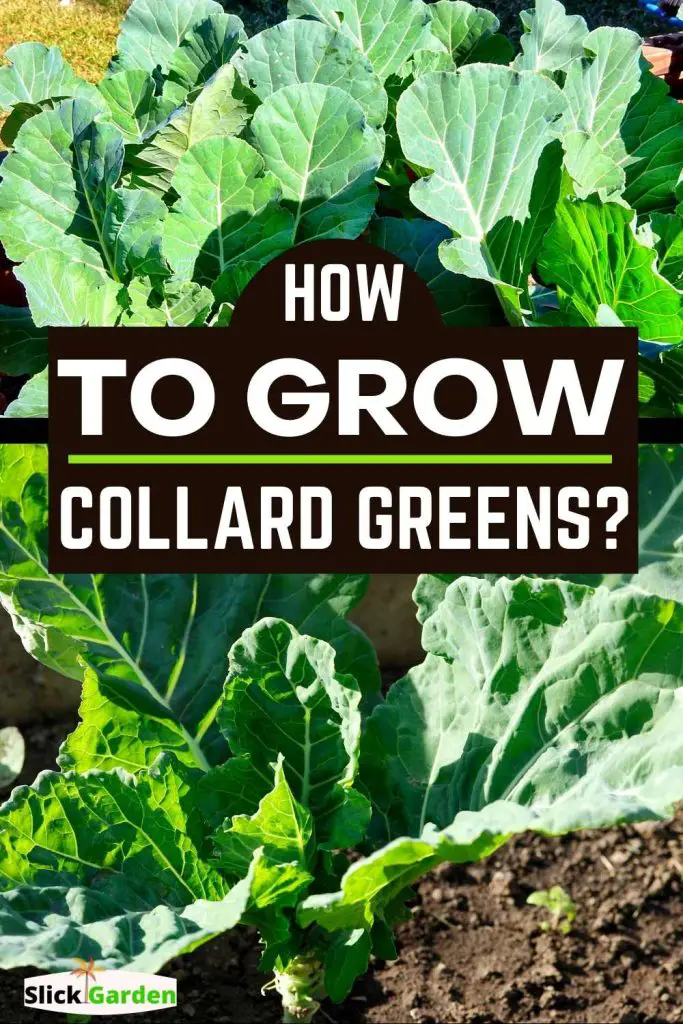
How To Grow Collard Greens?
If you plant collard at the right time and choose the variety according to your climate then you will get better results.
- Sunlight is very important for the growth of any plant but the call rate can tolerate a few hours of light shade.
- Deep rich, well-drained fertile, and weed-free soil is needed.
- As the growing season progresses you need to apply fertilizers. One tablespoon of one plant is enough. now mixed fertilizer in the soil and water well
- You can also grow collards in containers but the depth of the container should be one foot.
- Don’t leave the spring-planted greens in the ground too long because the plants may bolt. They will also start producing flowers. These small flowers attract bees but the leaves of the plant will turn bitter when they bolt.
- Collard greens need water every week in case there is no rain.
Soil Preparation
For growing collards, you should prepare well-drained soil. The roots of this plant spread 2 feet deep in the soil. It means you have to dig the soil at least 10 inches deep. Loosen soil will help to grow roots easily. The soil should be free from rocks and large sticks.
If the soil is clay and sandy then you should add organic matter. A 4-inch layer of compost is enough for collard plants. It is suggested that you should spread the compost before digging.
You can apply 10-10-10 fertilizer over the area before planting. 2 or 3 pounds is enough for every 100 square feet or you can use one cup for every 10 feet with the help of an area you can make fertilizer into the soil.
Read More
Pests And Diseases
The following pests and diseases are a threat to your collard plants.
APHIDS
Aphids suck the fluids from the leaves. Aphids are pear-shaped and have soft bodies. You can get rid of this problem by blasting aphids off with water. The other option is using insecticidal soap for this purpose.
CABBAGE WORMS
Cabbage worms like to eat plants of the brassica family. Insecticidal soap and Neem oil is the best remedy for this problem.
SLUGS
Shiny trails on the leaves of the collard plant are the clear symptom that your plant is affected by slugs.
BEETLES
All types of beetles are a big problem for collard plants. If you see e multiple small holes in the leaves it means they are affecting your plants.
You can use insecticidal soap or sprinkle diatomaceous earth around the growing area. You can also apply it to the plant’s leaf.
THRIPS
These tiny winged insects have slim bodies. They suck fluids from the leaves of the plant. If you see yellow specks on the leaves it means that your plant is affected by thrips.
You can use neem oil, insecticidal soap, or spinosad to control the population of thrips.
WEEVILS
Another pest that chews notches around the edge of the leaves. Diatomaceous earth is a simple solution to this problem. Just sprinkle it around the patches and on the leaves of the plant.
Insecticidal soap and neem oil are other options for fighting this problem. Hand-picking is also a simple solution.
DOWNY MILDEW
Due to this disease, you will see yellow spots on the upper surface of the leaves. Fluffy grey or white mold on the underside of the leaf is another symptom of this disease. As a result, the leaves of the plant will fall off and fungicide is a solution to treat this problem.
BACTERIAL SOFT ROT
Bacterial soft rot is the reason for different types of bacterias. When your plant is affected by bacteria then it will turn soft and mushy. As a result, you will see a slimy substance oozing from the plants.
Harvesting
- Within 40 days collard leaves are ready to harvest. If you like to eat young leaves then you can also harvest them within 28 days.
- If you want your plant to give you continuous harvest then you should simply cut off outer leaves whenever needed. It is also possible you can harvest the entire plant.
- In case, if you have done a fall planting then for the best flavor you should harvest call rate after one or two frosts.
Preserving
Sometimes you harvest the leaves more than you need in that case you can store them for future use. Following are tips for preserving the collard leaves.
- For storing the collard leaves you need a zipper bag.
- Place the leaves in the zippered bag and keep this bag in the crisper drawer of your refrigerator.
- You can store collard leaves for about a week.
- Avoid washing the greens before preserving them in the refrigerator.
- Before sealing the bag squeeze out as much air as possible before sealing the greens.
- Whenever you need the greens then wash them before using them.
- If you want to store the Greens for more time then you can also freeze them before freezing the greens use you should wash them thoroughly.
Read More
Recent Posts
Don’t Plant Peppers Before Watching This Simple Kitchen Waste Gardening Trick!
The first step in growing healthy pepper plants is selecting the right place in your garden. Pepper plants need good sunlight for proper growth, so choose a spot where they can get at least 5 to 7...
Do THIS While Planting Tomatoes and Watch Them Grow Faster with ZERO Transplant Shock!
Tomatoes are one of the most rewarding plants to grow at home, but they are also sensitive right after transplanting. Many gardeners notice that seedlings look healthy in pots, but once they are...