
The seeds of orchids do not contain any nutrients that’s why it is not an easy task to grow orchids from seeds. If you decide to grow them at home then you need a solution that has all the basic nutrients to speed up the germination process of orchid seeds.
You can’t grow orchid seeds in conventional soil which you mostly use in growing other plants. You can succeed if you have patience and time. The starting leaves will take one month to develop.
You may see blooms on the orchid plant after one year. This simple introduction helps you to understand why orchids are expensive.
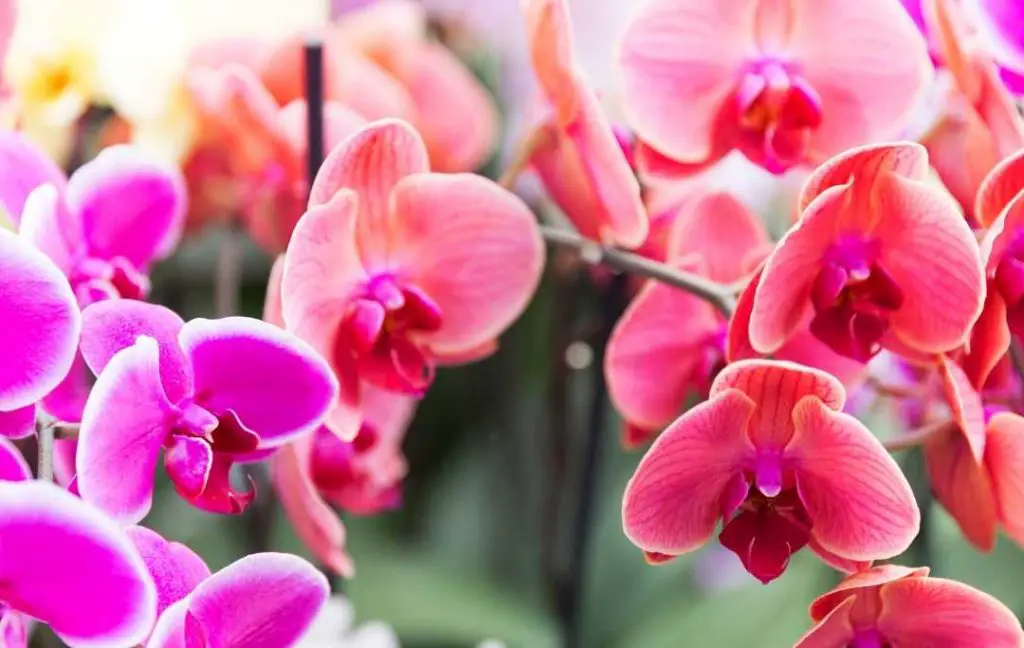
DIFFERENT VARIETIES OF ORCHID FLOWERS
30000 species like to grow in temperate zones. There is a large number of varieties available but you have to choose the one which is suitable for you. Whether you are an expert or a beginner you will find one which is perfect for your growing area.
You will find many species which show some features that identify them being a member of the same family. Some varieties can easily grow indoor plants and there is no need to keep them in the greenhouse.
The variety which you choose for growing orchids depends on the environment of your home. If you want to get success in growing orchids then you should choose a less fussy variety.
When you buy seeds from your local nursery all the instructions on the packet of seeds are available. You can also ask for more information about orchid plants according to your climate.
It is not possible to mention all the varieties of orchids in this article but here we are going to give you some common varieties of orchids which you can grow.
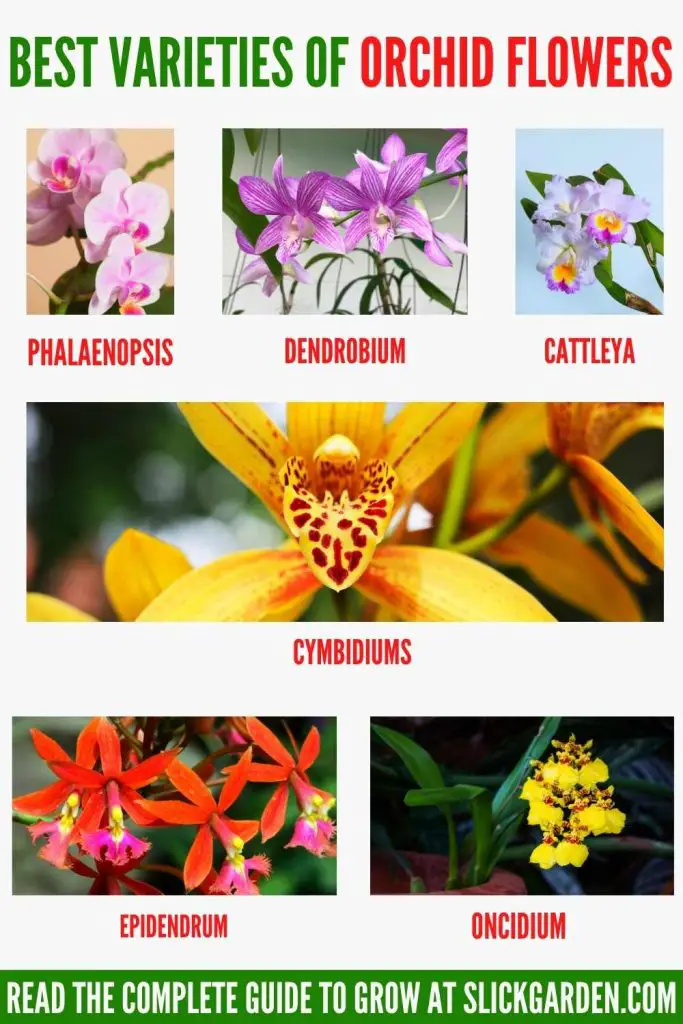
PHALAENOPSIS
The other name of this variety is moth orchid. This variety gives you bloom once or twice a year but the flowers last up to 3 months. Moth orchids like warm temperatures to grow.
DENDROBIUM
This variety is recommended to those people who are afraid to grow orchids. They can survive in low humidity.
CATTLEYA
Most gardeners prefer this variety, it is also known as a corsage. Cattleya likes to grow in heat and light.
CYMBIDIUMS
This variety can produce up to 30 flowers on one spike. The flowers will last for a long time and give you a fresh look. They like to grow in low temperatures with bright light.
EPIDENDRUM
This variety produces long-lasting flowers with mesmerizing fragrances. The important factors needed for the production of beautiful flowers are high humidity, bright light, and intermediate to warm temperatures.
ONCIDIUM
The roots of this variety like to grow in the air. The long-lasting and beautiful flowers are found in different colors like brown and yellow. The plants of this variety like low temperature, full sun exposure, and plenty of water.
MILTONIA
The other name of this variety is a pansy orchid. This species can be divided into two groups, one which likes to grow in warm temperatures and the other which likes to grow in cooler temperatures.
The warm growing variety gives you small flowers while a cool growing variety gives you large flowers. They like to grow in an evenly moist medium, light, high humidity, and good air circulation.
VANDA
Based on the shapes of leaves, this variety is divided into many groups. This orchid grows very high and tall that’s why they need some support. Make sure this orchid gets warm temperatures and bright light.
GROWING ORCHID FROM SEEDS
Learning to grow orchids from seeds is a tricky thing. But here we are going to provide you with some simple and basic steps which will help you indeed.
You can get and collect unripe seed capsules from the orchid plant. Remember the orchid plant you select for seeds
ORCHID SEEDS
Before planting, you must get some knowledge about the seeds of orchids. These seeds are very tiny, you will be surprised to know that the weight of 500,000 seeds of orchids is less than a tablet of aspirin.
But some varieties have larger seeds. Lack of nutritional storage capability makes the seeds of orchids different from other seeds. If the soil has mycorrhizal fungi then they enter the roots of the plant which converts nutrients into a usable form.
You can get and collect unripe seed capsules from the orchid plant. Remember the seeds capsule you select have not split yet but they have thick walls.
GERMINATE THE SEEDS

STEP 1: STERILIZES THE FLASKS
You need a large stockpot for this purpose. Fill the stockpot with water and keep it on the stove so the water starts to boil. At this stage, submerge 2 glass flasks in the boiling water. This simple step will help to sterilize the flask. This will kill unwanted bacteria and fungus.
STEP 2: ADD THE AGAR
With the help of the tongs, you can take out the flasks from the boiling water. Place them on the towel and let them dry. Now pour the sterile agar into the flask through a funnel. Pour only a half-inch layer of ager in one flask.
STEP 3: PUT THE SEEDS IN WATER
In the second flask pour 1 inch of distilled water. Place all the orchid seeds in this flask.
STEP 4: PICK UP THE SEEDS
In this step, you need an eyedropper. Dip the eyedropper in the flask which has water and seeds. When you release the bulb of the eyedropper then water and seeds will enter the eyedropper. Take out the eyedropper in this flask and insert it into the other flask which has sterilized agar.
STEP 5: SCATTER ONTO THE AGER
Now hold the eyedropper over the solution of agar which you pour into the flask. At this step, squeeze the bulb until all the seeds are scattered on the top of sterilized agar.
STEP 6: PUT UNDER LIGHT
Now close the top of the flask with a cotton or foam flask stopper. Place this flask under artificial grow lights or in a dimly lit location. But it depends on what variety you are growing. 14 hours of sunlight is needed for the germination of the orchid seeds. This process will take a few years to a few years.
STEP 7: MONITOR ROOTS
When the seeds of the orchid germinate then this is the time to examine the young roots which are emerging from the seeds. When the length of the roots of the seeds is about ¼ inch then pull the orchid plant from the flask.
You will face difficulty in taking out the young plant from the flask so you can use a long tweezer for pulling the plant from the agar solution. After taking out seeds from agar, rinse the seeds with clean water.
Read More
- HOW TO GROW HYDRANGEAS IN CONTAINERS?
- HOW TO GROW PEONIES FROM CLIPPINGS?
- HOW TO GROW JASMINE INDOORS?
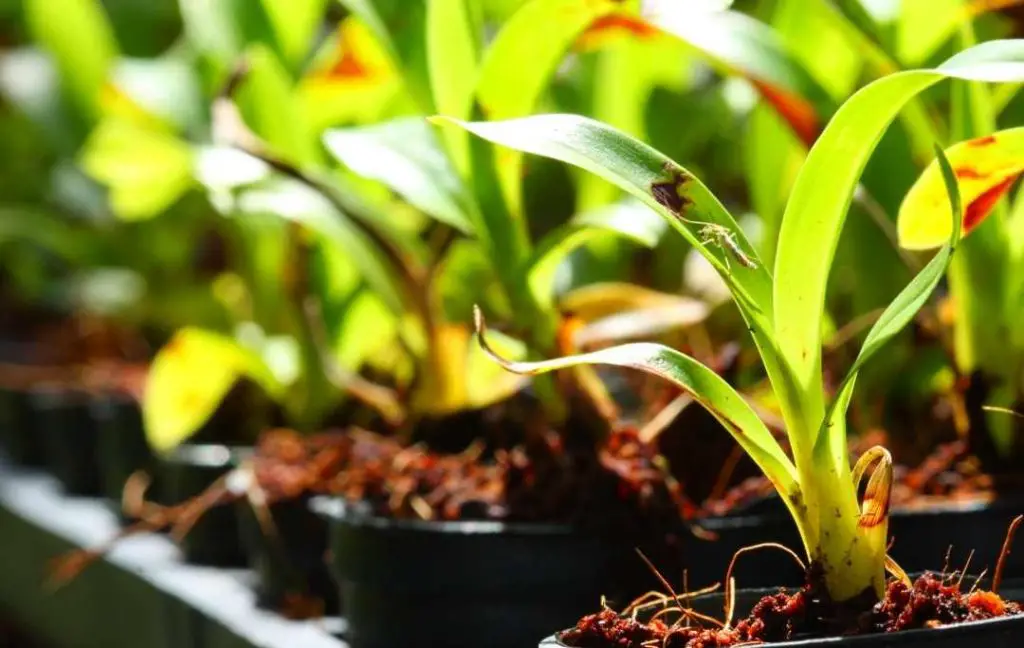
PLANT THE ORCHID SEEDLINGS
Following are the simple steps for planting the orchid seedlings in the pot.
STEP 1: PREPARE THE POT
You need a pot for planting the seedlings which you prepare in the flask. The size of the pot should be 2 to 3 inches in diameter. Place a layer of foam peanuts in the pot this will help to drain away all the excess moisture from the roots of the orchid.
STEP 2: ADD THE BARK
Now place a layer of fir bark chunks on the foam peanuts. If you don’t have fir bark chunks then you can also use a high-quality potting mix that is formulated for orchids. This type of potting mix is easily available in any garden store.
STEP 3: POT THE ORCHID
Fill the pot with bark chunks and plant the roots of the seedling in the pot.
STEP 4: KEEP IN BRIGHT LIGHT
If you are placing your plants indoors then keep the pot in bright light. Orchids need 12 hours of artificial light each day.
STEP 5: WATER THE ORCHID
Water your new orchid plant once a week. When you see the bark chunks have dried then you can water or the id plant.
STEP 6: FEED THE ORCHID
For feeding orchid plants you need to add fertilizer. The best fertilizer for the orchid plant is 20-20-20 liquid fertilizer. You can add water to the fertilizer to make it dilute. Remember to water the orchid plant before and after fertilizing.
STEP 7: RE-POT AS NEEDED
When you see your orchid plant grow taller then you can replant it in a large container. The best time to do this step is when you see the roots are above the soil surface.
TIPS FOR GROWING ORCHID
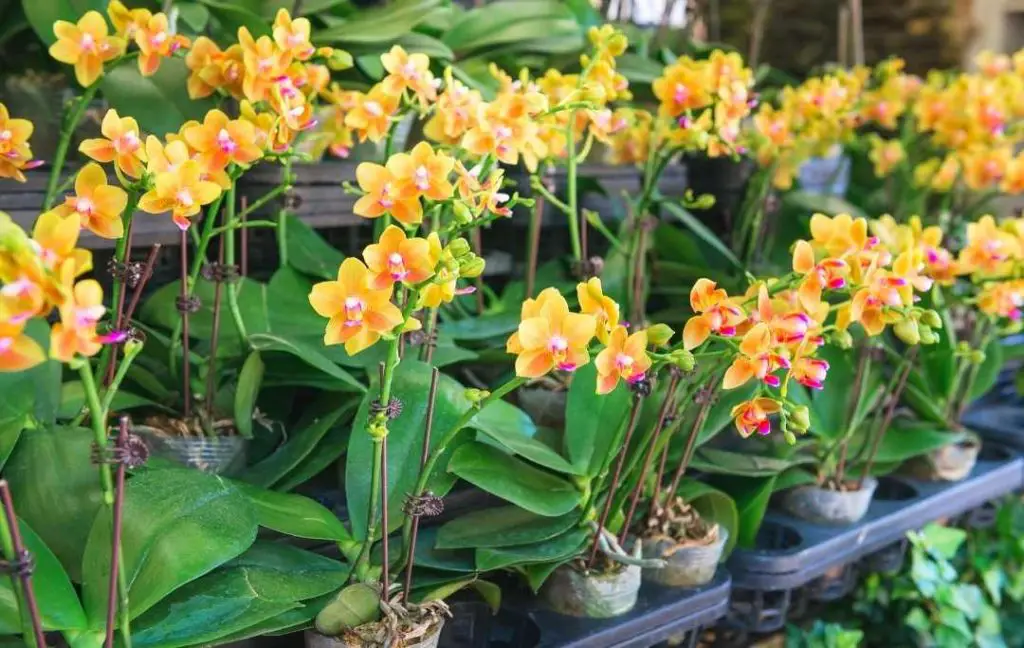
It is very challenging to grow orchids but orchid plants are very popular plants due to their beautiful blooms and exotic appearance. Hopefully, these tips will help you to be successful.
- There is no need to give extra water to your orchid plant as you may think. Because orchid plants can tolerate dryness. Waterlogging is not good for them as they will die. Some gardeners soak the roots of orchids for 10-15 minutes in water. You can do this once a week.
- Orchids are also susceptible to pests like other plants. If you see aphids, scale or mealybugs then you can remove them with the help of a brush. Use pesticides as a last option.
- Make sure your orchid plant gets proper air to grow healthily. Air circulation will protect from fungus and other diseases.
- It is an interesting thing, most of the orchid plants bloom once a year. But this flower will last six to ten weeks.
Humidity is essential for the growth of your orchid plants. The humidity level for growing orchid plants is 60 to 70%. For this purpose, you should do some simple steps like place a tray of wet pebbles under your orchid plant’s pot.
Wet pebbles in the tray will help to transfer the moisture to the orchid plant. Another option is keeping a humidifier near your plant for maintaining the moisture.
- Orchids like to grow in small plastic pots. Plastic pots are preferred because reporting becomes easier.
- It is good to say that orchids are light-hungry plants that need at least 12 to 14 hours of Sunlight. If you are growing Orchid plants indoors then east and south-facing window is the best place for them. If you don’t have a proper place where your Orchid plants get ample sunlight then you can arrange an artificial light for them.
Read More
- 10 Best DIY & Cheap Container Gardening Ideas Anyone Can Use
- An Ultimate Guide to the Best LED Grow Lights for Indoor Plants
Recent Posts
The Secret Homemade Liquid Fertilizer That Can Boost Flowering, Fruiting, and Plant Growth Naturally
Many of the materials we throw away in the kitchen still contain nutrients that can be useful in the garden. Onion peels and potato peels are good examples. Instead of sending them to the trash, you...
I Mixed Yogurt, Molasses & Compost Tea for 24 Hours… The Results Changed My Garden Soil
Healthy soil is much more than a mixture of sand, silt, clay, and organic matter. It is a living ecosystem filled with bacteria, fungi, protozoa, nematodes, and many other microscopic organisms....