
If you love gardening you want to feed your plants in the best way, compost is good for your plants’ health. You can make compost at home instead of buying. A compost has rich nutrients, it is not difficult to make compost at home as it is budget-friendly, but for this purpose, you need a compost bin.

When we talk about making compost bins, there are lots of options, some of which are very easy but some require hard work. You can create your own compost bin very quickly if your budget is very low. Here some easy ways of making the bin are going to explain in detail.
First, we will discuss the making of a compost bin with wood. After that, there is a detailed explanation of making a compost bin from a plastic container. In the second type of compost bin, we will explain to you how to make compost easily at home at a cheap price. Hope this will help you in making compost bins.
1- EASY AND INEXPENSIVE WOODEN COMPOST BIN
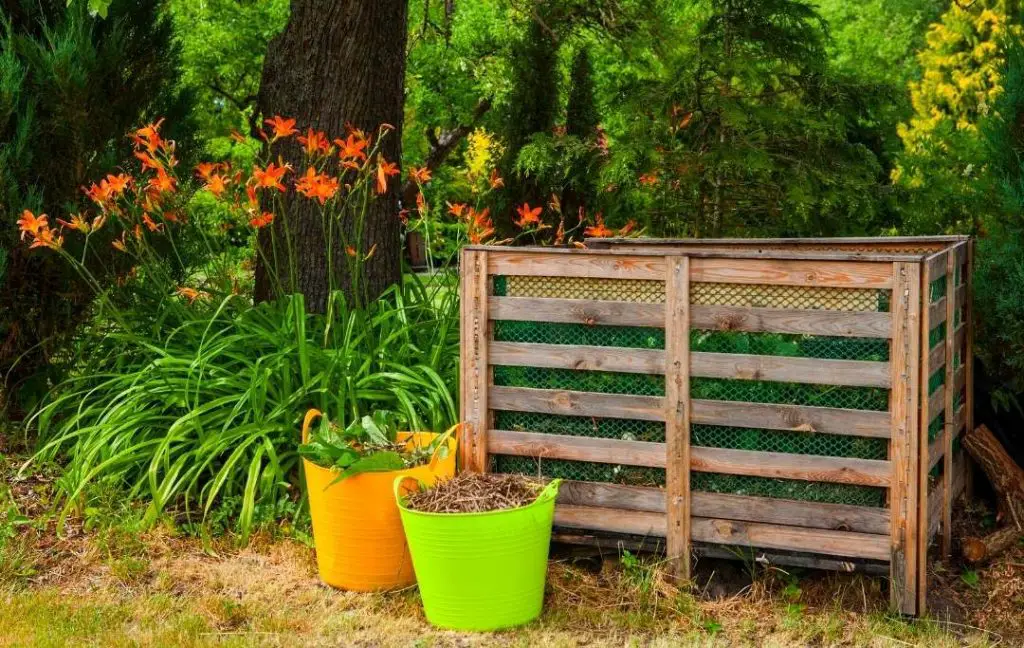
You should use ordinary untreated framing lumber, this is the perfect material. Here we are going to explain the simple step by step plans for making a compost bin. You should create removable wood slats for the front section; these slats easily slide. Another purpose of making these slats is letting the air around the pile, make it easy to turn the pile and remove compost when it becomes ready for use.
Step 1
The first step is cutting the lumber.
- Use 1×4 lumber to make 24 horizontal slats.
- You also need eight vertical legs for the corners of your compost bin.
- 8 more slats are required for making the lid.
- Now you need to make rails for the slide in track, for this purpose, cut 1×4 lumber to the bin’s height.
Step 2
- For making the back and the sides, now lay two legs and attach six slats with the help of screws.
- You should place the ends of the snakes ¾ inch from the outside edges of the legs. In this way the back of the bin is ready.
- Try to leave a ¾ inch gap between each slat.
Step 3
- Make the slide-in panels. For this purpose, for the lower panel, secure 3 plates that have space about 3×4 inch apart.
- In the same way, you should make the upper panel but be sure its battens extend 3×4-inch past the bottom slat to create the gap between the slats.
Step 4
Now the most important step of assembling can start
- With the help of adhesive glue and screws, the task of assemblage can be done, the sides of the bin to the inside edges of the back legs. These legs help to make back corners.
- You can create the slide interact for the front panels, you should attach the rails to the slats on the inside front edges of the side panels.
- Now use glue and screw to assemble the remaining legs to the front edges of both sides and make the front corners. Now you can slide the front panels into the tracks.
Step 5
Now the last step of making the lid is left.
- For this purpose attach buttons to 4 boards. In this way, they are flush with one edge and 2-½ inches short on the other.
- Now repeat the same process for the second half of the lid.
- Now the final step is going to be done, which is flip the pieces over and top your bin.
Read More: What To Or What Not To Compost?
2- MAKE COMPOST BIN WITH PLASTIC BIN
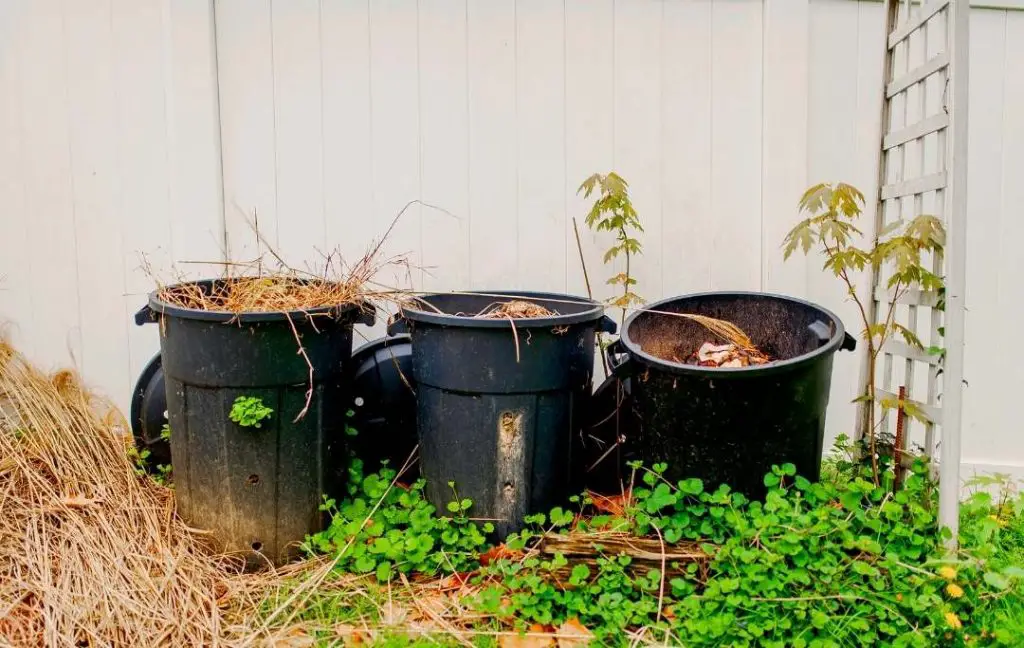
In this way, you can easily make your own backyard compost Bin. No hard work is required for making this.
Step 1
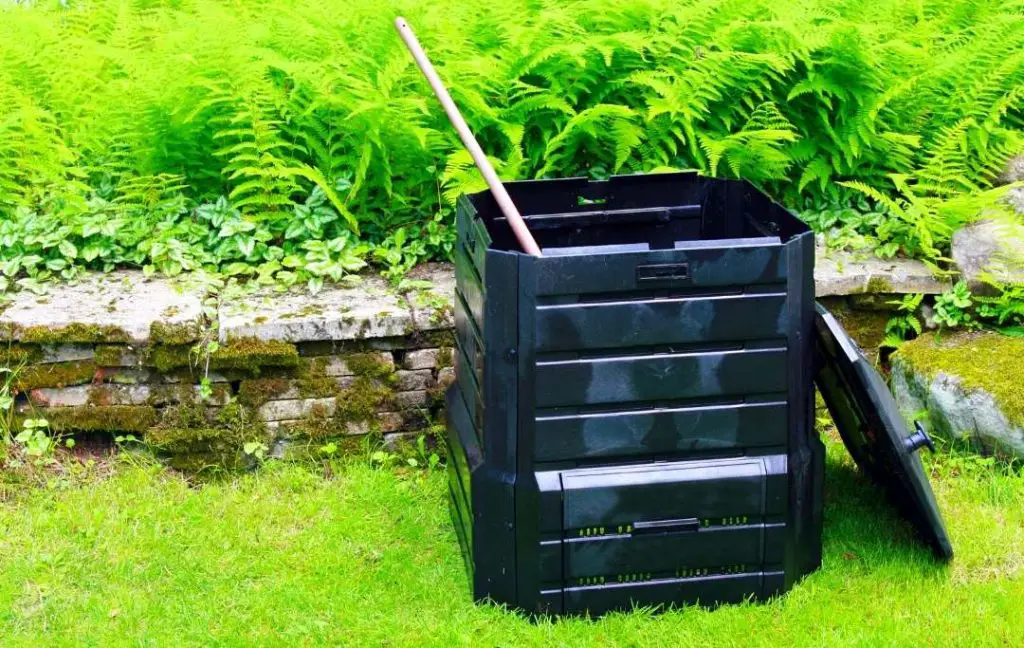
You can buy a plastic bin from the market which has a tight-fitting lid about 24 inches tall. This lid helps to keep the soil moist and try to keep critters out. If you have any bin of such type at home you can easily recycle it for making a compost bin, in this way, this bin becomes almost free for you.
Step 2
In this step, you need a grilling machine because you need to make 8 to 10 small holes in the bottom of your plastic container. These holes are made for the purpose of air circulation.
Step 3
Now, this is the step of making the base at the bottom of your compost win with the help of shredded newspaper or dry leaves. Place these filling about ⅛ – ¼ of the compost bin. Newspapers and dry leaves both are easily available at home; there is no hard work hard is needed in collecting the things. Dry leaves are easily available from your own garden and old newspapers are not in use.
Step 4
After the layer of leaves and the newspaper, you will have to place dirt on it. You should continue feeling until the plastic bin fills up to half.
Step 5
Now you can place any food scraps or paper products that are easily available. But here you have to to take care of this thing that some elements you cannot compost like
- Dairy products due to the odor problem
- Yard trimmings because these trimmings are treated with pesticides and they have the ability to kill composting organisms.
- Pet wastes because they contain parasites or germs which are not good for your compost.
- All kind of meat including fish
- Egg or poultry scrap
- Coal or charcoal ash
And the elements you can compost are
- Animal manure but from herbivores like cows and not carnivorous like cats or dogs.
- Clean paper
- Paper Towels
- Coffee Grounds and filters
- Cotton and wool rugs
- Fruits and Vegetables
- Leaves which are easily available from your own garden.
- Seaweed, tea and, tea bags, and many more
The above-mentioned list will help you in deciding the things you can use in making compost.
Step 6
Now your compost needs a little stir you can do this with the help of a shovel or stick but after making sure that you cover the food scraps with dirt.
Step 7
Now the very important step of moistening your compost. Just use a spray bottle full of lukewarm water to moist your compost but not soaking wet. If you use too much water your compost starts to smell.
Step 8
Now cover the plastic compost bin with its tight lid. With the help of a drill, you can make at least 8 to 10 small holes in the lid that will help the air circulation in your bin easily.
Step 9
You place all the necessary things which are essential for making compost in the bin but you should be careful about choosing the right spot for your compost bin. Try to place your bin in a shady area away from the house. Especially if you are living in a compartment or you have no backyard you can place your bin on the patio. Remember one thing that your Bin does not need the full sun because it will dry out in the light of the sun.
Step 10
Now your compost bin is ready you have to just add food scraps whenever you get them. But always stir all the things each time because mixing will help you to break everything down faster.
We explained the making of a compost bin from two different materials one is wood and the other is plastic. Now it is your choice which material suits you or easily available. If you do all the steps very carefully then your compost will be ready within 2 to 3 months for your growing area or garden. When your compost is ready you can use it as mulch or potting soil. This can also be sprinkled over the grass as a lawn conditioner.
Read More: 9 Best Compost Bins
Recent Posts
The Secret Homemade Liquid Fertilizer That Can Boost Flowering, Fruiting, and Plant Growth Naturally
Many of the materials we throw away in the kitchen still contain nutrients that can be useful in the garden. Onion peels and potato peels are good examples. Instead of sending them to the trash, you...
I Mixed Yogurt, Molasses & Compost Tea for 24 Hours… The Results Changed My Garden Soil
Healthy soil is much more than a mixture of sand, silt, clay, and organic matter. It is a living ecosystem filled with bacteria, fungi, protozoa, nematodes, and many other microscopic organisms....