
Are you tired of spending money on expensive fertilizers that claim to give your plants amazing growth, but end up disappointing you? Prepare yourself for a revolutionary discovery that will completely revolutionize your gardening skills.
Leave behind those mass-produced concoctions and elixirs—today, we’re delving into the realm of liquid fertilizer crafted exclusively from your kitchen scraps.
Yes, you heard it right: those unused remnants and excess can be transformed into a nourishing potion that will greatly enhance your plants’ growth.
Why Liquid Fertilizer?
Not only does the production of liquid fertilizer from waste from the kitchen enable you to take advantage of the benefits of organic gardening and sustainable practices, but it also provides a multitude of benefits that will nurture both your plants and your gardening endeavors.
- Resource Utilization:
- Most people tend to throw away kitchen waste, including things like vegetable scraps, fruit peels, and coffee grounds. By converting this waste into liquid fertilizer, you’re making a smart choice to repurpose these organic materials instead of letting them go to waste in landfills. This encourages a more sustainable and environmentally conscious method of handling kitchen waste.
- Nutrient-Rich Solution:
- Kitchen waste contains a wealth of organic matter and vital nutrients that are crucial for the growth of plants, such as nitrogen, phosphorus, and potassium. By utilizing these waste materials, you can transform them into a liquid fertilizer that effectively extracts and concentrates essential nutrients. This concentrated form is readily absorbed by plants, making it a simple and efficient way to nourish them. This solution is designed to improve soil fertility and support optimal plant growth.
- Cost-Effective Solution:
- Creating your own liquid fertilizer from kitchen waste is a budget-friendly option compared to buying commercial fertilizers. Why waste money on store-bought products when you can easily create a personalized fertilizer solution for your plants using simple kitchen scraps? This not only helps save money, but also decreases reliance on synthetic fertilizers.
- Reduced Environmental Impact:
- The use of synthetic fertilizers can have adverse effects on the environment, including water pollution and the release of greenhouse gases. Choosing a kitchen waste liquid fertilizer helps to decrease reliance on synthetic alternatives and reduces the environmental impact linked to their manufacturing and transportation.
- Improved Soil Health:
- Using liquid fertilizers made from kitchen waste can improve the quality of soil and promote the growth of beneficial microorganisms. These fertilizers enhance soil water retention, aeration, and nutrient-holding capacity by incorporating organic matter. Consequently, the soil’s overall health is enhanced, creating an environment that promotes strong plant growth and resilience.
Choosing the Right Kitchen Waste
Not all scraps are equal when it comes to making your own liquid fertilizer from kitchen waste. Choosing the appropriate kitchen waste is crucial in order to create a nourishing mixture that will greatly benefit your plants.
By taking into account a few factors, you can guarantee that your homemade fertilizer contains all the necessary nutrients for your plants to flourish.
Make organic kitchen waste a top priority. By utilizing organic waste, you can guarantee that your fertilizer is devoid of any detrimental chemicals or pesticides that may pose a threat to your plants.
Furthermore, organic materials have a tendency to break down more quickly, which speeds up the decomposition process and makes the nutrients easily accessible to your plants.
Another aspect to take into account is the nutritional value of the waste. Various kitchen scraps contain different amounts of essential nutrients like nitrogen, phosphorus, and potassium.
As an illustration, fruit and vegetable scraps are generally abundant in nitrogen, which plays a crucial role in encouraging the growth of leafy greens.
Additionally, eggshells provide a rich source of calcium, while coffee grounds are recognized for their high levels of phosphorus and potassium. By incorporating a variety of kitchen waste into your liquid fertilizer, you can achieve a more balanced nutrient profile.
Also take into account the amount of waste you have at your disposal. If you have a modest kitchen garden or a handful of potted plants, you may not require substantial amounts of liquid fertilizer.
It’s more effective to concentrate on smaller quantities of waste that are rich in nutrients. On the other hand, if you have a bigger garden or a considerable number of plants, you might have to gather a larger amount of kitchen waste to generate sufficient fertilizer for their requirements.
Lastly, it’s important to consider the amount of time it takes for various kitchen scraps to decompose. Certain types of waste, like citrus peels or onion skins, may require more time to decompose.
If you want to speed up the process, you might want to focus on scraps that break down quickly, like vegetable trimmings or coffee grounds.
With a thoughtful selection of kitchen waste, you can guarantee that your homemade liquid fertilizer will be rich in essential nutrients to support the growth of your plants.
Now that you have grasped the concept, you can proceed to the next phase: a detailed walkthrough on creating your very own liquid fertilizer.
Step-by-Step Guide to Making Liquid Fertilizer
With a thoughtful selection of kitchen waste, you can create a homemade liquid fertilizer that is rich in essential nutrients for your plants. Now that you have grasped the concept, you can proceed to the next phase: a detailed walkthrough on creating your own liquid fertilizer.
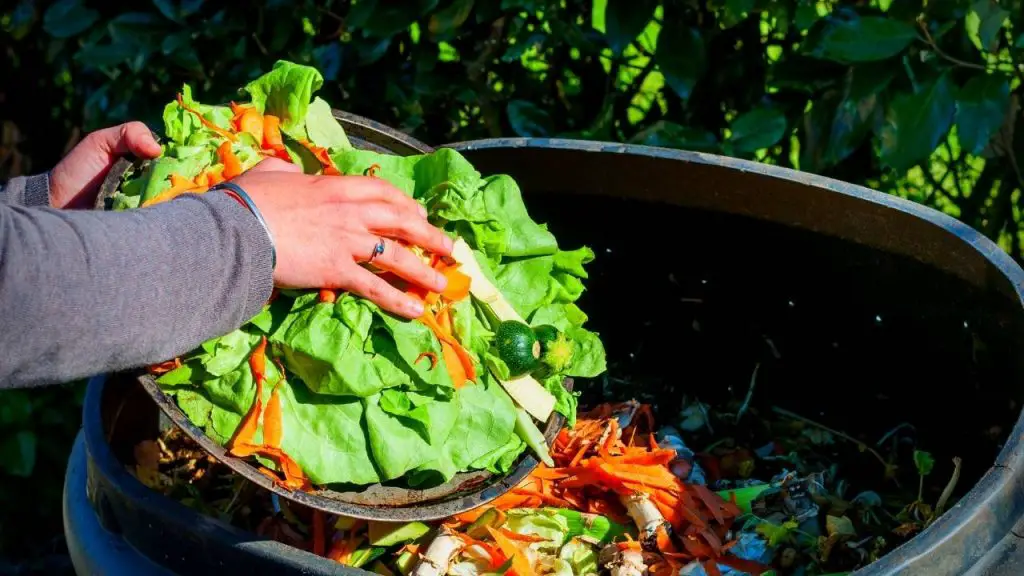
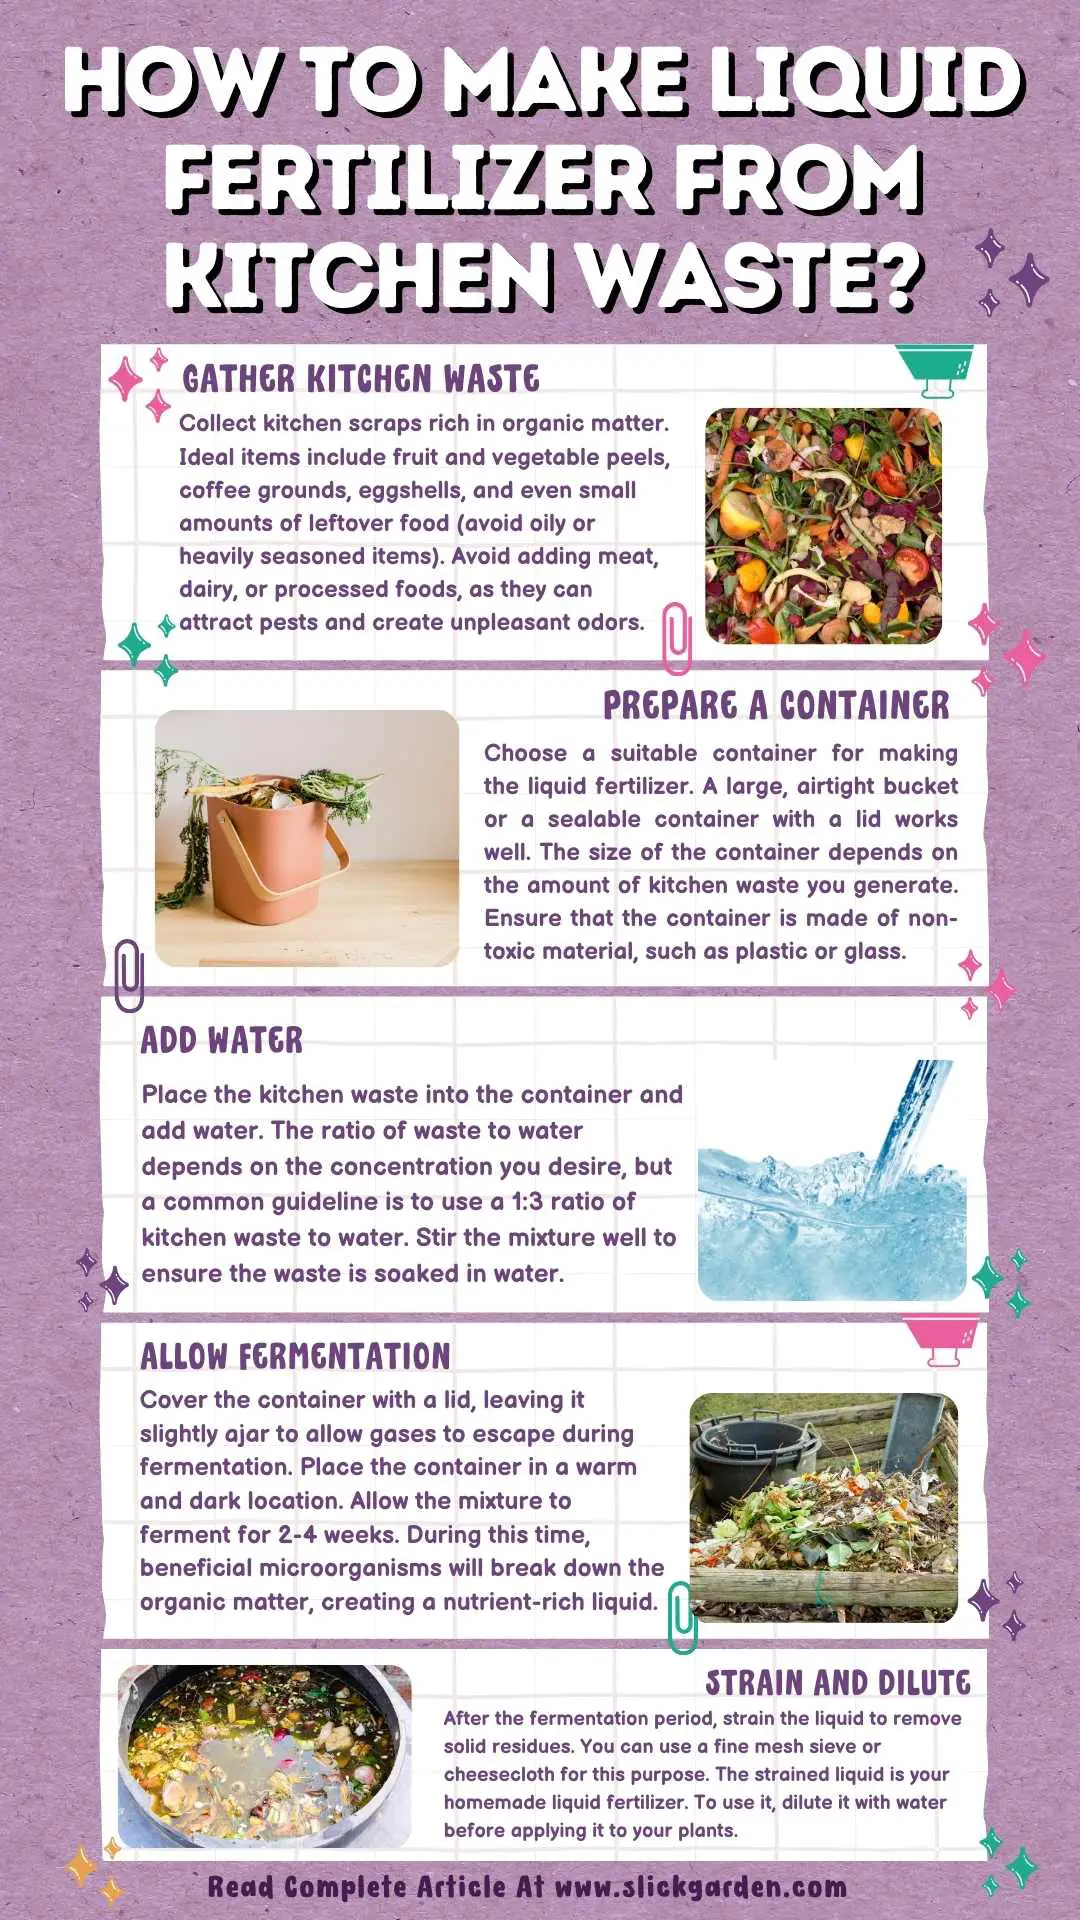
Step 1: Gather Your Kitchen Waste
Begin by gathering kitchen scraps such as vegetable trimmings, fruit peels, coffee grounds, and eggshells. It is advisable to refrain from using meat products, dairy, or oily substances as they may attract pests or produce unpleasant odors while the fermentation process takes place.
Step 2: Prepare A Container
Get a container that is big enough to hold your liquid fertilizer. This can be a big jar with a lid that fits tightly or a bucket with a tube that makes it easy to pour. Make sure the container is clean and has enough space for your water and trash.
Step 3: Add Your Kitchen Waste
To accelerate the decomposition process, it is advisable to chop or break down the kitchen waste into smaller pieces. Arrange the waste in the container by alternating between dry and wet materials.
As an example, one can start by adding vegetable trimmings and then layering coffee grounds or tea leaves. By layering different materials, a balance is achieved between carbon-rich (dry) and nitrogen-rich (wet) components.
This balance is crucial for facilitating the breakdown of the materials and the release of nutrients.
Step 4: Fill The Container With Water
After adding your kitchen waste, make sure to cover it with water until the container is almost full. The water contributes to the development of a rich ecosystem of microorganisms, which plays a crucial role in the fermentation process. Give the mixture a gentle stir to make sure the waste is thoroughly saturated.
Step 5: Seal And Ferment
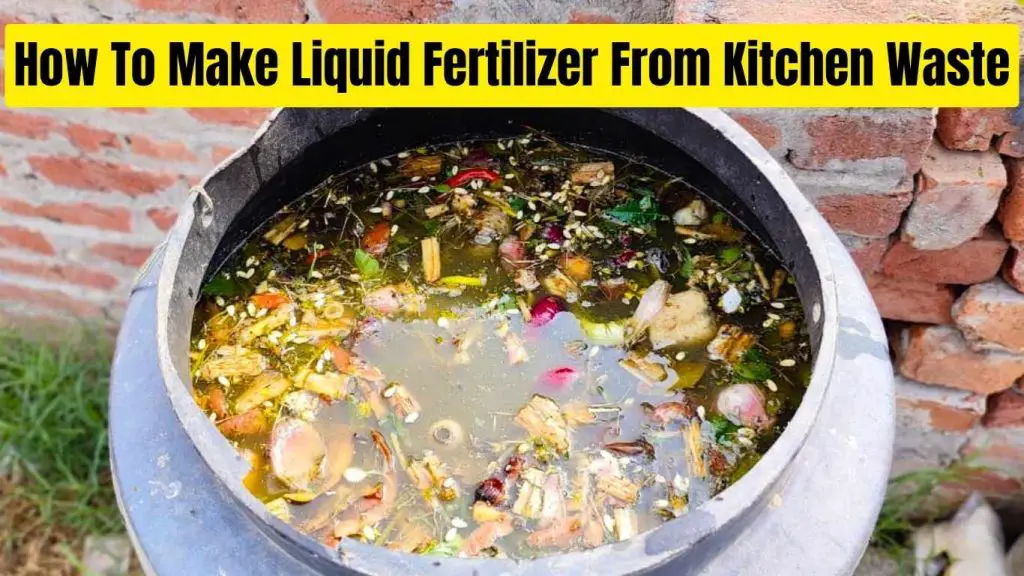
To stop any smells from leaking out, tightly cover the container. Put it somewhere warm and shaded, out of the direct sunlight. The mixture will start to ferment and decompose over the next few weeks, releasing important nutrients into the water.
Step 6: Stir And Strain
Remember to stir the mixture occasionally to ensure that no solids settle at the bottom. Once the fermentation process is complete, you can separate the liquid fertilizer from the solids by straining it through a fine mesh sieve or cheesecloth. The prepared liquid can now be used as a fertilizer that is rich in nutrients for your plants.
By following this straightforward guide, you can effortlessly make your own liquid fertilizer using kitchen waste. As you gain more experience, you have the opportunity to explore various waste ratios, modify the fermentation duration, or incorporate other ingredients such as seaweed extract to enhance the results.
In the following section, we will explore some helpful suggestions and techniques to enhance your fertilizer-making skills, enabling you to elevate the quality of your homemade liquid fertilizer.
Keep Reading:
- 15 Simple And Inexpensive Homemade Fertilizers
- 6 Steps On How To Make Organic Fertilizer
- How To Make Liquid Fertilizer From Compost For Vegetables?
Applying The Fertilizer:
- Timing: During the growing season, when your plants need nutrients the most, use the diluted fertilizer. Depending on where you live and what you’re growing, this is usually from early spring to early fall.
- Frequency: Adjust the frequency of fertilization based on your plants’ requirements and the potency of the fertilizer. Begin with a more diluted solution and carefully monitor your plants’ response.
- Method: Make sure to water your plants at the base using the diluted fertilizer. Be careful not to apply it directly on the leaves, as it may cause damage.
- Safety: Make sure to store the diluted fertilizer in a cool and dark location, and be sure to use it within a week. Avoid direct application to seeds or seedlings.
Additional Tips:
- Compost the leftover solids: Following the process of straining the liquid, you can then place the solids that are left over in your compost bin.
- Balance is key: Even though homemade fertilizer is fantastic, you should keep in mind that it might not supply your plants with all of the nutrients they require. It is recommended that you use it in conjunction with other organic amendments such as compost or manure.
- Monitor your plants: Watch your plants carefully for any indications of over-fertilization, such as leaves that have been burned or excessive growth. Refrain from using the fertilizer if you come across any.
Recent Posts
Don't Throw Away Expired Bread: Turn It Into a Simple Homemade Fertilizer
Most people throw away expired bread without thinking twice. While bread is no longer safe to eat once it has spoiled, it can still be useful in the garden. Instead of adding it to the trash, you can...
I Mixed Dish Soap, Vinegar & Oil and Sprayed My Plants… The Results Shocked Me
Many home gardeners look for simple and affordable ways to keep their plants healthy without relying on strong chemical pesticides. One popular method is a homemade plant spray made from everyday...